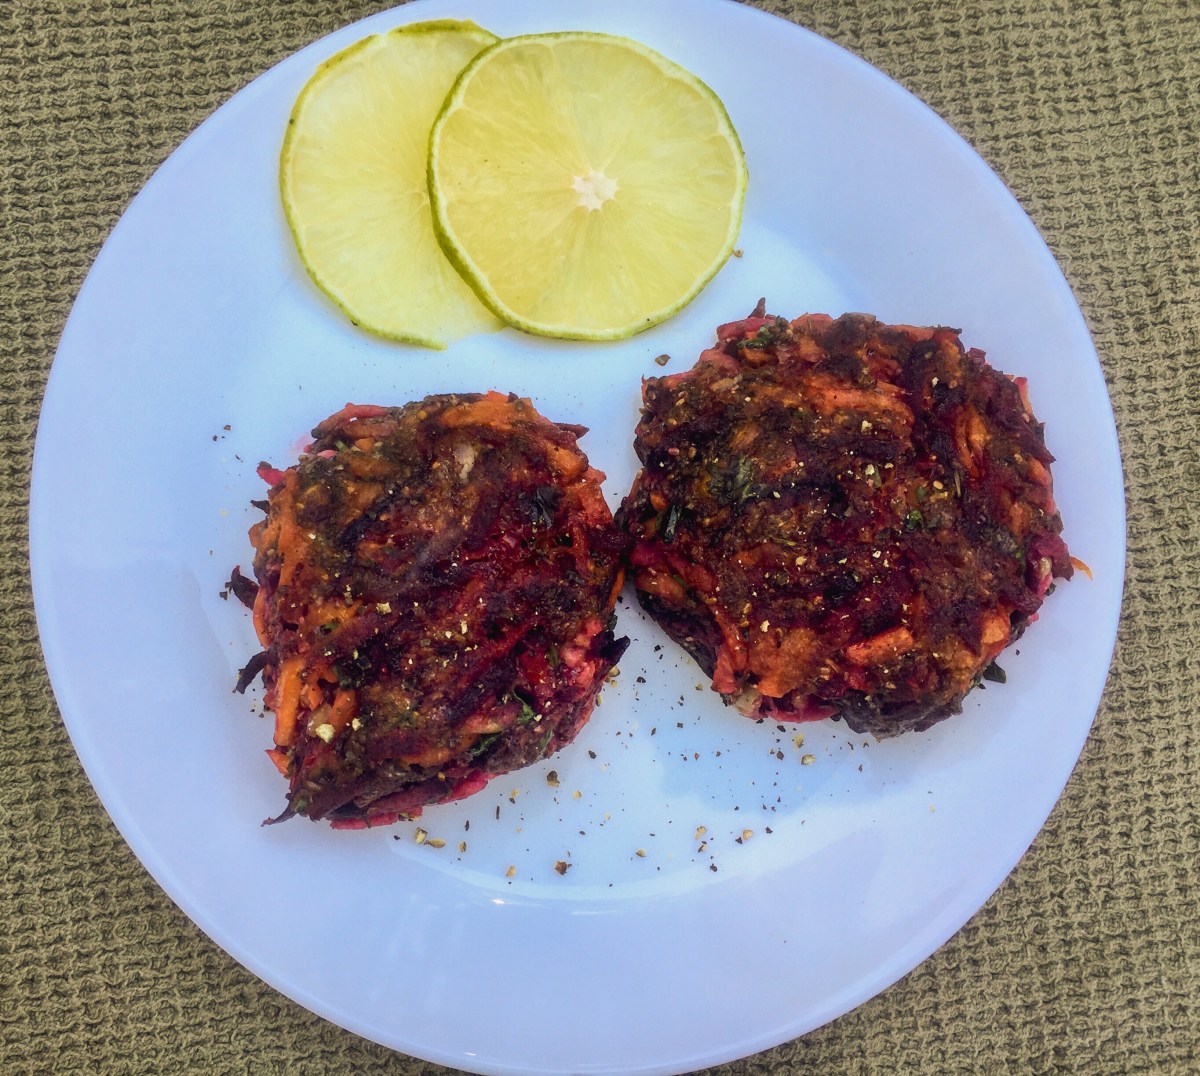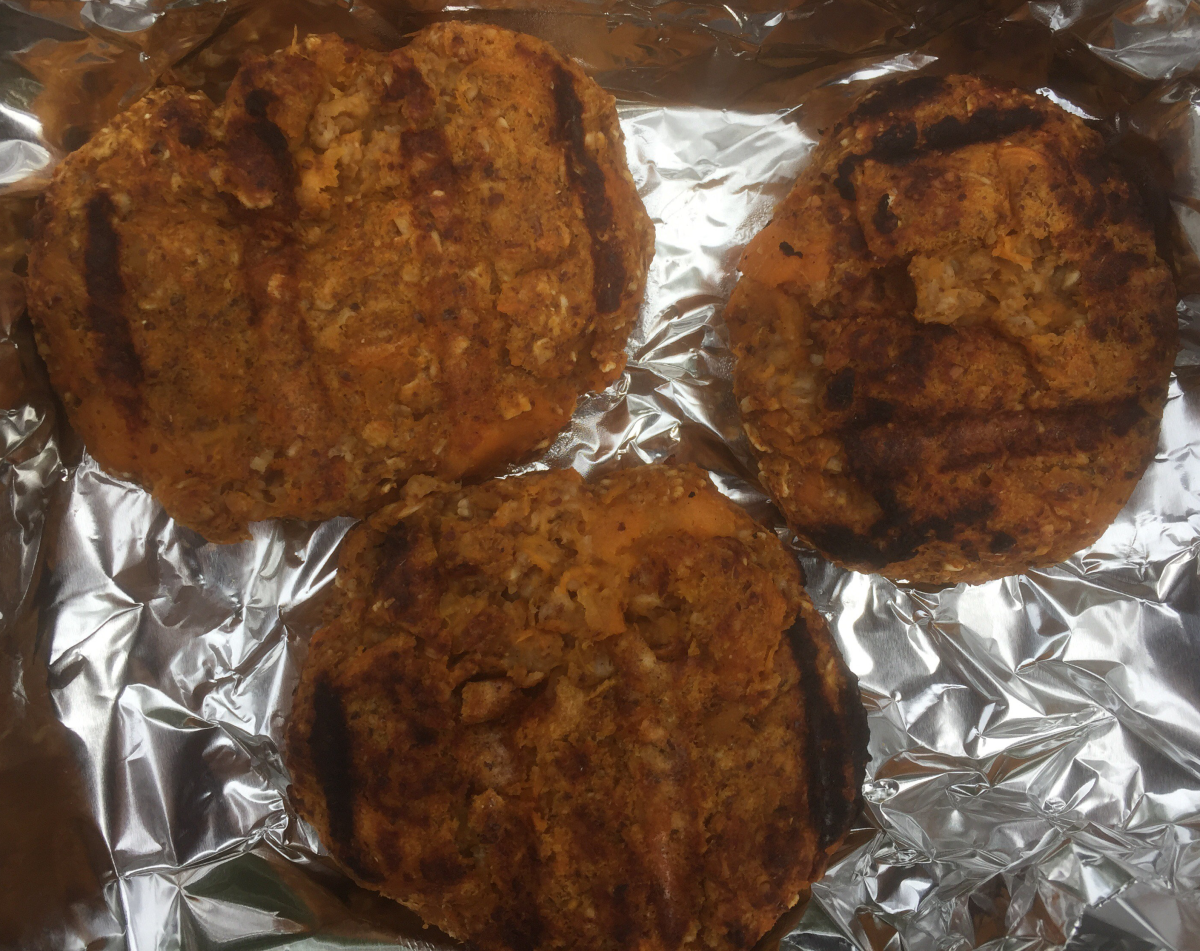
Grillin’ and chillin’ – that’s what we are all going to be doing for the next couple of months. School is out, summer is here and what better thing to do than to enjoy some grilled foods and outdoor dining. So, if anyone ever asks you “Do vegans (or plant-based eaters) actually grill anything?” all you need to say is “You betcha” and invite them over for a grill and BBQ party. If you are looking for some inspiration, you may want to try these BBQ ribs, or portobello steaks, or grilled tempeh. Besides these you can grill eggplant, lots of other veggies, as well as peaches, pineapple, plums… Grilling is a lovely way to bring intense flavors out and works for a range of fruits and vegetables!
Having the right side dish on your side
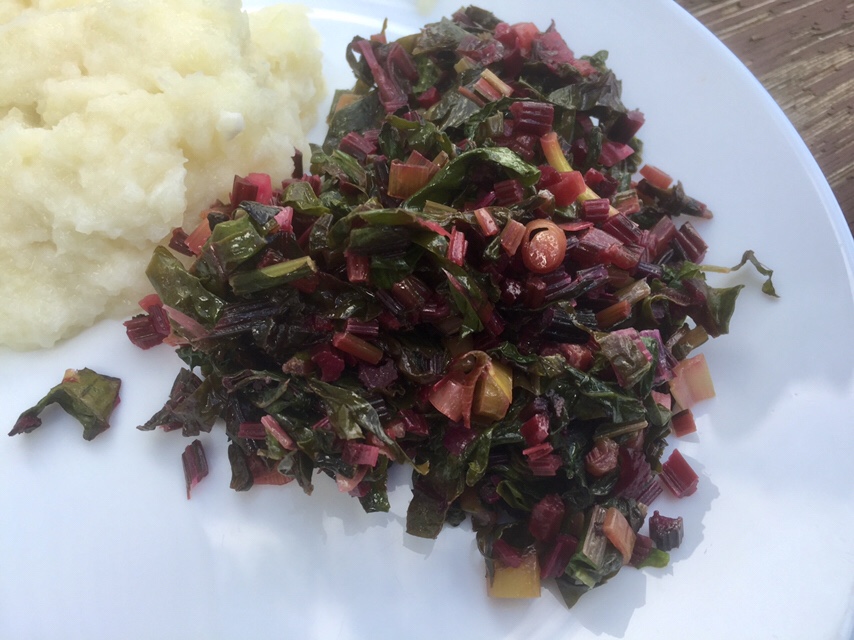
Plus, vegetables (and fruit) are essential for making your cookout a really special and memorable treat for everyone. These ingredients get transformed into a lovely array of side dishes, and quite frankly I usually pile up those and completely ignore the “main” course. With things like spicy cole slaw, or corn bread (or corn bread muffins), or Mac’n’Cheese, or delicious collard greens, or potato salad, or… Well, need I say more? Side dishes are what makes these grillin’ and chillin’ cookouts fun!!!
Baked beans are an institution
Although all these side dishes are dear to my heart, none comes even close to baked beans! Baked beans are absolutely an institution, both in the USA where I live, and in the Balkans, where I come from. But we all know that they are more broadly beloved than that, and many countries and cultures across the globe have a very special and prominent place for baked beans. And although many would think that you can’t have an amazing baked beans without some smokey meat component in there, this is far from the truth.
Sweetness and smokey flavors make baked beans special
What makes baked beans really special is a combination of sweetness and smokiness. One way of getting lots of sweetness to your baked beans is to use some dark brown sugar, maple syrup or dark molasses. But, if you are not careful these can quickly overpower the dish. So, I recommend that you go easy on the actual sweetener, and use lots of sweet onion instead for a more subtle sweet flavor. Baked beans are also quite smokey, and here spices like smoked paprika and chili powder, as well as a dash of liquid smoke will go a long way. If you can’t find liquid smoke, ground cumin is an example of a common spice that has a natural smokey flavor, or you could consider adding one or two smoked peppers, whole into the beans and then fishing them out before serving.
Enjoy!!!

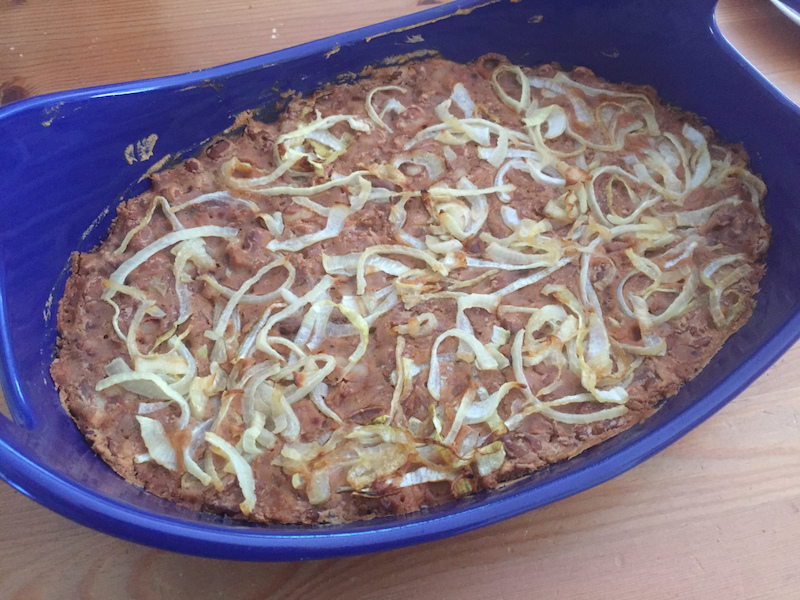
Sweet and Smokey Baked Beans with Caramelized Onions
What you’ll need:
1 large sweet onion, finely sliced
3 cups pinto beans, cooked or canned (if using canned rinse and drain the beans first)
2 tablespoons olive oil
2 teaspoons of McCormick® GRILL MATES® BARBECUE seasoning (see note below).
Note: to make your own seasoning that’s enough for this recipe mix 1/2 teaspoon of raw sugar or 1/2 teaspoon of dark molasses, 1/4 teaspoon garlic powder, 1/4 teaspoon smoked paprika, 1/4 teaspoon chili powder, 1/4 teaspoon salt, 1/2 teaspoon liquid smoke.
What you’ll do:
- Preheat the oven to 375 F (190 C).
- Slice the large onion in half than place the cut side down on your chopping board and slice across to create thin onion ribbons. Once the onion is sliced, use your fingers to pull the ribbons apart.
- Place a large pan over medium heat and bring to temperature. Add the oil and onion ribbons and caramelize the onions for 5 minutes with frequent stirring. You want the onions to be soft, and partly browned but not fully caramelized.
- Add the beans and the spice mix to a large mixing bowl and use your hands or a large fork to mash and mix everything together. Approximately, half of the beans should be mashed and half should stay whole. This will ensure that your baked beans are creamy, yet have an interesting texture.
- Spray the bottom of you baking dish with some cooking spray and spread the beans in an even layer. The best size of the dish for this amount of beans is 8 x 8 in (20 x 20 cm), or about 2 QT (approximately 2 L).
- Arrange the partly caramelized onions on the top. Don’t mix them in, just let the onions rest on top of the bean mix. You can get creative here and make a pattern or a design, but I went rustic!
- Place in the oven and bake for 20-30 minutes. When you see that the edge of your beans is browned, you are done! Serve as a wonderful side dish for you BBQ party, or use the next day to make a yummy breakfast burrito.

Copyright © Eat the Vegan Rainbow, 2018