Mushroom Bourek (or Burek or Börek)

I have not been sharing recipes for a while, but this one reminded me of home and comfort food I grew up with, so I thought why not share it with the world! Bourek or Burek or Börek is one of the most favorite breakfast foods (yes, you heard that right – BREAKFAST) on the Balkans, Eastern Europe, Turkey… Burek is a baked pastry made of very thin layers of dough – in the US this type of dough is known as phyllo. A “pie” filling (traditionally meat, cheese, spinach (or other leafy greens like chard), sautéd mushrooms…) is placed in between the dough layers to create a very rich and amazingly delicious pie. It’s actually quite impossible to describe burek – if you have not tried it, you should, and with the recipe below now you can make one at your home!

Mushroom Bourek

What you’ll need:

  • 20 sheets of phyllo dough (about 8 oz, 250 g)
  • 16 oz (450 g) white mushrooms, diced
  • 1 onion, finely diced
  • 3-4 cloves garlic, minced
  • 1/4 cup nutritional yeast
  • 1 tablespoon olive oil
  • 1/2 teaspoon dried rosemary
  • 1/2 teaspoon crushed red peppers
  • 1/4 cup + 1 tablespoon vegetable oil
  • 1/4 cup water
  • salt and pepper to taste

What you’ll do:

  1. Prepare the phyllo dough according to the instructions on the package. For most of you who live in the US, this means leaving the dough out to thaw either in the fridge or on the kitchen counter following the directions of the manufacturer. This can take anywhere between 4 hours to overnight.
  2. Once the dough is ready, preheat the oven to 375 F (190 C).
  3. Prepare your mushrooms, onion and garlic by: dicing the mushrooms and the onion into small pieces (1/4 inch (0.5 cm) or so), and mincing the garlic.
  4. Add 1 tablespoon of olive oil into a large frying pan and heat over medium high heat. Add the onions and sauté for 3-5 minutes, until golden.
  5. Add garlic and sauté for 1-2 minutes.
  6. Add the mushrooms and cook them through, which will take about 5-8 minutes.
  7. Stir in nutritional yeast, crushed red pepper flakes, rosemary, salt and pepper and sauté for another 1-2 minutes. Turn the heat off and let the mixture cool.
  8. Place 1/4 cup vegetable oil and 1/4 water in a bowl. They will not mix, so you will have to “agitate” aka mix the two each time before applying.
  9. Using a pastry brush, or a spoon, spread 1 tablespoon of vegetable oil around 9 x 13 in (23 x 33 cm) baking dish.
  10. Once the dish is oiled, start layering your phyllo dough sheets into the dish. The sheets are gentle, so treat them with care. Layer a single sheet to cover the bottom (you will likely need to fold it in half to fit into the dish, and that’s ok), then sprinkle with water/oil mix. To do this, use your pastry brush to mix the water/oil well then “paint” the dough layer all over. The dough should not be soaking wet, but it should be moist. Layer another sheet of dough in the same manner, moist with water/oil mixture, and repeat until you’ve used 5 sheets of dough.
  11. Once the 4th (or 5th) sheet of dough is in, you are ready to add 1/3 of your mushroom filling. Spread the filling evenly across the phyllo dough. It should cover the layer thinly. Proceed to layer the phyllo dough, 5 sheets wetted with water/oil mix in between each layer. Top with another third of your mushroom mix, topped with another 5 sheets of phyllo dough and repeat one more time. At the end, you should have a pie with 5 sheets of phyllo – 1/3 of mushroom filling – 5 sheets of phyllo – 1/3 of mushroom filling – 5 sheets of phyllo – 1/3 of mushroom filling – 5 sheet of phyllo. Make sure that the top sheet of phyllo is brushed well with the water/oil mix.
  12. Place the pie into the hot over and bake for 20 minutes then increase the heat to 425 F (220 C) and bake for another 10-15 minutes, until the top layer is crispy and golden brown (see photo). Let cool for 5-minutes before cutting. Enjoy hot for breakfast, lunch, or dinner! I like to add some yogurt on the side – it’s delicious!

Copyright © Eat the Vegan Rainbow, 2021

Perfect Fall Apple and Carrot Smoothie

Fall is in the air – and in the Northeast of the USA, where I currently live, that means apples, lots and lots of apples. We are lucky to have a number of fantastic orchards nearby, and we have made it a bit of a family tradition to go apple picking in October. Although this year is like no other given the current COVID-19 pandemic, we have still made it to an orchard. With our masks on, and social distancing we scored a load of great apples that will last us for few weeks.

Apples are great on their own, fresh and crunchy – I slice them into my oatmeal or just munch on them as a quick snack. My kids like apple and peanut butter sandwiches and enjoy rolling apple slices into a bit of cinnamon sugar. Few years ago, after our annual apple picking trip, I made a fantastic batch of spice-infused apple butter – it’s a slow cooker recipe that I can’t recommend enough! In addition to using apples in desserts, they are also a great ingredient in a Thanksgiving stuffing or in this wonderful fall carrot and apple soup.

Apples are also great in a smoothie. Don’t believe me? Try this one!

Apple and Carrot Smoothie

What you’ll need (for one serving):

  • 1 apple, any variety
  • 1 carrot
  • 1 tablespoon peanut butter powder, or other protein powder of your choice (preferably not chocolate as it may overpower the flavors)
  • 1/4 cup oats
  • 2 – 4 dates, pitted (dates add sweetness, so adjust accordingly; if your protein powder is sweetened, you may want to skip dates altogether; if using a tart apple variety you may want to add an extra date or two)
  • 1/3 – 1/2 cup water or plant-based milk (if you prefer ice in your smoothie add couple of ice cubes instead)
  • 1/4 teaspoon ground cinnamon
  • 1/4 teaspoon cardamom powder

What you’ll do:

  1. Add all the ingredients into a blender. Many blenders recommend you add liquid first than the rest of the ingredients, so that’s what I recommend as well.
  2. Blend until smooth.
  3. Pour into a glass, top with a pinch of cinnamon or nutmeg and enjoy!

Copyright © Eat the Vegan Rainbow, 2020

Pumpkin Pie Oatmeal

It’s that time of the year when we pull out pumpkin spice mix and let them fill our homes. Mmmm….

Here is a super quick and super simple way to start your day right and fill your kitchen with the aroma of the season. Enjoy!

Pumpkin Pie Oatmeal

What you’ll need:

(for one serving)

  • 1/2 cup instant oatmeal (or replace with any time of oats you prefer)
  • 1 cup water (or plant-based milk if you prefer)
  • 1/2 cup pumpkin purée (from a can or homemade)
  • 1 teaspoon maple syrup (or more or less depending on taste preference
  • 1/2 teaspoon ground cinnamon
  • 1/8 teaspoon ground cloves
  • 1/8 teaspoon ground nutmeg
  • Optional: a pinch of ground flax meal to sprinkle on top.

What you’ll do:

  1. Make the oatmeal according to the instructions on the box (or a bag) it came in.
  2. Add the rest of the ingredients and mix well. Enjoy while nice and hot!

Copyright © Eat the Vegan Rainbow, 2020

Unbelievably Creamy Oatmeal

Unbelievably Creamy Oatmeal
Unbelievably Creamy Oatmeal, via Eat the Vegan Rainbow

Water or milk? Apparently, when it comes to oatmeal there are two warring ideologies out there, with one side proclaiming that oatmeal can only be made with water and the other declaring that oatmeal with milk is the only way to be. Although I understand why people may prefer milk, I put myself firmly in the water camp on this one. And I am not alone: even bon appétit, a renowned food magazine, seems to agree that if you want to some creamy and delicious oatmeal, cooking it with water is the way to go!

Having said that, I recently discovered to way to kick it up a notch and create an incredibly creamy oatmeal, that’s silky, smooth, rich, and packed with protein. The secret to my newfound success is adding some protein powder to the oats.

I use quick cooking oats, those are oats that have been specially processed to decrease the cooking time. I prepare them in the microwave and they are done in about 2 minutes. But: if you prefer steel-cut oats, or rolled oats – go for it! The recipe below will work with any oat variety, and you don’t need to change anything about how you normally cook your oatmeal. All you need to do is mix in one scoop of your favorite protein powder with your oats before adding water (1/4 cup more than you would otherwise) and then cook the way you usually do.

This small amount of protein powder will add incredible creaminess and smooth texture. As I said, you can add any protein powder you like. I used unsweetened, unflavored pea protein powder, but vanilla flavored varieties will work, as will peanut butter protein powder – although in that case you better like peanut butter flavored oatmeal!

Lastly, don’t forget the toppings – you can use anything you have on hand. In the case of my recent breakfast, I had some bananas, coconut flakes and freeze dried strawberries. Some others topping you may want to try are raisins, or other dried fruit, chopped walnuts, slivered almonds, brown sugar, maple syrup, fresh fruit of any kind (well, maybe not citrus fruit, but you get the idea), some spices, like cinnamon or cardamom…

Or, if you are feeling adventurous (and you used unsweetened and unflavored protein powder) you may want to try savory oatmeal and add sour cream, perhaps some hummus, or some diced olives and similar types of toppings. I can see how this may sound strange, but oatmeal is really almost like polenta or grits, so it’s worth playing around with savory side of oatmeal as well.

Enjoy!

Unbelievably Creamy Oatmeal

Note: serves 1

What you’ll need:

  • 1/2 cup quick cooking oats (or any other type of oats you like)
  • 1 scoop pea protein powder (or any other type of protein powder you enjoy)
  • 1 1/4 cup water (use the amount of water you usually use to cook oatmeal + 1/4 cup extra)
  • optional: toppings of any kind you prefer (fresh fruit (bananas, berries…), dried fruit (raisins, chopped dates…), nuts (chopped walnuts, slivered almonds…), sweeteners (maple syrup, brown sugar…), coconut flakes, spices (cinnamon, vanilla, cardamom….)

What you’ll do:

  1. Note: this is a recipe for quick cooking oats prepared in the microwave. You will need to make adjustments if you are using other types of oats or other cooking methods. In a microwave safe bowl, mix the oats and protein powder. Pour the water in, and mix again. Cook on high for 2 to 3 minutes (this will depend on your microwave so stick to the time you usually use; if this is your first time making oatmeal, please note that oatmeal has a tendency to boil over very quickly and make a sticky mess that’s pain to clean. I recommend you place your ingredients in a deep bowl to avoid spills. Also: place a paper towel or something similar under the bowl, to help soak up the mess in case the spill over happens). Mix the oatmeal and return to the microwave for another 20-30 seconds.
  2. Serve the hot oatmeal with as many of your favorite toppings as you like. Keep it simple or go wild – you can’t go wrong with oatmeal!
COPYRIGHT © EAT THE VEGAN RAINBOW, 2020


Dark Chocolate Donuts – oil-free, gluten-free, and vegan

Dark Chocolate Donuts - Vegan, Gluten-Free
Dark Chocolate Donuts, via Eat the Vegan Rainbow

Quite frankly, these donuts are nothing like the donuts I grew up with. Those were masterpieces of my grandmother, made with yeast-based dough that would rise for hours, be beaten down, and kneaded, rolled out, cut in circles with a glass and fried in some piping hot oil. Then, while still hot, dusted with powdered sugar or injected with jam. Those were donuts of my childhood and I loved making them with my grandma!

Now that I am well into my adulthood and struggling to maintain healthy weight, and allow myself an occasional treat, I’ve been re-inventing old treats into new treats. With less (or in this case no) oil, less sugar, and taking far less time to make, yet equally as delicious!

One thing that makes these donuts possible is a non-stick donut pan. I never thought I would buy one, but I did, and it works really, really well. Although these donuts don’t have any wheat flour and are surprisingly sticky and wet, they came out perfect, and I think that’s all thanks to the pan. (I got this one from Amazon, in case you are wondering).

The donuts some together in less than 5 minutes, and take about 15 minutes to bake. You need a large bowl and a spatula. No waiting for dough to rise, no rolling it out, none of that. All you need to do it spoon it into the donut pan, fill each ring about 3/4 of the way full, leaving the room on the top for donuts to rise and fill, and that’s it!

The dough will be sticky and dense, so you will need to spoon it out bit by bit, until the donut ring is done. Don’t overfill as I said and don’t pack it in too much. You will need to nudge the dough in and smooth the surface a bit, but try not to overfill. It’s best to bake in batches than end up with a batch that’s not looking too good.

These donuts are not very sweet, which is the way I prefer them. But if you do have a sweet tooth you can glaze them by simply using some powdered sugar and a squeeze of lemon juice to make a dense sugar paste. Or you can melt a bit of dark chocolate and dunk them in for a chocolate glaze. Feel free to go as wild as you like, and enjoy!


Dark Chocolate Donuts – oil-free, gluten-free, and vegan

What you’ll need:

  • 1 cup almond flour (this is usually called bleached almond flour and it is not almond meal; coconut flour will probably work as well, and any gluten-free flour will likely work too but using rice flour will make this less keto-friendly if you are into that sort of diet)
  • 1/2 cup pea protein powder, unsweetened (you can use any vegan protein powder and you could use sweetened versions and vanilla or chocolate flavored ones – in that case you need to remember to dial down maple syrup)
  • 2 tablespoons dark cacao powder
  • 2 tablespoons maple syrup
  • 1 cup unsweetened apple sauce
  • 1/4 cup almond butter, creamy and unsalted (you could use peanut butter, but I find almond butter to be of a milder flavor)
  • 2 tablespoon vanilla
  • 1 teaspoon baking soda
  • 1 teaspoon baking powder
  • 1/2 lemon – juice (about 1/4 cup)


What you’ll do:

  1. Preheat the oven to 375 F (190 C).
  2. In a large mixing bowl, combine all the ingredients – except the lemon juice. Using a spatula or a similar flat mixing utensil, mix  well until fully incorporated, smooth and even.
  3. Add the lemon juice and mix again until all is fully mixed in. This will take about 2-3 minutes of mixing. The dough will be moist, sticky and dense.
  4. Use a small spoon to transfer the dough into the donut pan. Spoon it out bit by bit, until a donut ring is done, then proceed to the next ring and so on until all the rings are full or all the dough is used up. Don’t overfill as I said and don’t pack it in too much. You will need to nudge the dough in and smooth the surface a bit, but try not to overfill. The amount of though is enough for 8-10 donuts using regular size donut pan (like this one, which is sold as a pair on Amazon).
  5. Bake for 12-15 minutes, until the tooth pick comes out clean. Let cool for 5-10 minutes before taking out of the pan. The donuts should slide right out and are ready to enjoy!
COPYRIGHT © EAT THE VEGAN RAINBOW, 2020

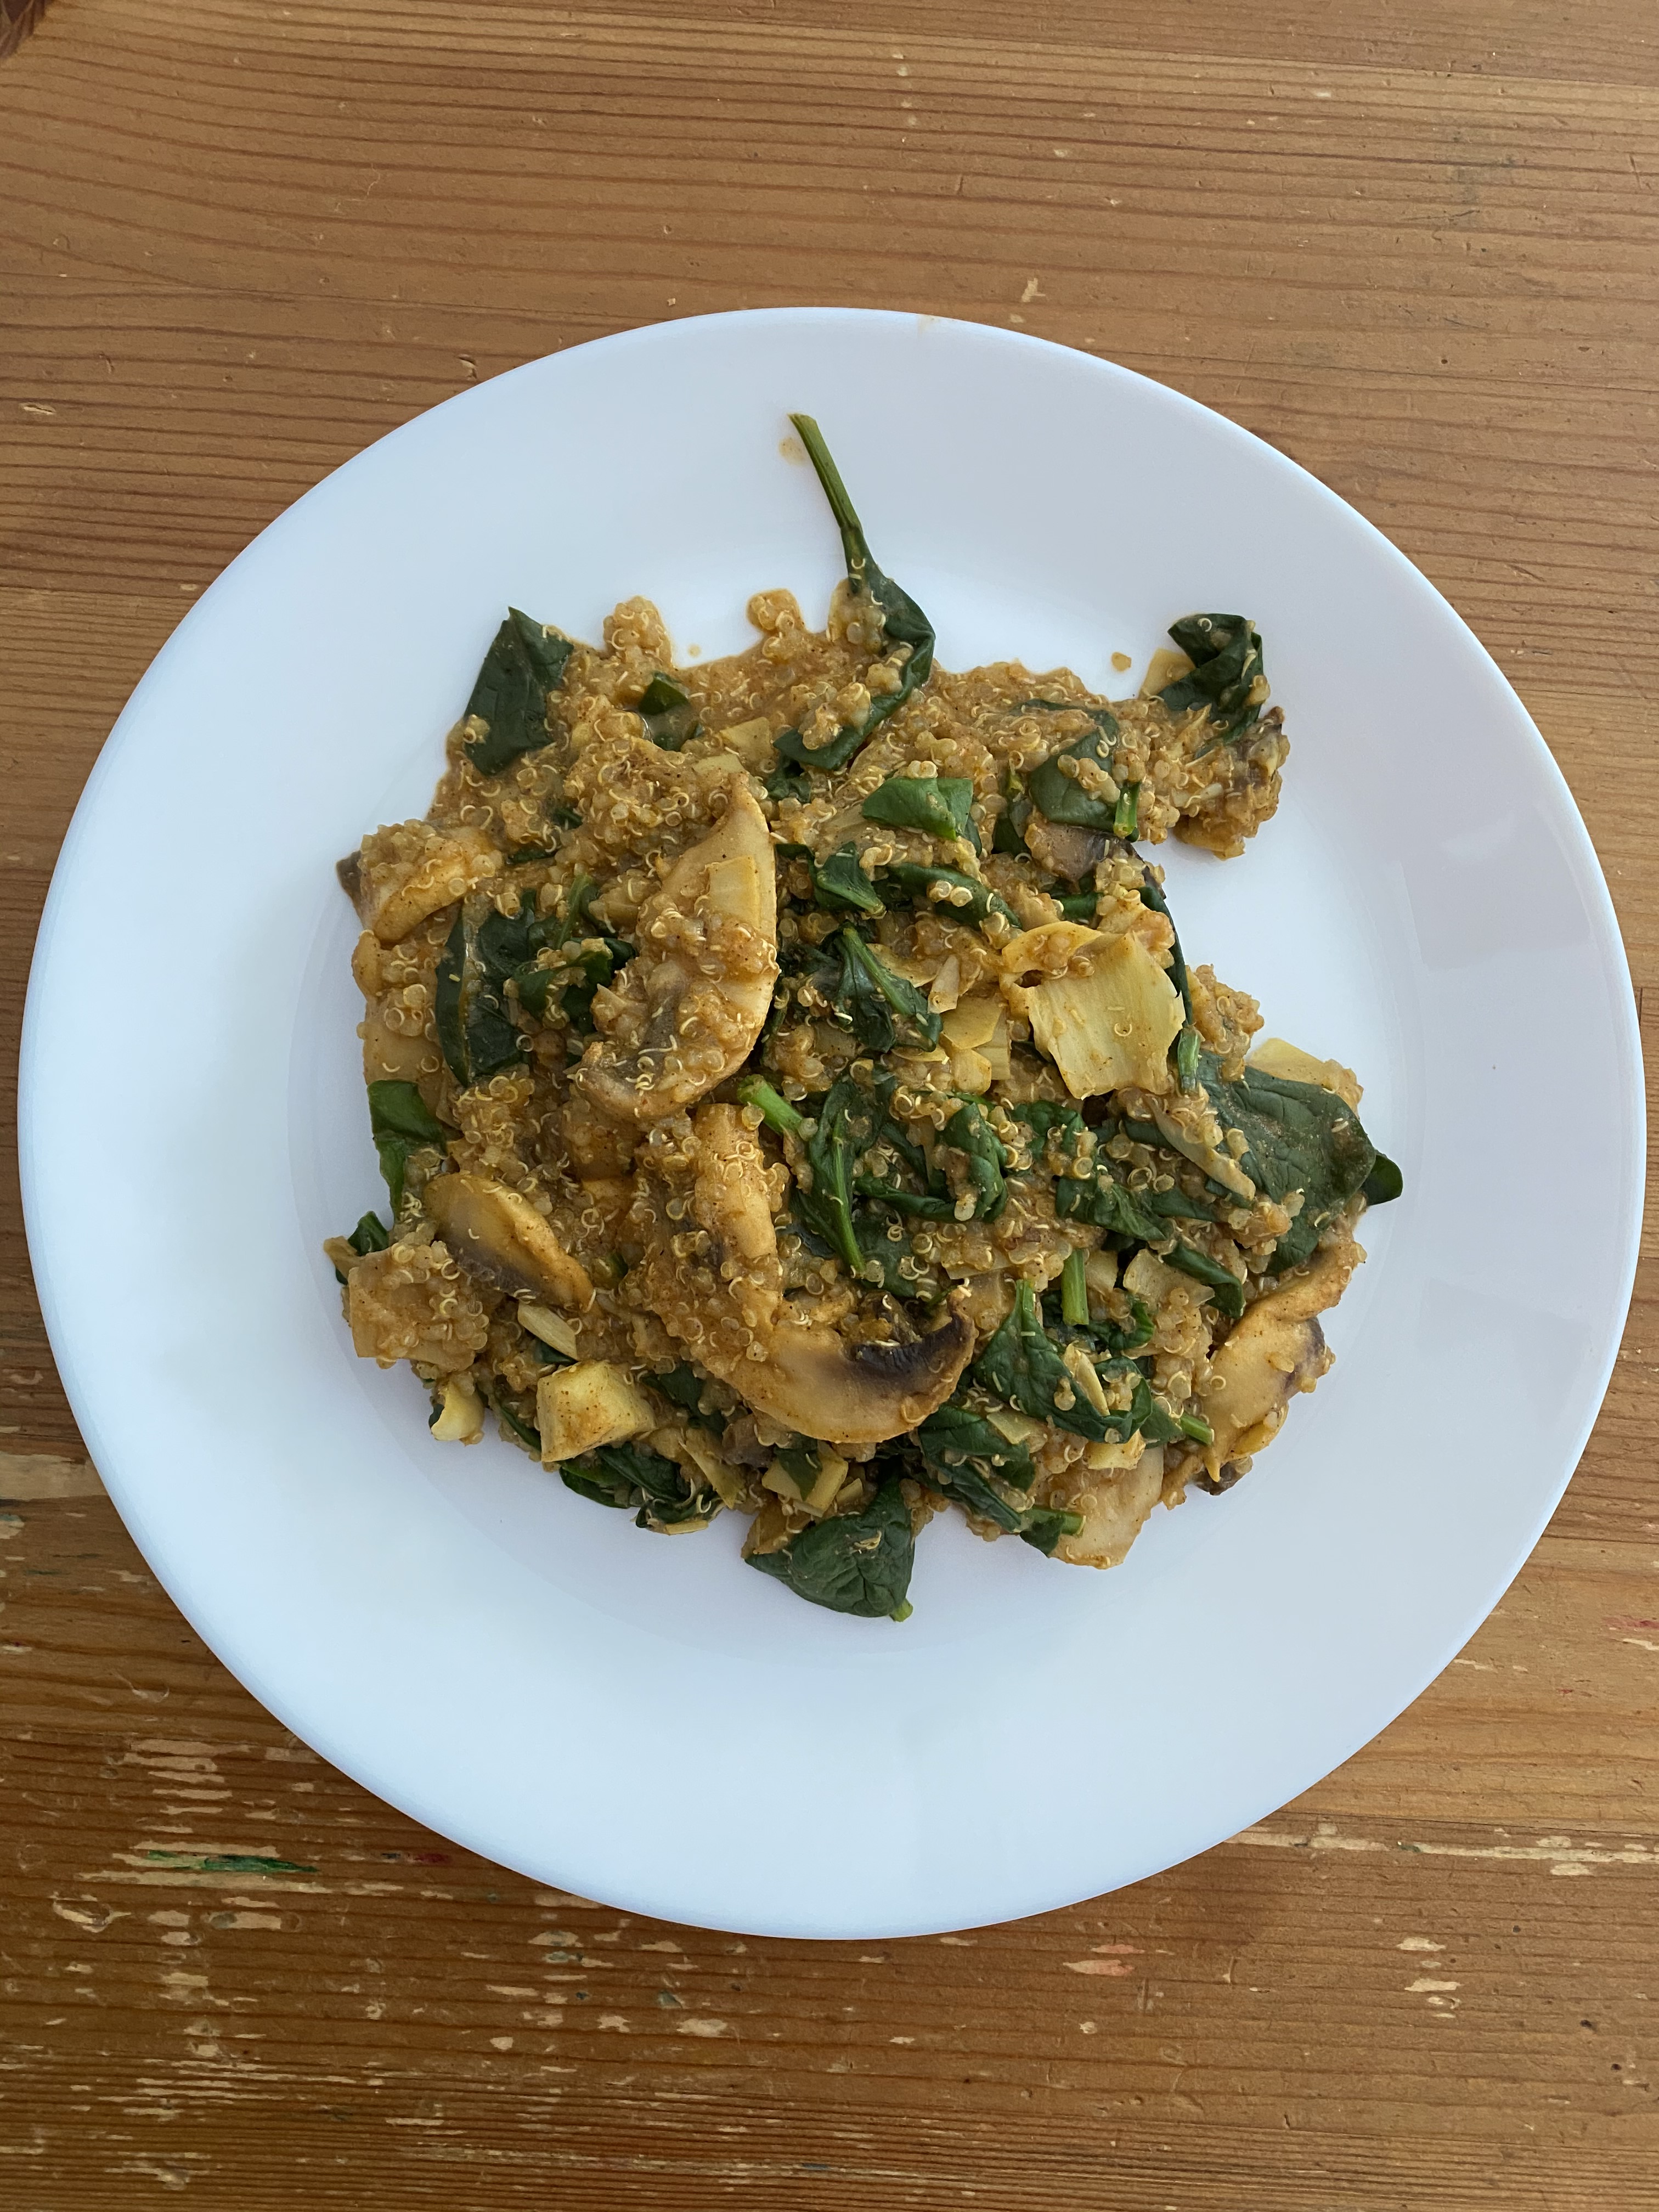
Quinoa Breakfast Scramble (oil-free)

Quinoa Breakfast Scramble, via Eat the Vegan Rainbow

What’s for breakfast? This question takes a whole new meaning on weekends (I luckily have those off), when I am around to spend time experimenting and entertaining. I love making waffles, pancakes, and muffins. Lately, I started getting myself into eating more protein for breakfast, so I’ve been gravitating towards tofu scrambles (see recipes here and here). They are yummy and delicious, and I love them!

But: I also like some variety, and that led me to looking for other high-protein plant-based alternatives. Quinoa is the queen of plant protein – it is a fantastic substitute for rice, and I use it in many different recipes, from those that are supposed to be complete meals (like stuffed eggplant (the same recipe can be used to stuff peppers) and gumbolaya), to side dishes (see here for a very festive side dish with quinoa, roasted cranberries and pistachios – yummy!). Because quinoa is such a great source of plant-based protein, I have also developed a recipe for a ground beef substitute featuring quinoa. In this way quinoa can me your go to for tacos, pizza topping and similar.

With all that said, I wanted to see whether quinoa makes a good breakfast – and it does! The recipe below is just one illustration of how great a quinoa-based breakfast can be. You can also eat quinoa the same way you would oat meal – topped with fruit, syrup, even granola and yogurt. However, quinoa is not as quick to make as oats, so I recommend that you prepare a batch of quinoa and then store it in fridge for 3-5 days and use as needed.

There are a few tips for preparing quinoa. First of all, I recommend soaking for few hours (on the kitchen countertop) to overnight (in the fridge). Quinoa is covered with bitter compounds called saponins. These are totally natural compounds produced by the plant as it grows, and used a sort of protection from pests (not even pests like bitter things!!!). Soaking and extensive rinsing will help wash these chemical compounds away, and you can tell they are there if foam forms as you are rinsing. One thing to note is that a lot of quinoa on the market has been treated to remove saponins – on one hand that is good because you don’t need to worry about the bitter taste, on the other hand depending on the process used some of the nutritional value of quinoa may have been removed as well. By the way, eating saponins at the amount present on quinoa will not hurt, just in case you are wondering, but the flavor is likely going to be affected. Bottomline: I soak and rinse my quinoa very well before cooking.

And because the quinoa is already wet and soaked, I cook it in less water, usually 1.5 cups of water to 1 cup quinoa. The easiest way to cook quinoa is to use a pressure cooker (it takes 8-10 min on rice cycle, if you have instant (electric) pressure cookers with preset menu to choose from), or about 20 min on the stove top.

Once quinoa is cooked and cooled, you can store it for 3-5 days in the fridge and use as needed, for a scramble recipe below, for salads, as a porridge-type breakfast, as a side for your dinner, or to make any one of your favorite recipes that call for rice or any other type of grain. Enjoy!

Quinoa Breakfast Scramble (oil-free)

What you’ll need:

  • 1 1/2 cups cooked quinoa
  • 8 oz mushrooms, sliced
  • 3-4 artichoke hearts, sliced
  • 8 oz baby spinach leaves
  • 1/4 cup nutritional yeast
  • 1 teaspoon garlic powder
  • 1 teaspoon onion powder
  • 1 teaspoon paprika
  • 1/2 teaspoon smoked paprika
  • (Optional): oil or cooking spray. Omit for oil-free version.

What you’ll do:

  1. Add mushrooms to a large non-stick pan and place over medium-high heat. If using oil or cooking spray, add to pan and bring to heat before adding the mushrooms. Cook with stirring until mushrooms are soft and browned. This takes about 4-5 minutes.
  2. Add the artichoke hearts, mix well and sauté for another 2-3 minutes.
  3. Add the cooked quinoa, and all the other ingredients except the spinach. Mix well and cook for 4-5 minutes more.
  4. Last: add the spinach – it will be bulky and take up a lot of space. But don’t panic: slowly incorporate the spinach. It will start to wilt and reduce in size as it heats up and mixes in. Baby spinach leaves take about 2-3 minutes to wilt and soften, so keep stirring until incorporated, reduce the heat to low, cover with a lid, and leave for couple of minutes.
  5. Serve as breakfast, lunch or dinner. If serving as a breakfast, complement with a bowl of fruit and perhaps a piece of toast. Enjoy!
COPYRIGHT © EAT THE VEGAN RAINBOW, 2020

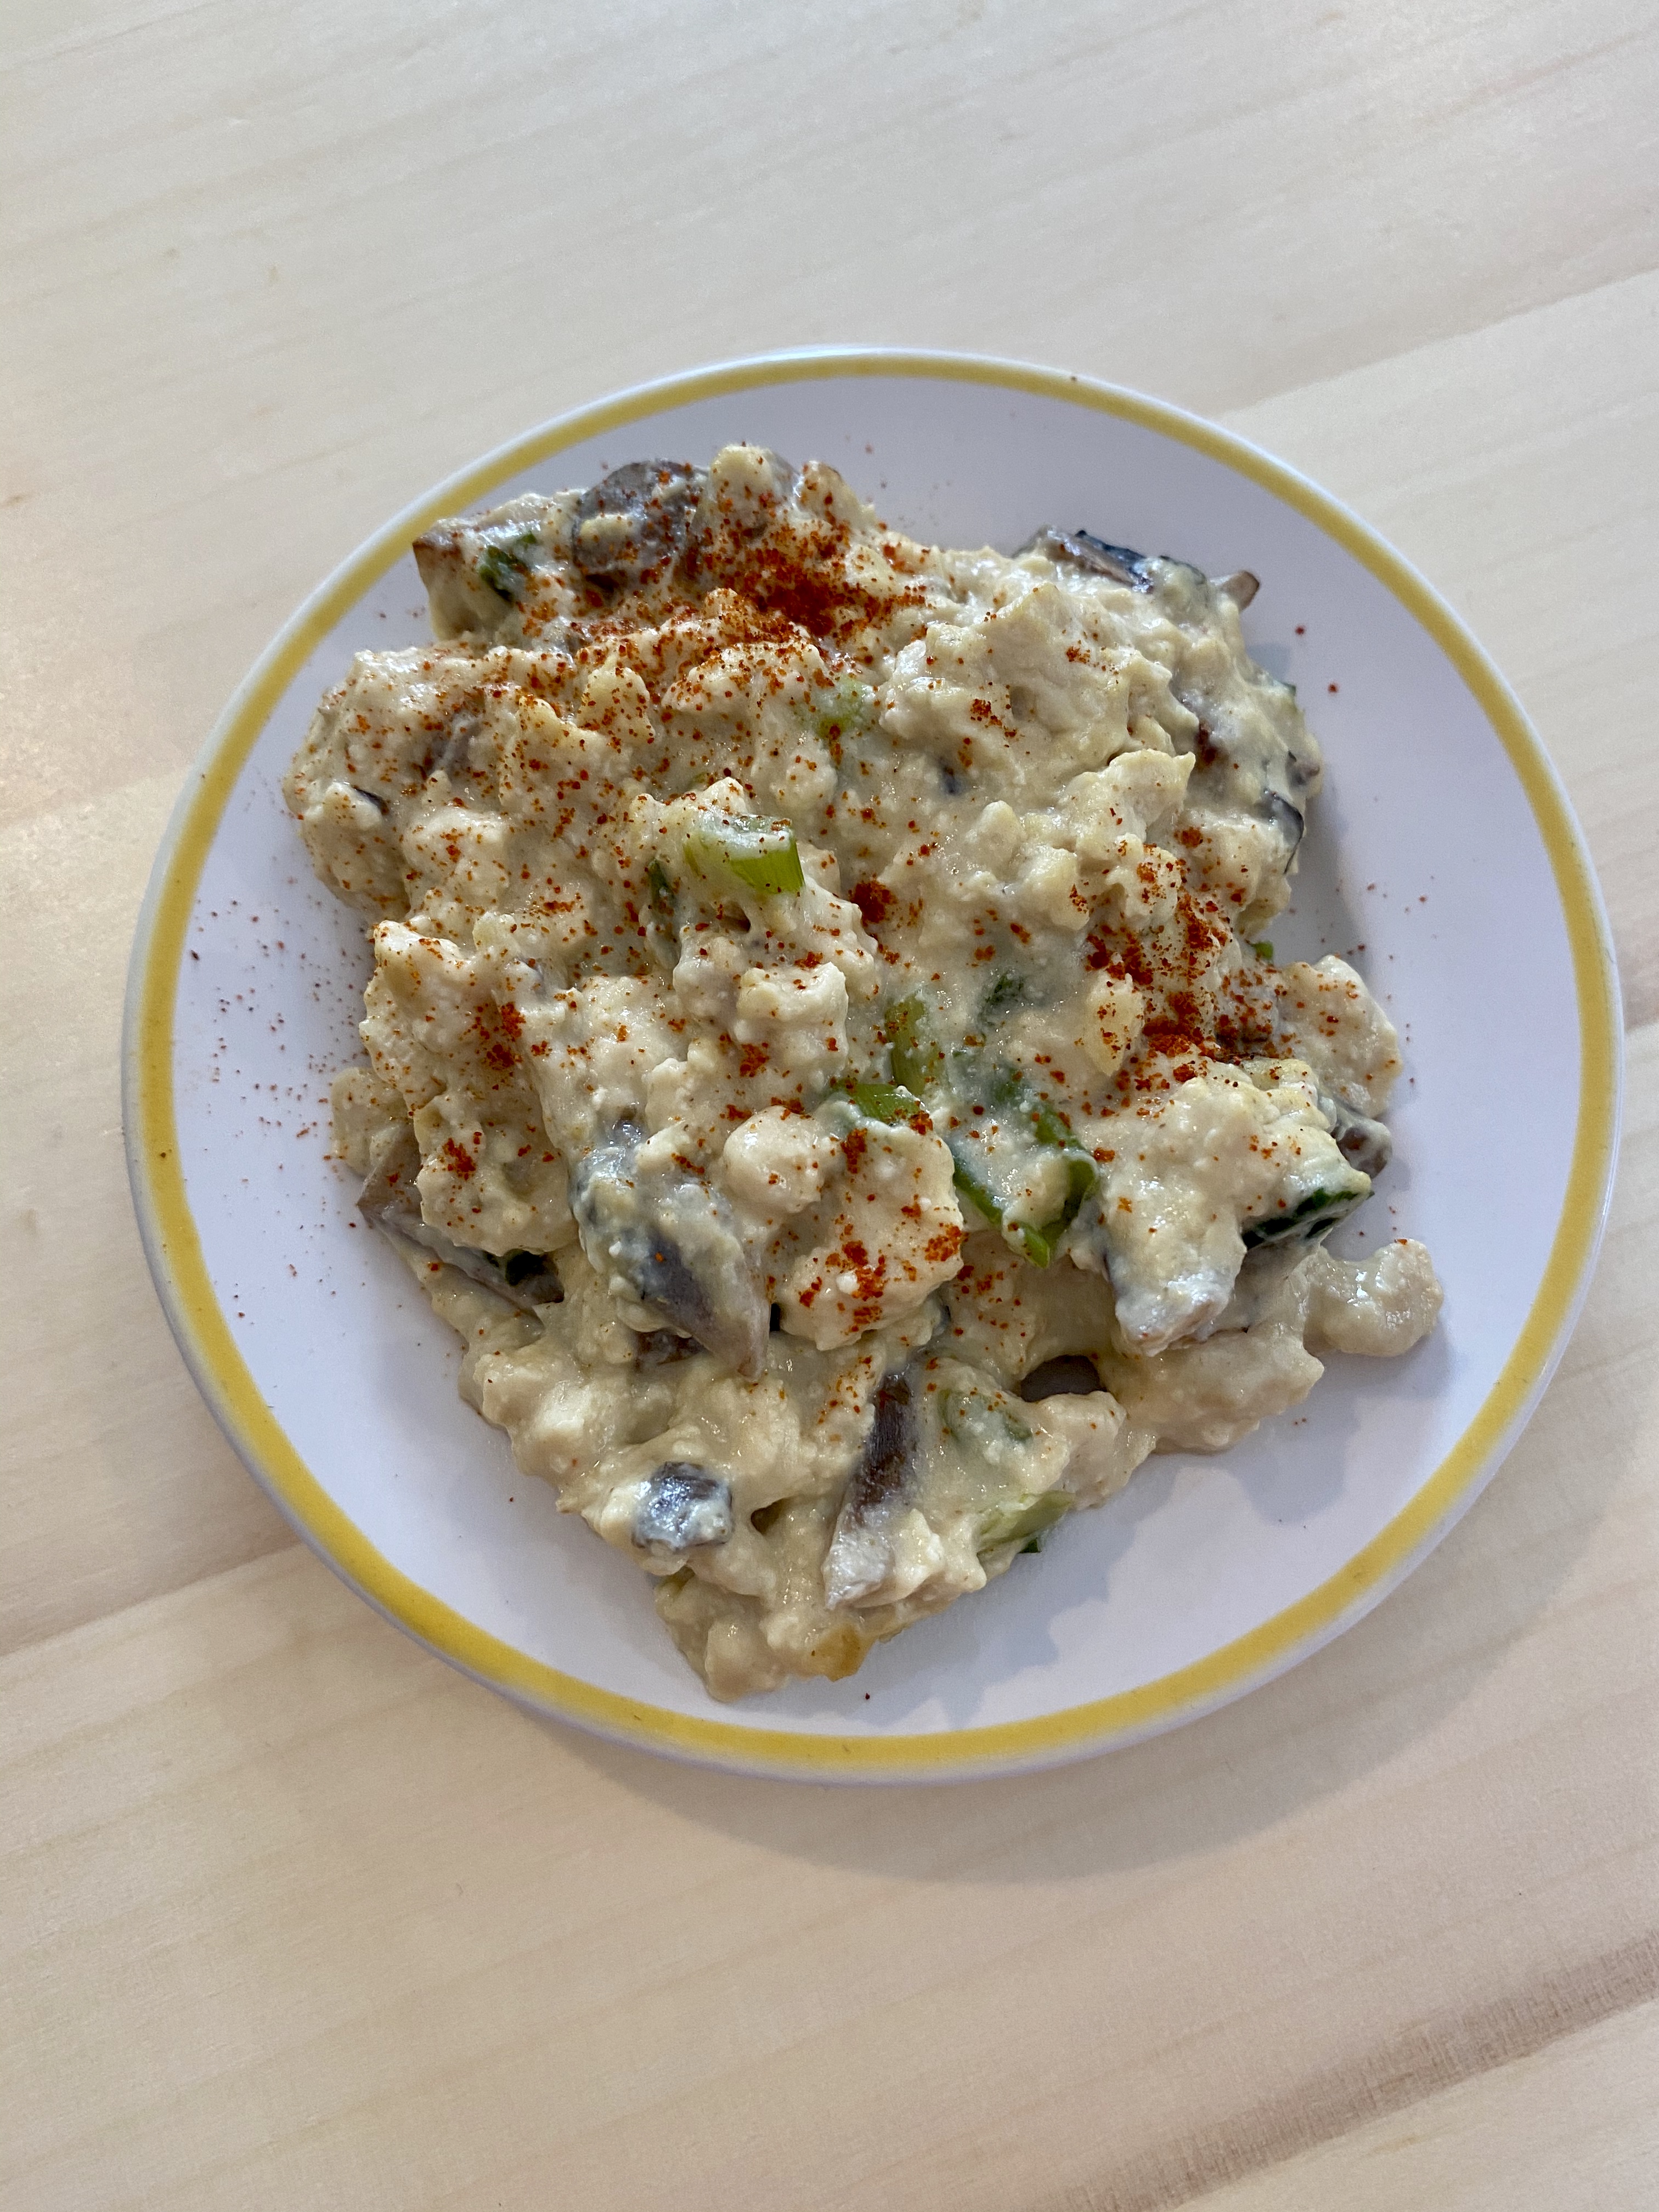
Vegan Scrambled Eggs with Mushroom and Scallions (oil-free)

Vegan Scrambled Eggs with Mushroom and Scallions
Vegan Scrambled Eggs with Mushroom and Scallions (oil-free), via Eat the Vegan Rainbow

Do you eat breakfast every day? Many consider breakfast essential – a meal that can’t be skipped no matter what. I personally ebb and flow on this. When I was younger I could not imagine starting a day without a solid meal. Nowadays, breakfast may or may not happen, and it may or may not happen at different times after I wake up. Very often, it is a quick piece of fruit, a banana, apple, or (one of my weird favorites) roasted sweet potato, or my attempt to dethrone avocado toast – the banana toast (huh, you didn’t see that one coming, did you?)

I blame my busy morning for this state of the affairs, so when I do have a chance I try to make breakfast a bit more substantial. Often that means some sort of doughie concoction like muffins, pancakes, crêpes, waffles, scones, or even popovers and I enjoy making them as they are real crowd pleasers. But, I personally prefer a savory breakfast when I have a choice, like a breakfast taco, or something like these soy-free scrambled eggs.

Few days ago I made another version of scrambled eggs (not soy-free), which I am very proud of. The recipe uses tofu, so if you are trying to minimize soy intake for whatever reason, you can refer back to soy-free scrambled egg recipe for instructions on how to make the “egg” base, and combine with the rest of the recipe below.

The recipe is really simple. You will need a blender to create a very smooth mix of silken tofu and arrowroot powder (or starch) that will serve as binder for the scramble, but that’s the only specialized equipment you need here. All the rest you can do by hand.

There are two optional ingredients below – black salt or kala namak and smoked paprika. Black salt is salt that has traces of sulfur containing salts which give it a sulfurous smell, a smell of eggs. I usually skip this, but you may want to experiment with small amounts and see whether you like it or not. For a smokey aroma, I recommend using a small pinch of smoked paprika just before serving. If you prefer to add some heat, you can replace with a pinch of chipotle powder or a drizzle of hot hot sauce, like tabasco.

Vegan Scrambled Eggs with Mushroom and Scallions (oil-free)

What you’ll need:

  • 4-5 scallions (green onions), white parts and green parts, finely sliced
  • 5-6 mushrooms (white or cremini), whole, sliced (I prefer slicing them finely)
  • 1 box (10 oz, 300 g) silken tofu
  • 1/4 cup nutritional yeast
  • 1 tablespoon arrowroot powder (or tapioca starch or any other starch you have on hand)
  • 1/2 lemon, just the juice
  • 1 teaspoon garlic powder
  • 1 teaspoon onion powder
  • 1 teaspoon cumin powder
  • 1 box (14 oz, 400 g) extra firm tofu, drained and crumbled
  • (Optional) pinch of black salt
  • (Optional) pinch of smoked paprika for serving (or chipotle powder for more heat)
  • (Optional) tabasco sauce, drop or two


What you’ll do:

  1. Sauté scallions and mushrooms in a dry pan over medium-high heat, stirring frequently and adding a tablespoon of water at a time as needed to prevent food from sticking to the bottom of the pan. You can use oil if you like – 1 tablespoon should be sufficient here.
  2. While scallions and mushrooms are cooking, place silken tofu and the rest of the ingredients except a block of extra firm tofu, into a blender and blend until smooth.
  3. Once they are done cooking, push mushrooms and scallions to the side of the pan and poor in the silken tofu mix. Deglaze the bottom of the pan, then add the extra firm tofu crumbles, and mix well to incorporate all the ingredients.
  4. Increase the heat to high, and let the mix start to bubble. Mix well to prevent burning, and cook for 3-4 minutes. Serve hot with an optional pinch of black salt, sprinkle of smoked paprika, chipotle powder or hot sauce. A piece of toast and some black coffee would go well with this scramble, too!
Copyright © Eat the Vegan Rainbow, 2020

Stuffed Cornbread with Kale, Artichoke Hearts, and Sun Dried Tomatoes

Stuffed Cornbread with Kale, Artichoke Hearts, and Sun Dried Tomatoes, via Eat the Vegan Rainbow

I love cornbread – not the sweet stuff from the southern states of US of A, but the rustic savory kind of the Southern Europe. And I think you will love it too!

I recently shared a recipe for basic gluten-free cornbread, which I hope you tried, especially as a side for a nice pot of bean chili. This, on the other hand, is not your basic cornbread and it’s not gluten free, so make a note of that if you need to (I offer advice on how to make it gluten-free if you need to below).

This cornbread is a bit inspired by lasagna, and a bit inspired by lovely summer produce and flavors. With a bit of freshly grated vegan Parmesan or a dollop of vegan sour cream, and a side salad this can be your lunch or a light dinner! Or: you can serve this as appetizer bites at your next party when freshly baked and warm!!!

The key to this recipe are three layers that make the stuffing: sautéd kale layer, topped with sliced artichoke hearts layer, topped with sun dried tomatoes layer! Doesn’t this just make your mouth water?

The cornbread better is a mix of three flours: semolina (wheat flour; you can use all purpose white flour or all purpose gluten-free flour as well), fine corn meal and chickpea flour (or other bean-based flour like mung bean flour, or soy bean flour, for extra protein). What helps the bread rise is a mix of baking powder, baking soda and lemon juice, with added acidity giving an extra leavening boost.

The recipe is a bit labor intensive as I don’t recommend using raw kale, and advise getting your kale cooked all the way beforehand. Depending on how “mature” your kale is, this could take anywhere between 10 minutes if working with baby kale to 20 minutes if working with really old kale.

Additionally, I recommend that you soak the sun dried tomatoes in some hot water, to spruce them up a bit. If you are using sun dried tomatoes stored in olive oil, please skip this step and make sure the tomatoes have been well drained to remove excess oil. Better still, use the excess oil to sauté the kale and infuse it with more of that great tomato flavor!

Enjoy!!!

Stuffed Cornbread with Kale, Artichoke Hearts and Sun Dried Tomatoes

What you’ll need:

  • 1 bunch kale (about 1 lbs or 450g), de-stemmed, and finely chopped
  • 1 yellow onion, finely diced
  • 3-4 cloves garlic, thinly sliced
  • 6 oz sun dried tomatoes
  • 1 15 oz can artichoke hearts
  • 1 cup fine corn meal
  • 1 cup semolina flour (or all purpose flour, or all purpose gluten-free flour for a gluten-free version)
  • 1 cup chickpea flour (or other bean flour)
  • 2 teaspoons baking powder
  • 1 teaspoon baking soda
  • Juice of 1 lemon
  • 2 tablespoons olive oil, plus some for greasing the baking dish
  • 2 to 2 1/2 cups water

What you’ll do:

  1. Preheat the oven to 350 F (175 C).
  2. If using sun dried tomatoes that are dry, I recommend that you reconstitute them by soaking them in boiling water for 10-15 minutes. If you are using sub dried tomatoes in olive oil, please skip this step.
  3. Heat the olive oil over medium heat in a very large frying pan, or a wok. This will take 30 seconds or so. Add diced onion and sauté for 4-5 minutes, until soft and golden. Add the garlic and sauté for another minute.
  4. When garlic begins to bloom and develop the aroma, add chopped kale. The volume of a bunch of kale may seem like a lot, but it will cook down. If you are having difficulty fitting all the kale in at once, add in batches. Sauté kale until fully cooked, which will take about 10-15 minutes. You may need to add a tablespoon of water to keep kale from sticking to the pan, so stir frequently and keep an eye to prevent burning.
  5. While the kale is cooking, drain and rinse the artichoke hearts. Shake off the excess water, and slice thinly. Set aside.
  6. Drain the sun dried tomatoes either from the water they were soaking in or from the oil they are stored under. Slice them thinly and set aside.
  7. In a large mixing bowl combine cornmeal, the flours, baking soda and baking powder. In a separate container mix two cups of water with lemon juice then pour into the flour mix. Use a spatula or a wooden spoon to mix well. Add more water if needed. Depending on how fine your corn meal is (there is some variability between brands) you may need more than 2 cups of water to make a smooth, yet thick batter. Your batter should be pourable but not runny. If you run a spoon through it, it should come apart with ease.
  8. Grease the bottom and sides of a 9 x 13 in (23 x 33 cm) baking dish with some oil. Pour in half of your batter and spread evenly. Top with sautéd kale that you drained from access liquid, then top with sliced artichoke hearts, then with sliced sun dried tomatoes. Finally, pour over the rest of the batter, smooth the top and place in the oven for 30 minutes.
  9. Increase the temperature to 425 F (220 C), and bake for another 10 minutes.
  10. Take the stuffed corn bread out and let it rest for 10-15 minutes before serving. Serve as an appetizer or as a really wonderful side dish with your main course. I also enjoy it for breakfast, with some grated cheese, or as lunch with a side salad and some yogurt. Yummy!
Copyright © Eat the Vegan Rainbow, 2019

Gluten-free and Oil-free Pumpkin Cookies

Gluten-free Pumpkin Cookies
Gluten-free Pumpkin Cookies, via Eat the Vegan Rainbow

Looking for something easy and healthy to make for the holidays? Look no further than these super simple and super healthy cookies. They are full of pumpkin – and we all know that this is the pumpkin season – and are completely and naturally gluten-free. The combination of oats, coconut flour and almond flour does not really need backing and you could mix them all together, let the mix stand, and form the cookies as is. So, if you are into raw food, or minimally processed food this could be a path you take.

Baking the cookies does enhance the flavors, and that’s worth keeping this in mind. Baking also makes all the spices develop and merge. A combination of cinnamon, ginger and cardamom really blooms when heated up! At the end, baking the cookies will give you a more aromatic kitchen and platter.

What will also enhance the flavors is roasting your own pumpkin. (So, I guess not everything will be as a raw as possible since I am not sure you can use raw pumpkin – I have never tried and I am not even sure that it can be done!). Roasting the pumpkin is super easy – you don’t even need to peel it, just slice it in half, scoop out the seeds and place the pumpkin halves on a baking sheet, cut side down and roast at 425 F (220 C) for 45 minutes or so. It also helps to line the baking sheet with some foil or parchment paper – this helps the roasting and the clean up!

After the pumpkin is roasted, all you need to do is scoop the flash and purée, either in a food processor or using a masher. Food processor will make everything much smoother, but if you prefer your a more rustic pumpkin hands or a masher will do.

Enjoy!


Gluten-free and Oil-free Pumpkin Cookies

What you’ll need:

  • 1 15 oz (425 g) can pure pumpkin (not pumpkin pie filling) or 15 oz (425 g) roasted sugar pumpkin, puréed
  • 1 cup old fashioned oats
  • 1/2 cup coconut flour
  • 1/2 cup almond flour
  • 1/4 cup sugar (or solid sweetener of your choice)
  • 2 teaspoons cinnamon
  • 1 teaspoon cardamom
  • 1/2 teaspoon ginger
  • Optional: 1/4 cup maple syrup, for brushing

What you’ll do:

  1. Preheat the oven to 350 F (175 C).
  2. Combine all the ingredients in a large food processor. If you don’t have a food processor that’s large enough, you can either process in batches or process pumpkin and oats well and then just mix in the rest of the ingredients (except the optional maple syrup) by hand.
  3. Line a large cookie sheet with parchment paper.
  4. Use an ice cream scoop to measure out the amount for each cookie, than form a round and flat shape and place on the parchment paper. This amount of batter should yield about 12-14 cookies.
  5. Cross-hatch the surface of each cookie.
  6. Bake for 18-23 minutes. Cookies will be lightly browned but stay soft.
  7. Let the cookies cool for 15-20 minutes before brushing with maple syrup. You could skip this step, but why would you want to do that? Enjoy!

Copyright © Eat the Vegan Rainbow, 2019

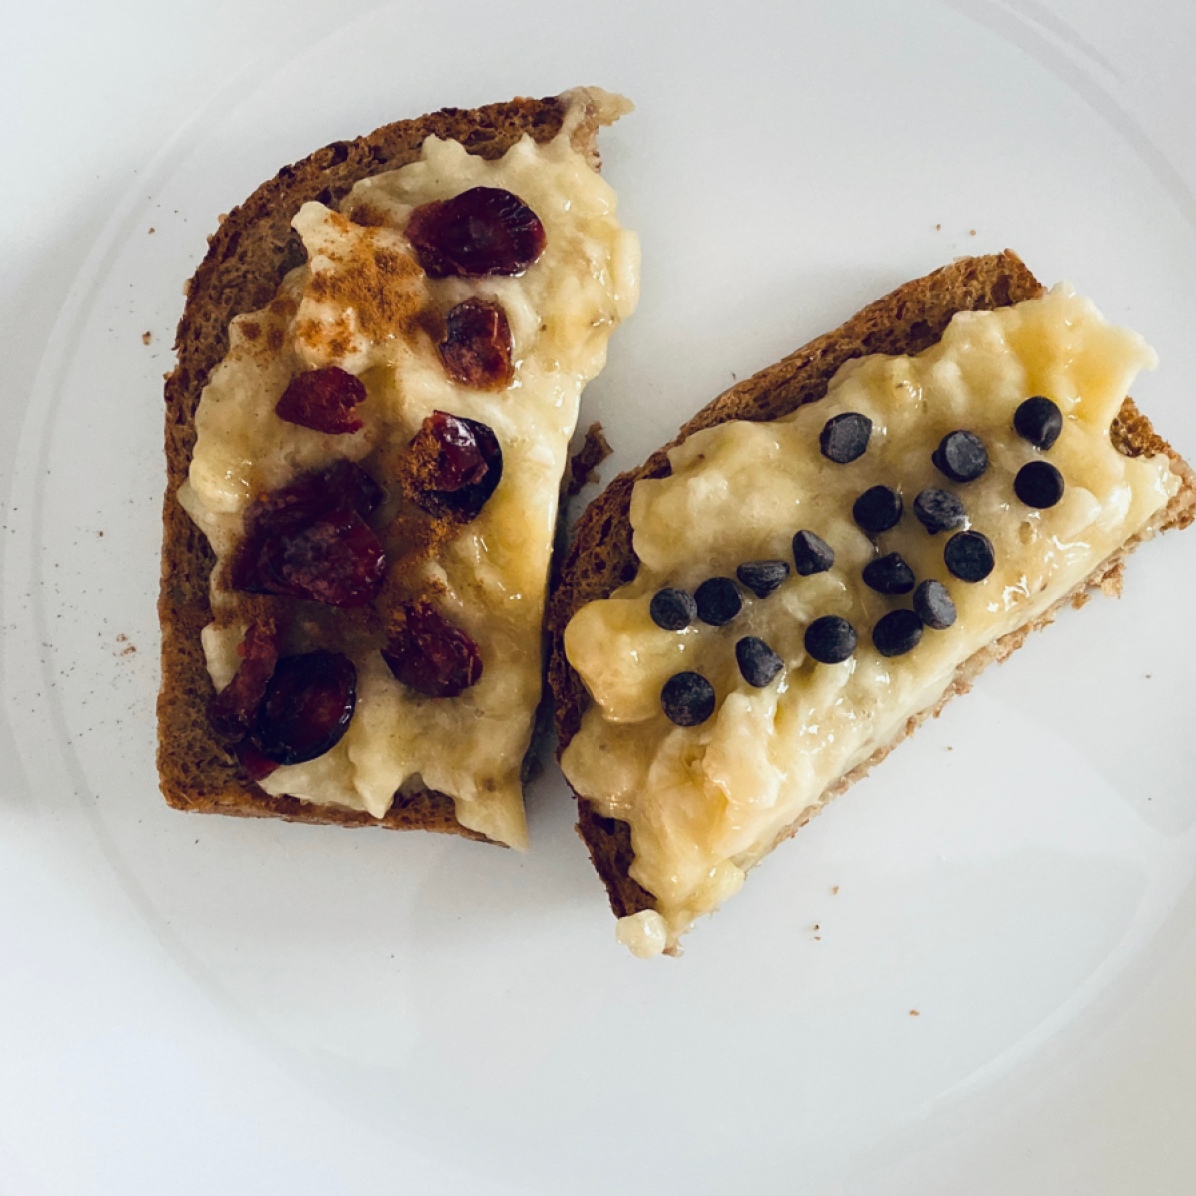
Banana Toast – Just for Fun

Banana Toast via Eat the Vegan Rainbow
Banana Toast, via Eat the Vegan Rainbow

Perhaps you can’t get enough of Avocado Toast, or perhaps you are just fed up with all the hype! Perhaps you view it as a generational thing, given how much grief millennials have been getting about it.

I happen to think Avocado Toast is delicious, especially when topped with some tomatoes and basil (see here for some great variation on this theme). but avocados don’t come cheap. They are one of the pricier produce out there, and it seems that they are not the best choice environmentally speaking either.

So, to offer an alternative to the Avocado Toast craze, I offer you Banana Toast! Cheaper than chips and easy to make. Plus, unlike Avocado Toast that may not work with things like chocolate chips, Banana Toast is friends with chocolate, cinnamon, raisins, craisins, coconut flakes, different protein powders (if you like to mix them in with the banana) and all that good stuff!

All you need is a good piece of bread – I love sprouted kinds – and a fork to mush that banana. Spread the love and accessorize!

Banana Toast

1 SERVING

What you’ll need:

  • 1 banana
  • 2 pieces of bread (whole grain and/or sprouted recommended)
  • Optional: any topping of your choosing (raisins, craisins, chocolate chips, cinnamon, coconut flakes, brown sugar,…)


What you’ll do:

  1. Toast the bread.
  2. While bread is toasting, mash the banana with the fork until well mashed.
  3. Spread the mashed banana over the toast, and top with any topping of your choice and enjoy!

Copyright © Eat the Vegan Rainbow, 2019


Homemade Nut and Seed Granola

Homemade Nut and Seed Granola
Homemade Nut and Seed Granola, via Eat the Vegan Rainbow

There are so many granolas out there. And there are ready made ones that you can get from the store. So, why should you ever bother making granola at home?

Well, I bet it is sometimes hard to find the perfect granola – some may be too sweet, some may include things you don’t like, some may have flavoring agents (spices) that you can’t stand or that overpower your palate. So, what I am getting at here is that knowing how to make granola comes in handy – you can use the same technique and just switch ingredients in and out as you please.

For example, I am not a huge lover of dried fruit in my granola so I made this batch with nuts and seeds. If you are allergic, you can make granola entirely out of nuts and still get a great snack/breakfast item.

Also: you are in complete control of the sugar levels. In many cases, store bought granola mixes are just to sweet. Making your own allows you to dial sugar up or down – recommend using a syrup: agave or maple or even stevia or molasses. You do need something sticky that will serve as a glue to bind all the ingredients together. Here, I used agave syrup, and 1/3 of a cup, although it does not sound like much, is plenty.

Now, when it comes to preparation, you will need a parchment paper-lined baking sheet (or two). The first step is getting the granola spread out as much as possible. It is nice to have clusters, so don’t break every cluster apart, but you do want to make sure that you are leaving plenty of space between clusters so that they get a chance to brown and crisp up on all sides. If you discover that a single baking sheet can’t hold the entire amount you get using the measures below, use two sheets. The main trick here is to start low and slow, and “dehydrate” the granola at 200 F (which is just about 100 C) for an hour or two.

However, in order to get the final, toasted crunchiness you do need to increase the heat to 425 F (220 C) or higher. This second step takes only 5-10 minutes, and you do need to stay put and check how things are going every minute or two. It’s important to keep stirring the granola, move pieces around, and flip them over. This will prevent the burning, yet let the toasty flavors develop.

You can keep the granola in the air tight container for a week, and it will keep. You can bring it along to hikes, or have on hand as a quick snack. You can certainly enjoy it for breakfast. Putting a bit of yogurt (preferably unsweetened because granola does contain added sugar) in a small jar, and topping it with fresh fruit or a fruit compote, and some granola is all you need to get going in the morning. Closed with a tight lid, these jars can go right into your bag and come along as you rush out of house. They can also be a great mid-afternoon pick-me-up.

I admit that I sometimes go a bit crazy and add granola into my oatmeal – it is indulgent but once in a while I think it’s OK. Enjoy!


Homemade Nut and Seed Granola

What you’ll need:

  • 1/3 cup almonds
  • 1/3 cup buckwheat
  • 1/3 cup flax seed
  • 1/3 cup unsweetened coconut flakes
  • 1/3 cup sunflower seed
  • 1/3 cup pumpkin seed
  • 1/3 cup rolled oats
  • 1/3 cup hemp seeds (hulled)
  • 1/3 cup agave syrup (maple syrup or other liquid sweetener of your choice)
SERVING SUGGESTIONS
  • 1/2 cup plain plant-based yogurt
  • 1/2 cup fresh fruit (like blackberries pictured above)

What you’ll do:

  1. Preheat the oven to 200 – 210 F (about 100 C).
  2. Place the almonds into the food processor and process 4-5 times, until roughly chopped.
  3. Add the next 6 ingredients (all except hemp seeds and agave syrup) and process for another 4-5 times. You want everything to be chopped finely but not turned into a meal or flour.
  4. Pour everything into a large mixing bowl, add hemp seed and the syrup and mix well to combine. Make sure that the syrup covers everything evenly.
  5. Line a large baking sheet with parchment paper. Spread the granola evenly in a single layer of well separated clusters. Place into the oven on low heat for an hour.
  6. After an hour at low heat, increase the heat to 425 F (220 C) and toast the granola for another 5-8 minutes. Make sure you check on your granola every minute and mix each time to allow every nook and cranny to get toasted. CAUTION: you do need to baby sit this part because your granola will easily burn!!!
  7. Once nicely toasted, take the granola out and let it cool completely before using. You can use it as a dry snack, or with some milk for breakfast. My favorite is topping a bit of yogurt with a homemade berry syrup and granola – yummy!

Copyright © Eat the Vegan Rainbow, 2019

Breakfast Tacos with Tex-Mex Scrambled Tofu

Breakfast Tacos with Tex-Mex Scrambled Tofu
Breakfast Tacos with Tex-Mex Scrambled Tofu, via Eat the Vegan Rainbow

Quite frankly, I go back and forth on breakfast. Sometimes I am 100% behind the notion that breakfast is the most important meal of the day. And sometimes I get into skipping meals until lunch or later.

At the moment, I am eating mostly raw, and mostly fruit until dinner time (around 5PM) and then have a cooked meal during the work week. But on the weekend, I still enjoy a spot of brunch.

These breakfast tacos are an example of great brunch (weekend breakfast) recipe, when you have a bit more time to put something awesome on your plate. Actually, these tacos could work as lunch or dinner as well – they are rich, with tofu, beans, and corn, and they can be customized with a range of toppings like salsa, sour cream, cheese, and guacamole. Actually, chopped tomatoes, cilantro and a squeeze of lime would work just as well!

Note that if you are looking for something that will taste like an egg, this is not it. Thus scramble is yummy but it is not meant to be egg-like. It stands on its own! For a more egg-like scramble you can try Just Egg – it’s good but it’s not cheap – or my recipe for a vegan scramble.

And to make your brunch a real feast, you can add a side of waffles or pancakes – here I have couple of different recipes such as snickerdoodle pancakes (gluten-free and full of cinnamon) and sweet potato pancakes (gluten-free)!!!

Enjoy!

Breakfast Tacos with Tex-Mex Scrambled Tofu

What you’ll need:

  • 14 oz (400 g) extra firm tofu, drained and crumbled
  • 4-6 scallions, finely chopped, white and green pieces
  • 2 teaspoons chili powder
  • 1 teaspoon cumin powder
  • 1 cup corn kernels (frozen but fully thawed, fresh or canned)
  • 1 15.5 oz (440 g) can, pinto beans (or black beans)
  • Cooking spray or 1 tablespoon olive oil
  • 8-10 corn tortillas or 4 large burrito wraps, for serving
  • Optional: fresh cilantro, chopped 
  • Optional: salsa, chopped avocado, chopped tomato, sour cream

What you’ll do:

  1. Drain the block of tofu and place it into a colander to continue draining while you prepare the scallions.
  2. Place a large skillet over the medium high hear, add cooking spray or oil, and add the scallions. Sauté scallions for 3-5 minutes.
  3. While scallions are browning, move the block of tofu into a larger mixing bowl and, using a fork, crumble the tofu into smaller pieces about  the size of scrabbled milk pieces.
  4. Add the tofu to scallions. Mix well, add the spices (chili powder and cumin), and scramble everything together.
  5. Add the corn and the beans. If you are using frozen corn and you don’t have time to thaw it, add the corn first, mix well, sauté for 5 minutes then add the beans and sauté for another 3-5 minutes. I do recommend that you thaw your corn first, as it will save you some cooking time.
  6. Warm tortillas in a microwave for 30 seconds, then top with the scramble and any other toppings you enjoy. I like chopped cilantro and finely diced tomatoes!

Copyright © Eat the Vegan Rainbow, 2019