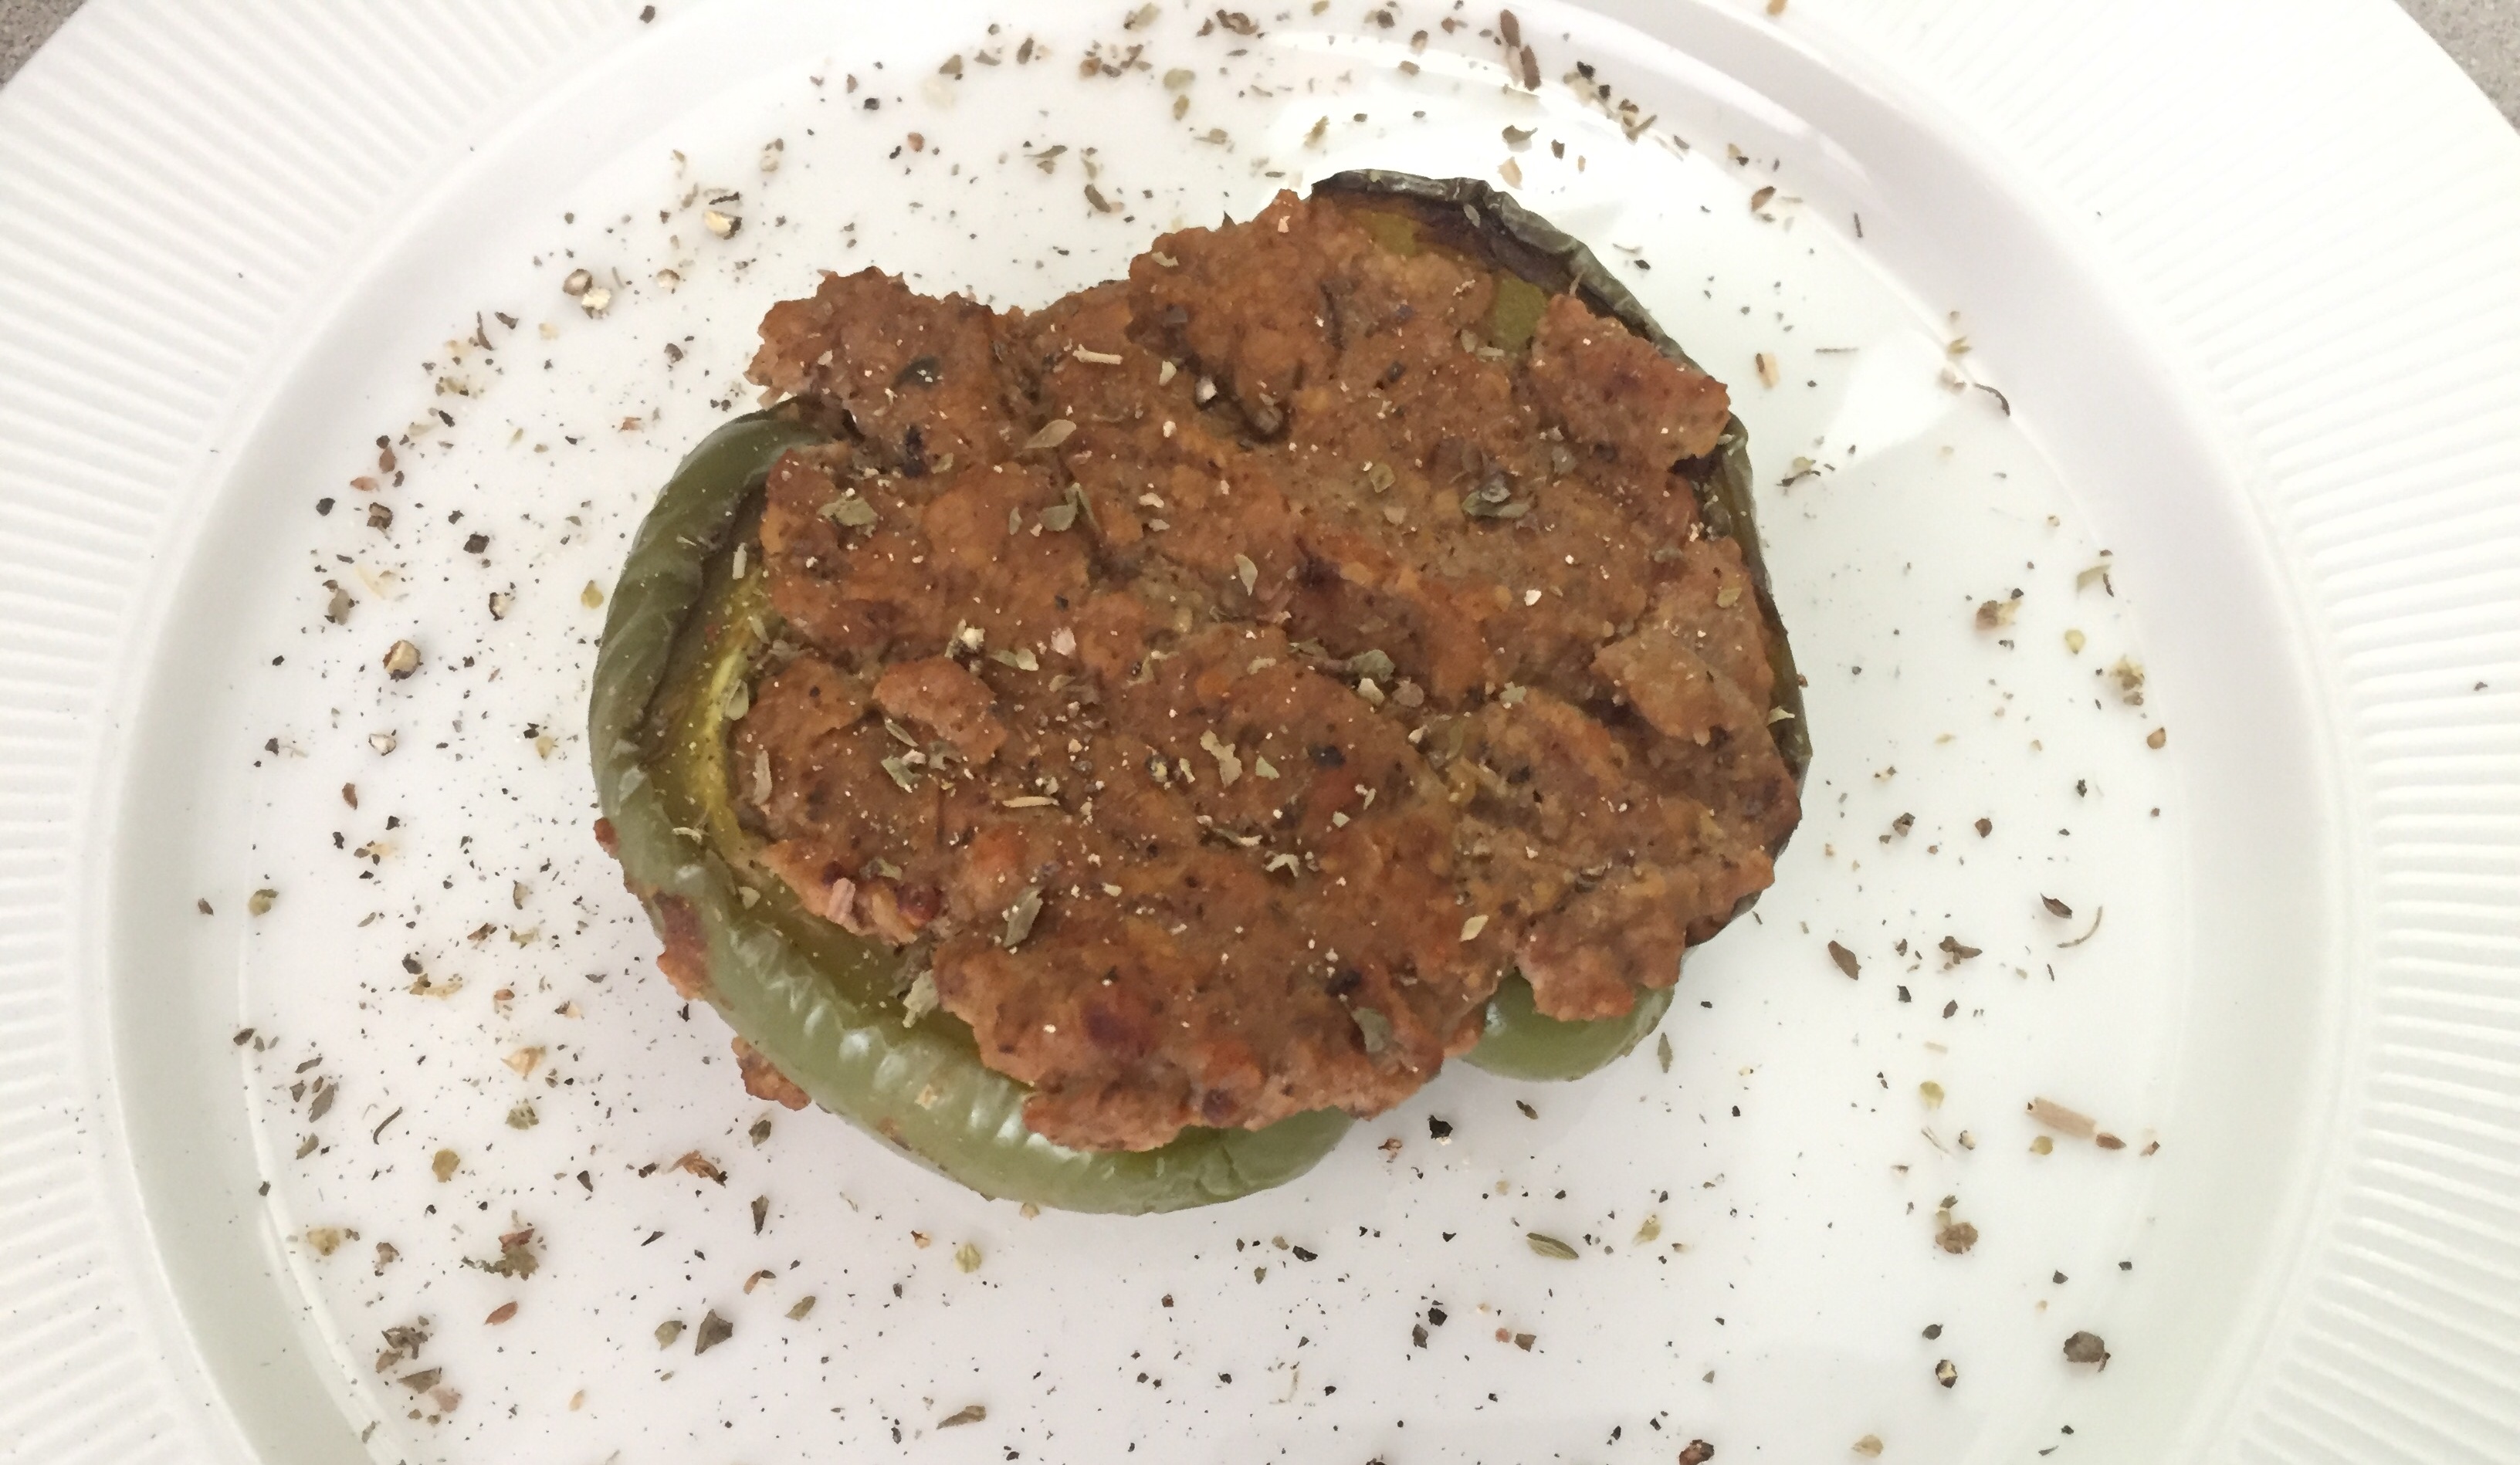
Give these stuffed peppers a try – they are easy and simple to make, and very satisfying. I can’t promise that the youngsters in your live will will be thrilled with them, but I hope you’

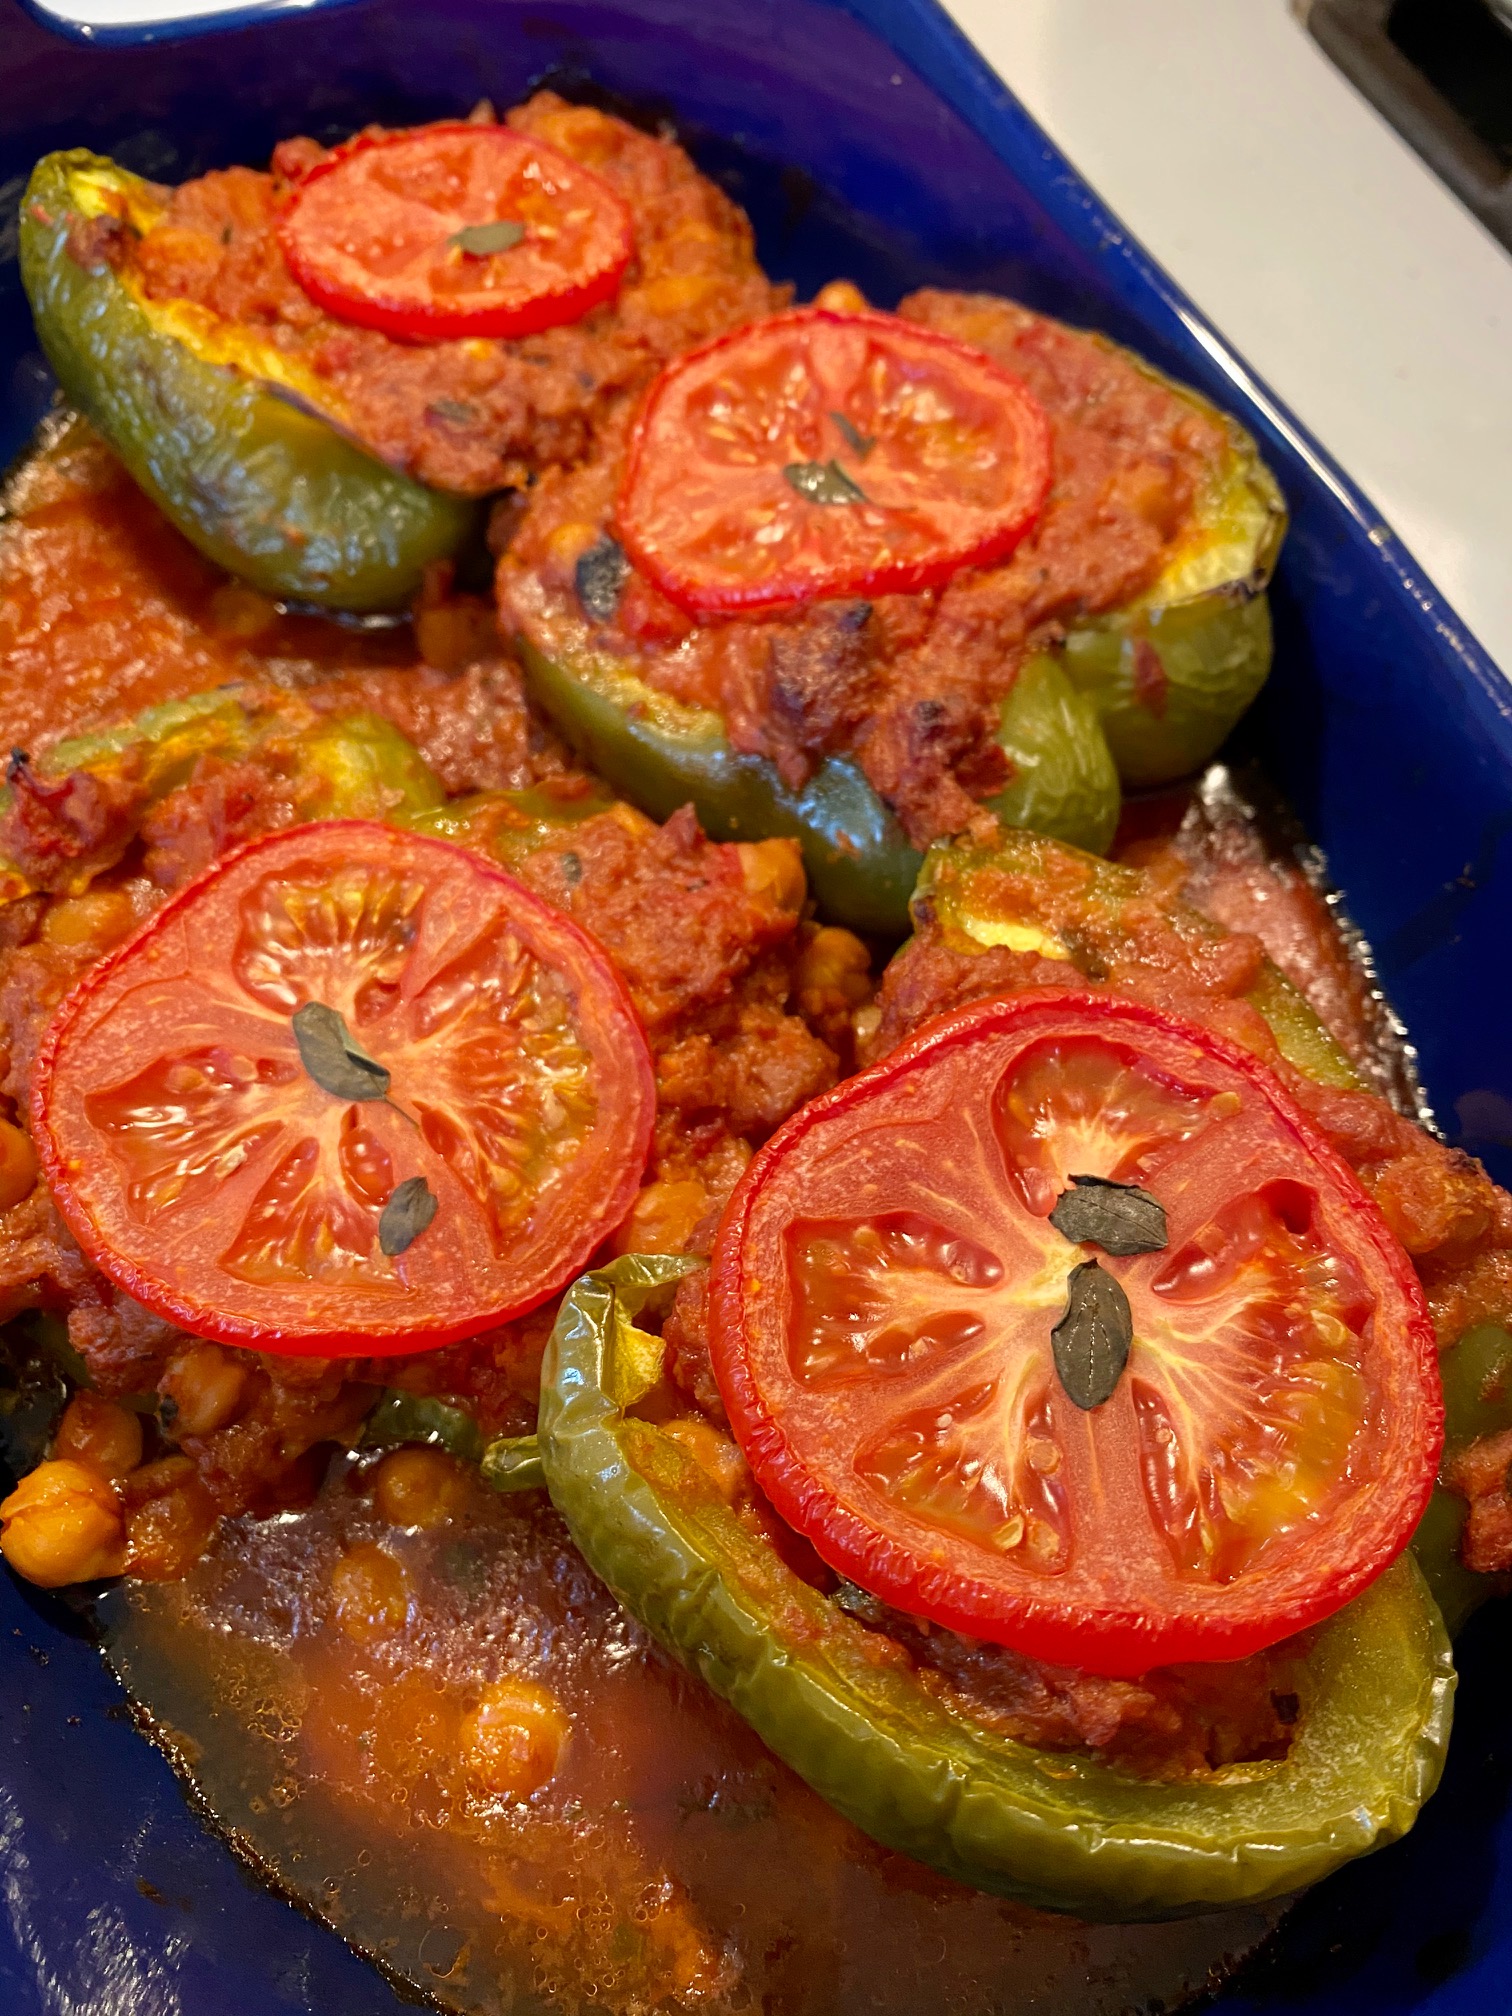


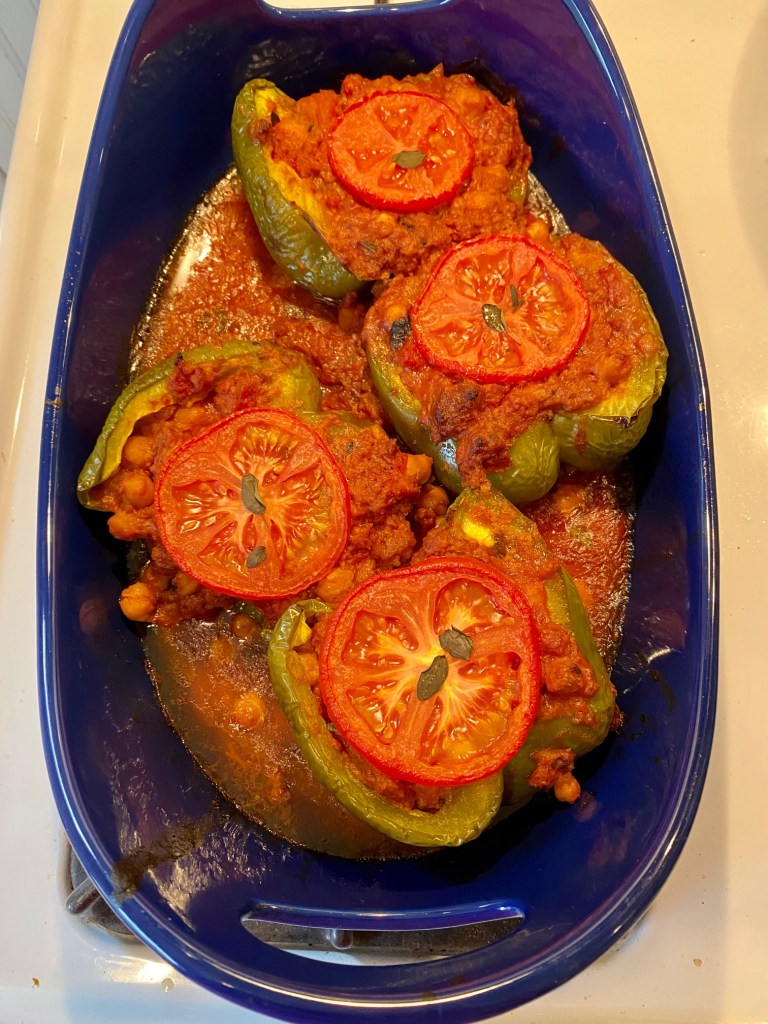
Ground “Beef” and Chickpea Stuffed Peppers
(serves 2-4)
What you’ll need:
2 large stuffing peppers, split lengthwise, seeds removed
1/2 lbs (225 g) ground beef substitute (store bought or home made)
2 tablespoons tomato paste
1 14.5 oz (411 g) can stewed tomatoes (or diced tomatoes)
1 14.5 oz (411 g) can chickpeas
2 teaspoons fresh, finely chopped (or 1 teaspoon dried) oregano
2 teaspoon fresh, finely chopped (or 1 teaspoon dried) basil
2 tablespoons olive oil, divided
1/2 cup water
Optional: fresh tomato slices for topping.
What you’ll do:
- Preheat the oven to 425 F (220 C).
- Wash the peppers and split them lengthwise. Remove the seeds and devein the halves, then place in the oven safe baking dish, cut side down. Roast for 10-15 minutes until soft. Edges will be slightly browned. Take out of the oven and let cool just slightly to allow you to handle them.
- Lower the heat in the oven to 375 F (190 C).
- While the peppers are roasting, place a large pan (cast iron pan preferred but not required) over the medium high heat. Add the oil and the ground beef substitute. Brown the “beef” for 8-10 minutes.
- When the “beef” is browned, add the tomato paste, stewed tomatoes, and the chickpeas. Mix well, lower the heat to medium-low and sauté for another 5-10 minutes.
- Turn the heat off, then add the chopped oregano and basil, and mix well.
- Flip the roasted peppers over, and fill them generously with the ground “beef” and chickpea stuffing. Add any leftover stuffing and the water to the bottom of the baking dish.
- Optional: top each pepper with a slice of fresh tomato and perhaps a fresh oregano and/or basil.
- Optional: drizzle olive oil on top.
- Place the peppers back into a 375 F (190 C) oven and bake for 30-40 minutes, or until the peppers are softened and the top of the stuffing is nice and deeply browned.
- Take the stuffed peppers out, let them rest for 10 minutes before serving with your favorite salad, maybe some freshly baked bread, a dollop of sour cream or yogurt… Enjoy!
COPYRIGHT © EAT THE VEGAN RAINBOW, 2020