It’s early July, and here in New England (which is, for those of you who hail from across the globe, a name for the Northeastern-most part of the United States that includes six states: Rhode Island, Connecticut, Massachusetts, New Hampshire, Maine, and Vermont) the farm activities are in full swing. The greater Boston area is brimming with farms of different size and produce selection. For example, we went cherry picking on July 4th, and ended up with an amazing selection of cherries. We ate a lot, shared some with neighbors, and washed, pitted and froze the rest. In this way, the frozen cherries are ready for smoothies, sauces or pies later in the year.
What’s in this week’s CSA basket?
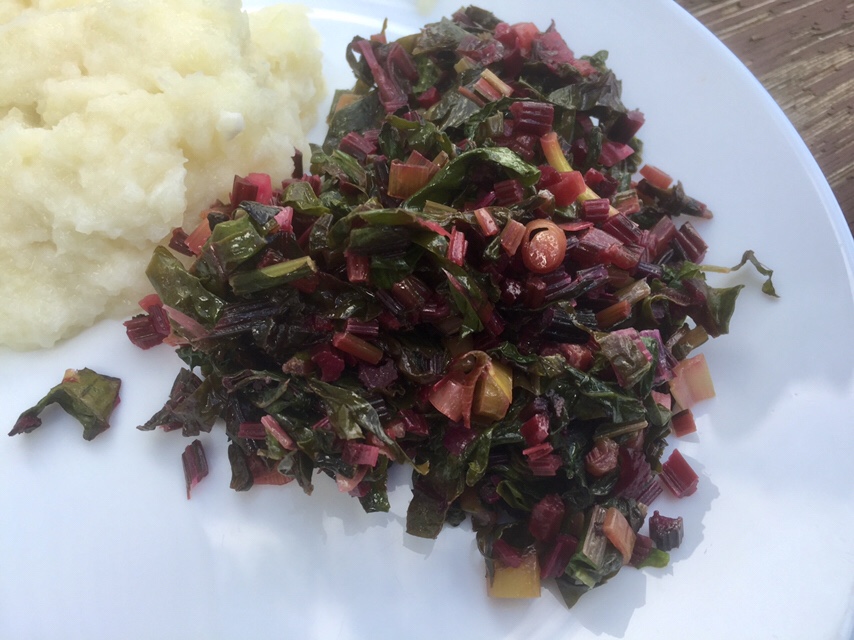
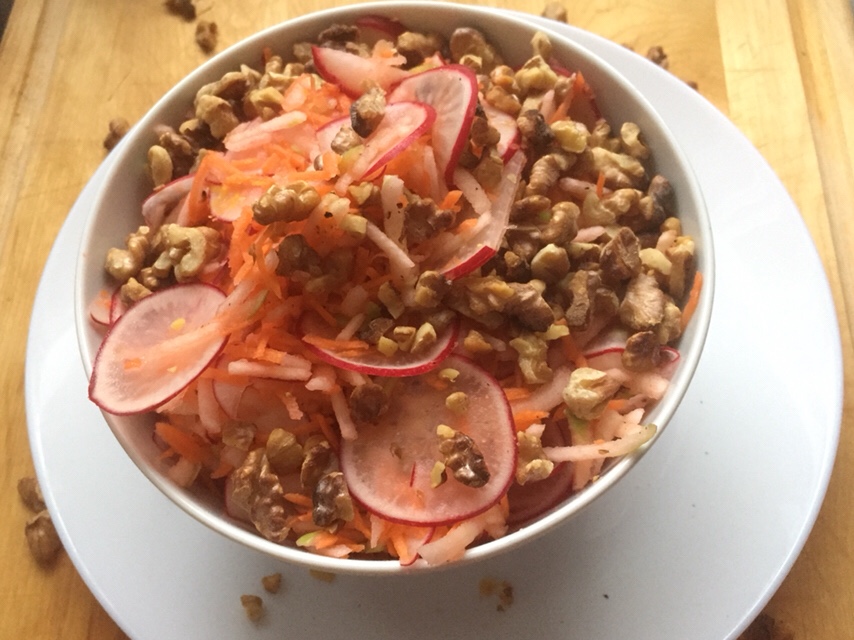
At our local farm where we get our CSA (Community Supported Agriculture) share the Upswing Farm, the vegetables this week included beets, like it did last week (and I shared about how to pan roast beets and sauté the beet greens few days ago), carrots, zucchini, squash, cucumbers, yellow and green, cilantro, fennel, and so on and so forth. It was a really great week!
Beets are versatile!
If you are skeptical about beets, don’t be – they are versatile! Yes, you may think that I am saying that because I an Eastern European and there is a bit of a beet culture on the Balkans, but beets really can work in many different ways. In addition to the two recipes I shared last week, beets can be made into a hummus (yummy), used as a salad, sandwich or a veggie burger topping, and also made into tasty burgers (see here, and here for some great beet burger recipes to try). And they are an essential, as in not-to-be-skipped-under-any-circumstance, ingredient for fabulous BBQ ribs, either those made with wheat gluten or gluten-free.
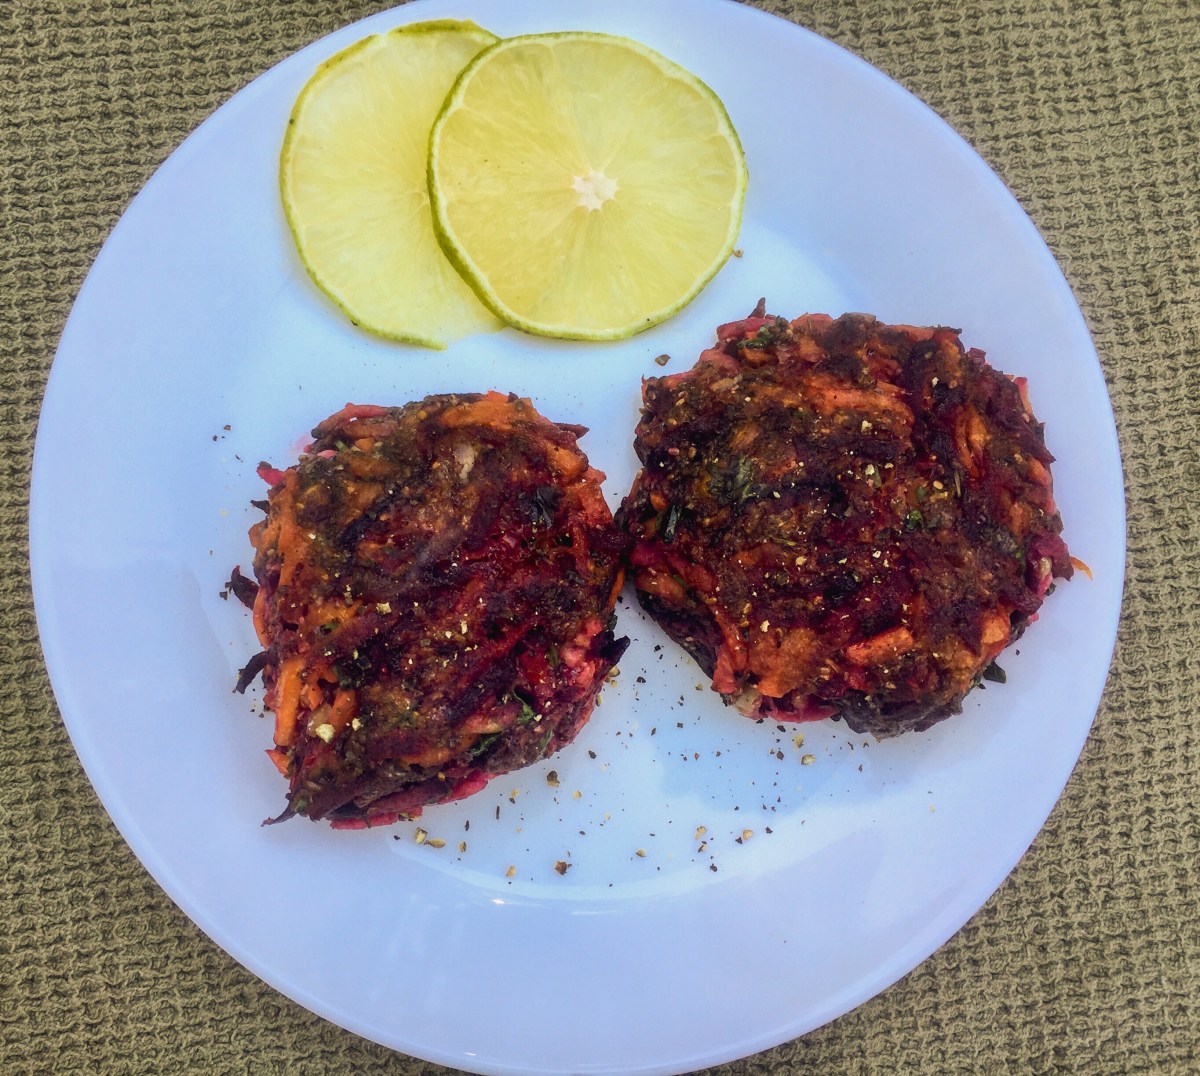
So, how about beet fritters?
And this brings us to these fritters. Without a doubt, vegetable, and in some cases fruit, fritters are ubiquitous. Every cuisine has a recipe or two that fall into this category and take advantage of ingredients in season, often times potatoes, zucchini, squash, carrots, a grater, a bit of flour and usually some eggs, to make a quick meal. So, how about beet fritters? And how about vegan and gluten-free? Well, the recipe here answers these question in affirmative.
Chia seeds and flaxseed meal as binding agents
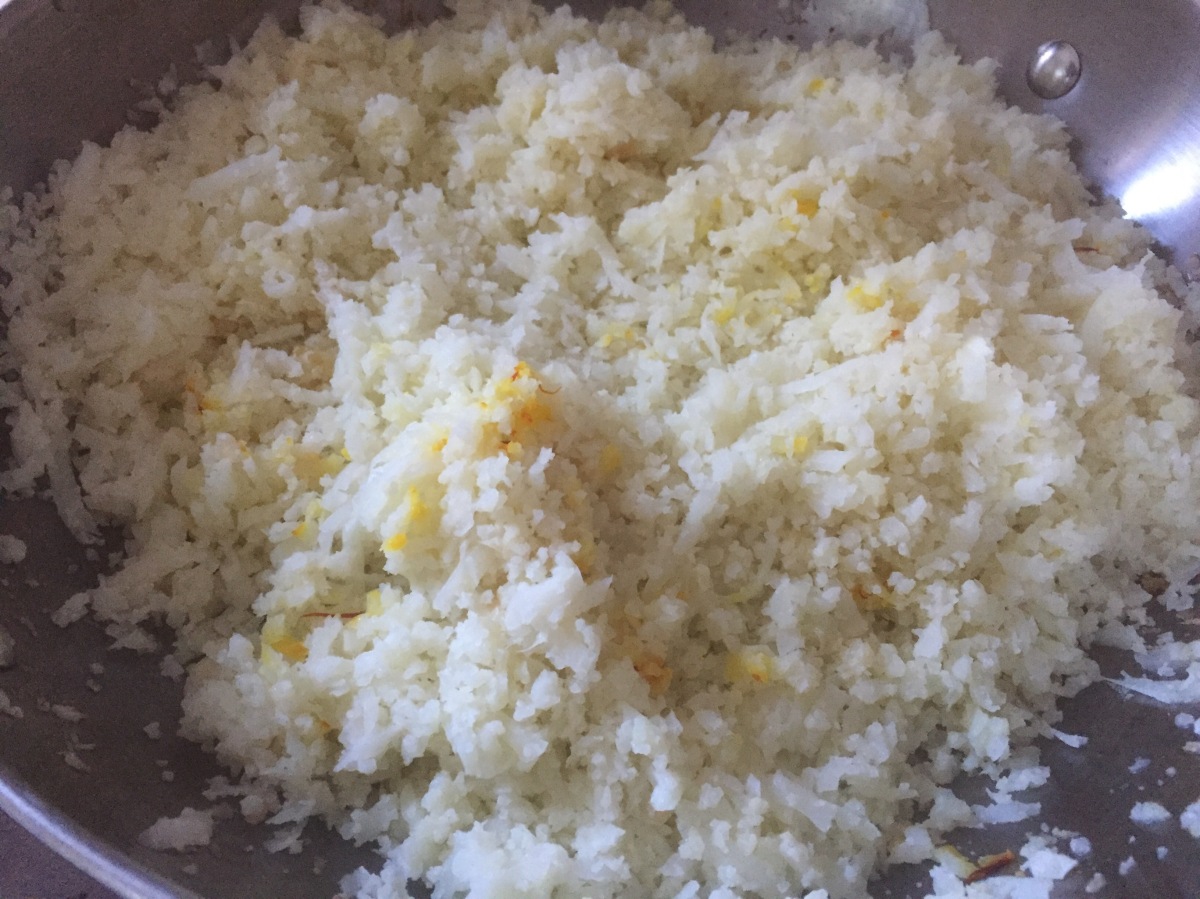
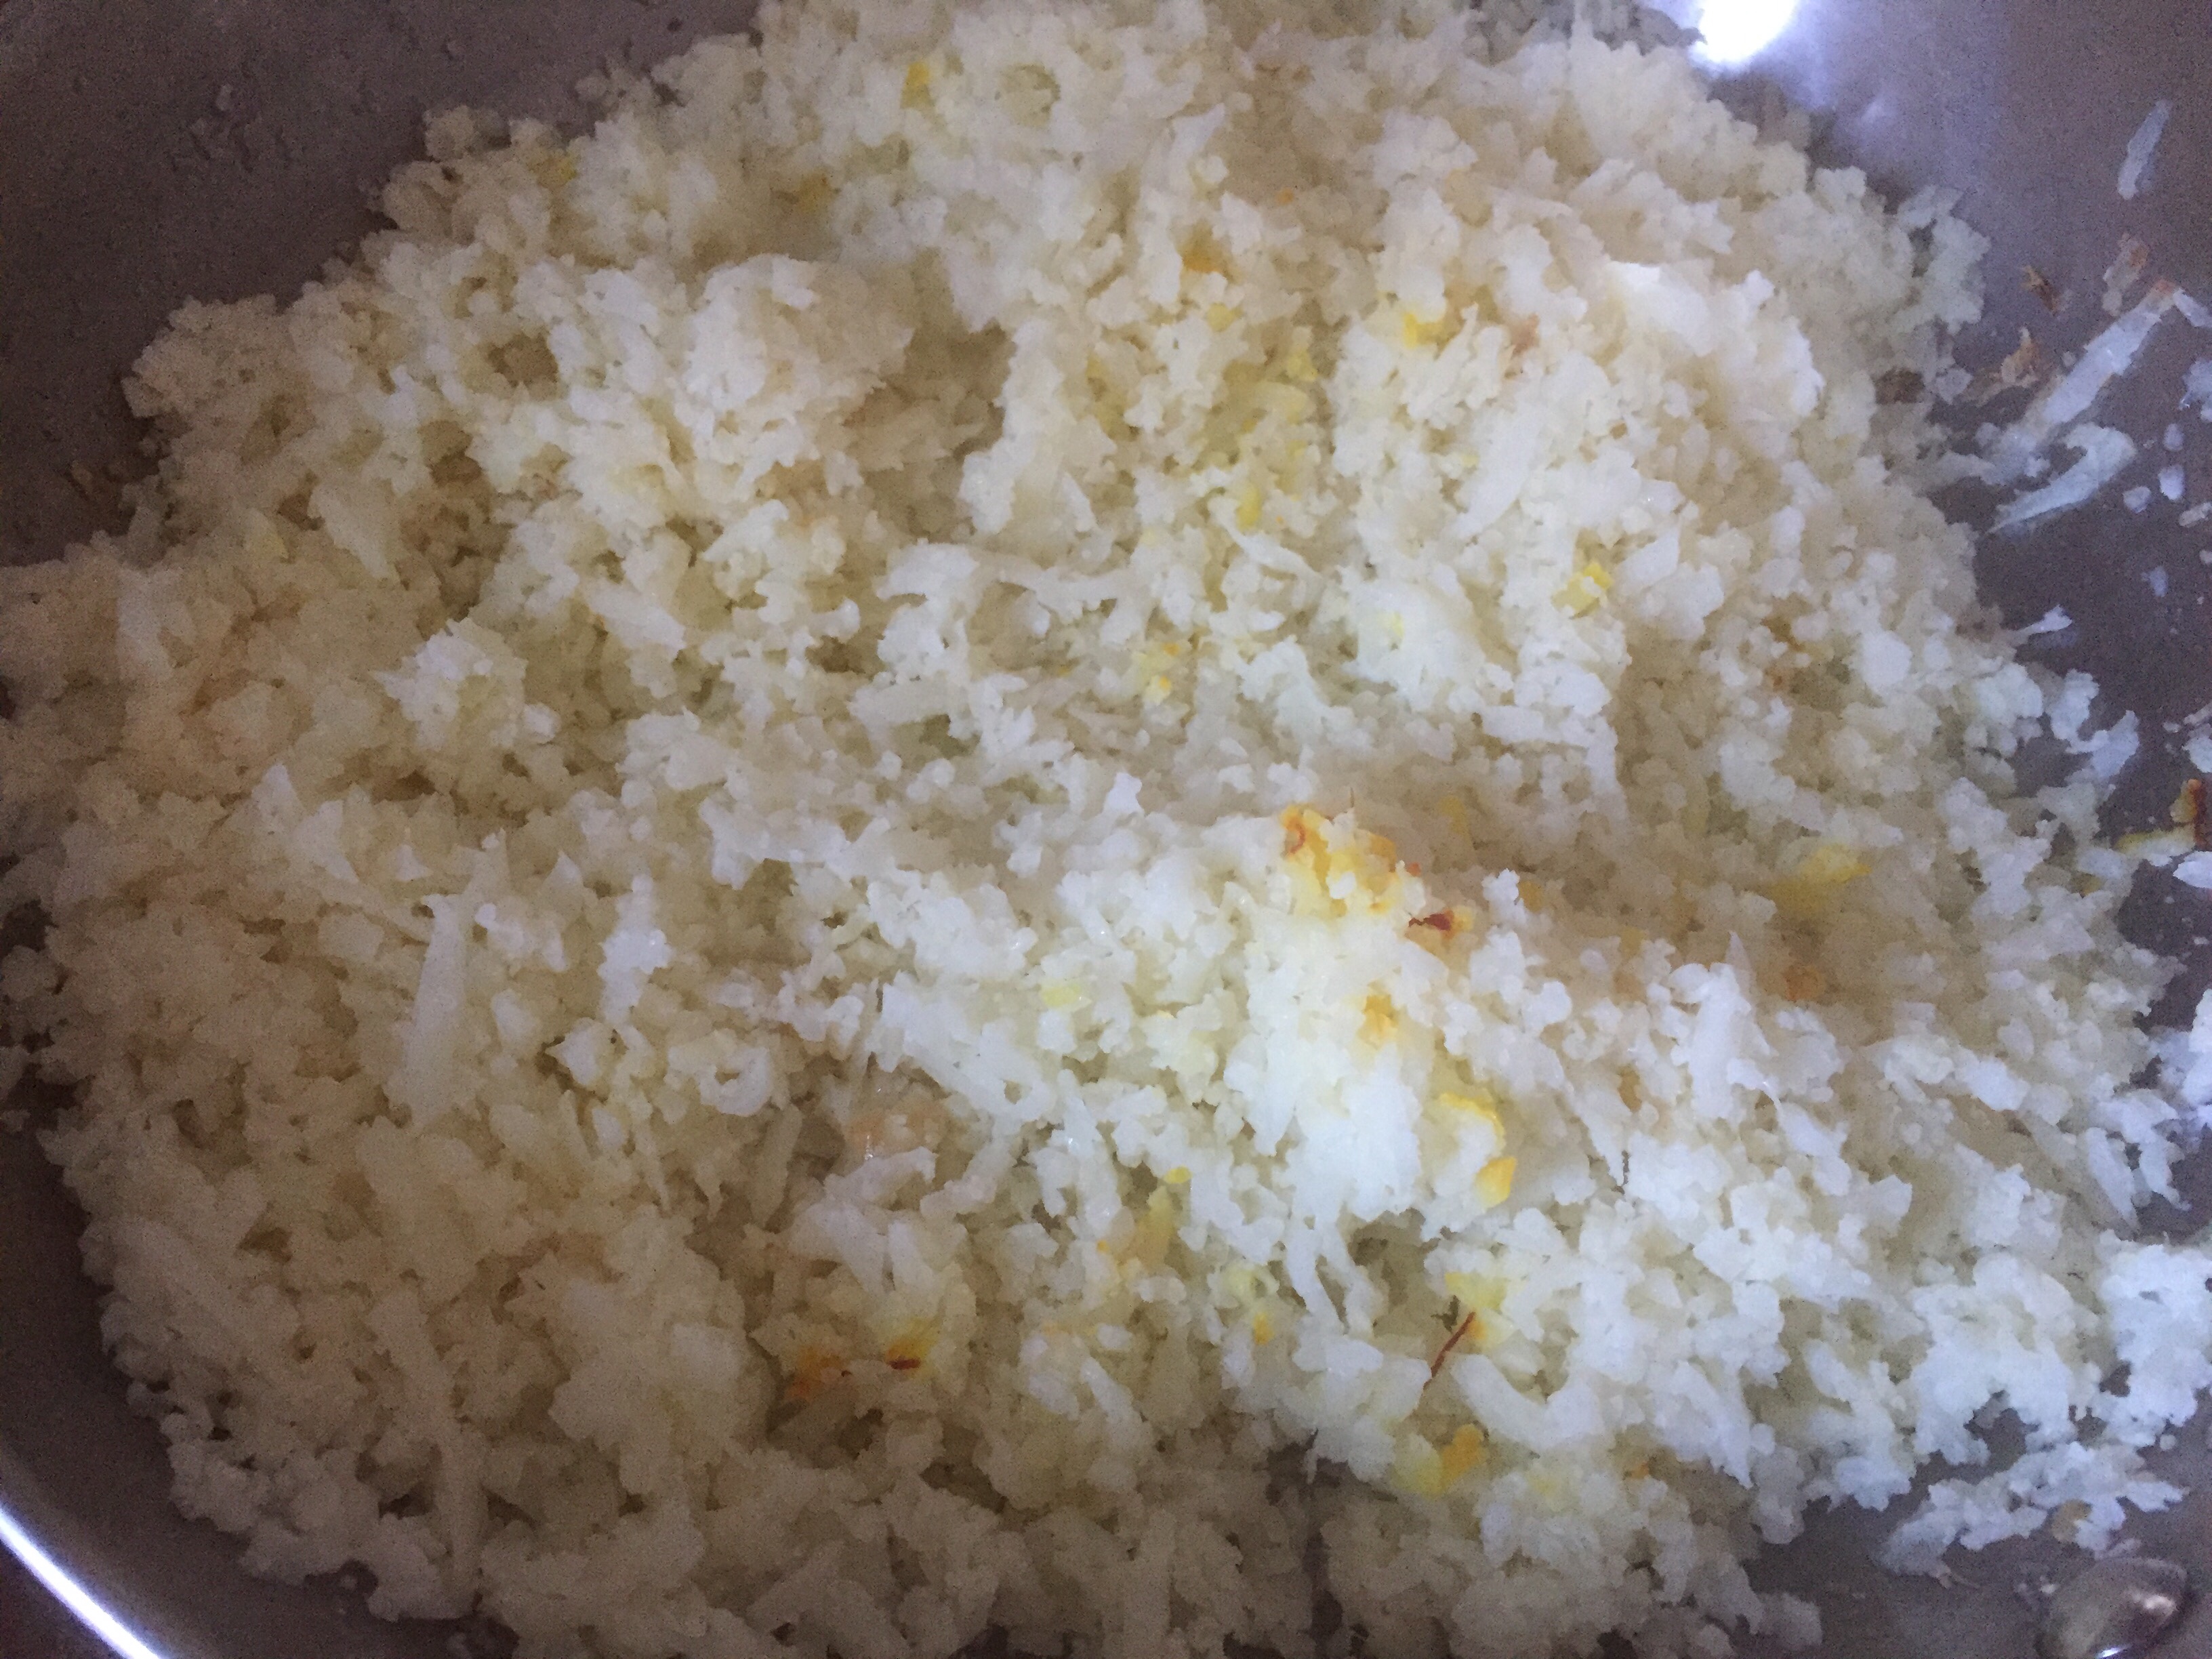
Grated beets, carrots and the apple make the body of these fritters. The easiest way to grate them is using a large grating attachment on your food processors, although, of course, grating by hand will work too! You don’t need to cooked the beets first, but do peel and wash them, as well as the carrots – apple is the only ingredient that does not require peeling. Just before you start grating you should start soaking your flaxseed meal by combining flaxseed meal with hot water in 1 to 3 ratio. Because the grated fruits and veggies have high moisture content, they do need extra binding agents and that’s why I recommend using quite a bit of flaxseed meal as well as chia seeds. Together, flaxseed meal and chia seeds work together to created fritters that hold their shape well without any eggs or flour.
Don’t forget the spices
I recommend using lime juice and zest, as well as freshly grated ginger and finely chopped fresh cilantro to enhance the flavors. The result are light fritters with interesting texture and


Beet, Carrot and Apple Fritters
What you’ll need:
1/4 cup golden flaxseed meal (you can use other types of flaxseed meal as well)
3/4 cup hot water
2 cups shredded carrots (4-6 carrots depending on size)
2 cups shredded beets (3-4 beets or so)
1 shredded Granny Smith apple
1 teaspoon baking soda
1 teaspoon onion powder
1 teaspoon garlic powder
1/2 lime, zest an juice
1/2 inch ginger root, grated
1/2 cup chia seeds
1/4 cup chopped fresh cilantro
Oil or cooking spray for the pan
Extra lime slices, coarsely ground black pepper and/or apple sauce for serving
What you’ll do:
- Place the flaxseed meal and hot water into a bowl and mix well. Let the “flax egg” rest for at least 10 minutes. The final result will be a very gooey mix that will work together with chia seeds to bind the fritters together.
- While the “flax egg” is resting, grate beets, carrots and an apple by hand or using a food processor equipped with a grating attachment, then transfer into a large mixing bowl. Add all the rest of ingredients, including the “flax egg”, mix well and let stand for 20-30 minutes. This resting time is needed for chia seeds to soak the extra liquid released by the grated beets, carrots and apple, and transform into a gel-like substance.
- Place a large pan over high heat and let it get nice and hot. Add oil or some cooking spray – if you do have a great non-stick pan you can omit the oil – and place small firm patties in. To form a patty, take about 1/4 cup worth of your mix, and using your hands form a 1/2 inch thick patty. Brown over high heat for 2 minutes then lower the heat down to medium and continue browning for 3 more minutes.
- Flip the patties over and brown on the other side for 3-4 minutes.
- Serve warm as a side dish, or even as an alternative to breakfast pancakes. These fritters go well with yogurt, as well as maple sauce, and I bet they would be delicious cold as well!

Copyright © Eat the Vegan Rainbow, 2018