Chestnut and Mushroom Stuffing for the Best Thanksgiving Dinner Ever

img_3602
Chestnut and Mushroom Stuffing, via Eat the Vegan Rainbow

If you think you can’t live without the traditional Thanksgiving dinner with the roasted turkey, mashed potatoes full of butter, the stuffing made with rich sausage, gravy made from turkey fat, sweet potato casserole topped with marshmallows, corn bread with cheese, pumpkin pie with vanilla ice cream, and so on and so forth, let me reassure you – you can give this all up, and replace it with an amazing and creative plant-based feast that celebrates the season and gives thanks for the bountiful harvest, our friends and families, and our beautiful and extraordinary planet.

I put together this menu as a testament that food can be colorful, flavorful, aromatic, and delicious without major time and money investment. This entire menu will cost you far less than the regular Thanksgiving feast, and instead of leaving you tired and sluggish, it will leave you filling energized and elevated… and ready for whatever Black Friday may bring!

Joking aside, this menu is meant for entertaining and for making a huge impression. As any well-structure feast, my Thanksgiving offerings begin with appetizers. And since the meal is supposed to go on for an hour or more, and includes two dessert options, I am going light with the appetizer spread. My tray includes couple of different types of olives, Roasted Beets Hummus, Baked Almond Feta Cheese, and pita chips. You can make the pita chips by slicing some pita bread into wedges, spraying them with some oil or cooking spray and letting them toast for couple of minutes until golden-brown. Or you can get them at a supermarket, like I did on this occasion.

Do remind your guests to take it easy with the appetizers, because what’s coming next is the most amazing soup ever, the Creamy Cauliflower Winter Soup that owes it’s creaminess entirely to puréed cauliflower. The soup is white with slight gold overtones, which in my view frames the season perfectly. Plus corn and peas give this soup some substance and fresh thyme sets the stage for herbs to come.

img_3507
Creamy Cauliflower Winter Soup, via Eat the Vegan Rainbow

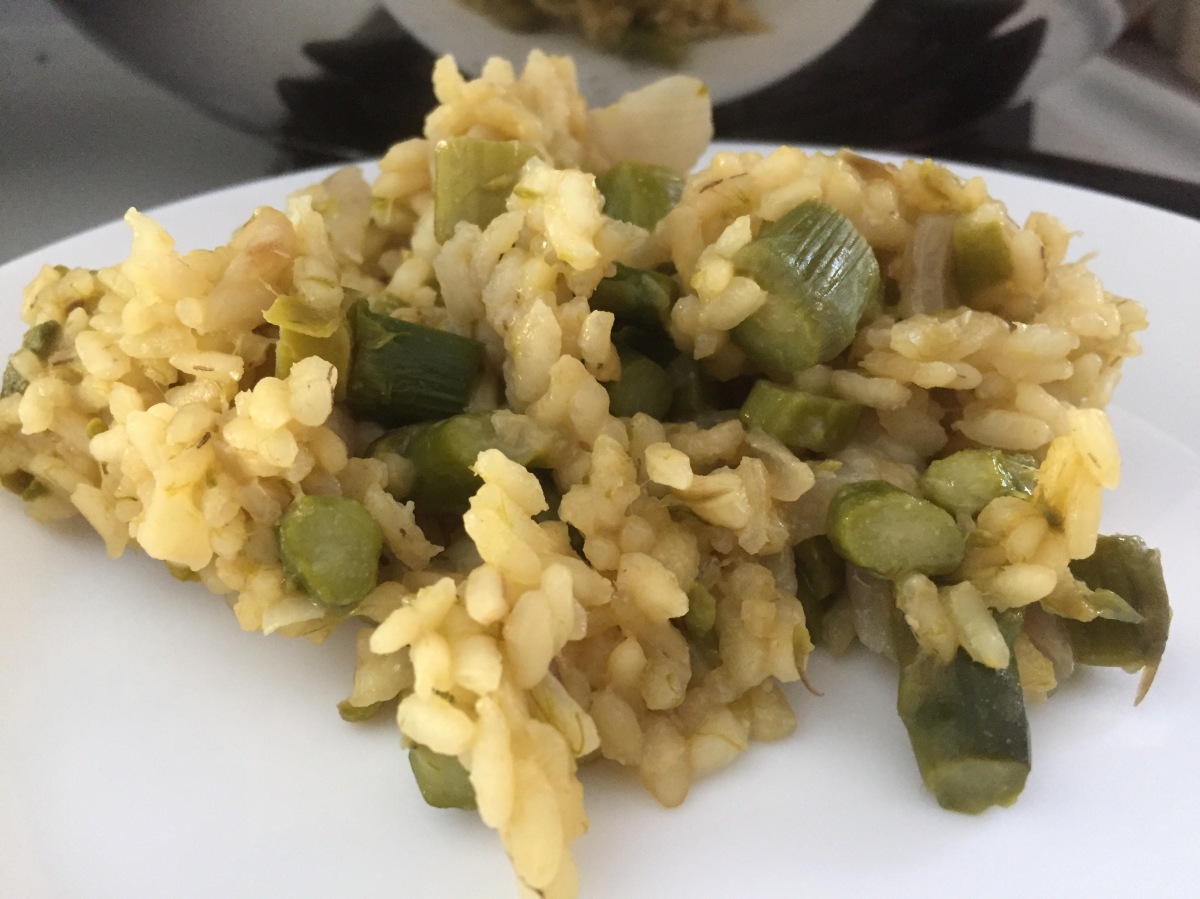
Main course is a real harvest celebration, with fireworks of flavors and all the trimmings working together to feed the bodies and the souls. The main dish is a lovely Harvest Roast with cubed sweet potatoes, turnips, carrots, parsnips, apples and squash, lightly oiled and flavored with herbs of the season. Complementing the Harvest Roast is the Chesnut and Mushroom Stuffing (recipe below). Add to that a protein rich Quinoa with Roasted Cranberries and Pistachios and you have your self an amazing feast!

img_3592
Quinoa with Roasted Cranberries and Pistachios, via Eat the Vegan Rainbow

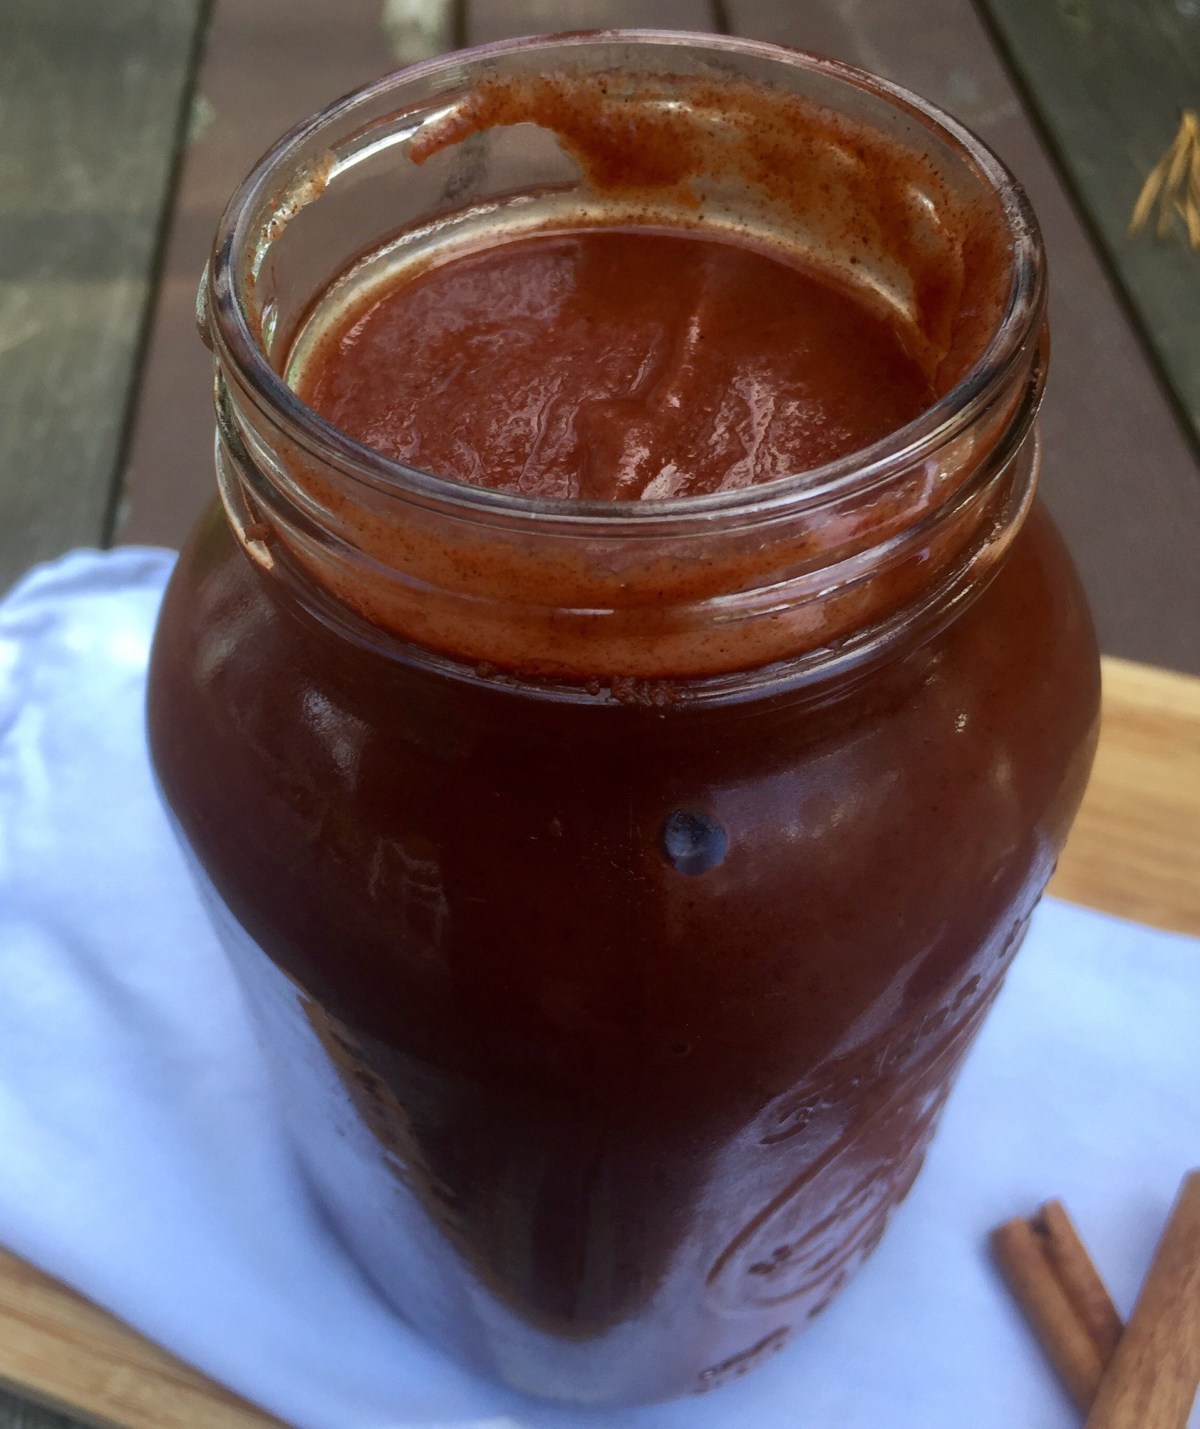
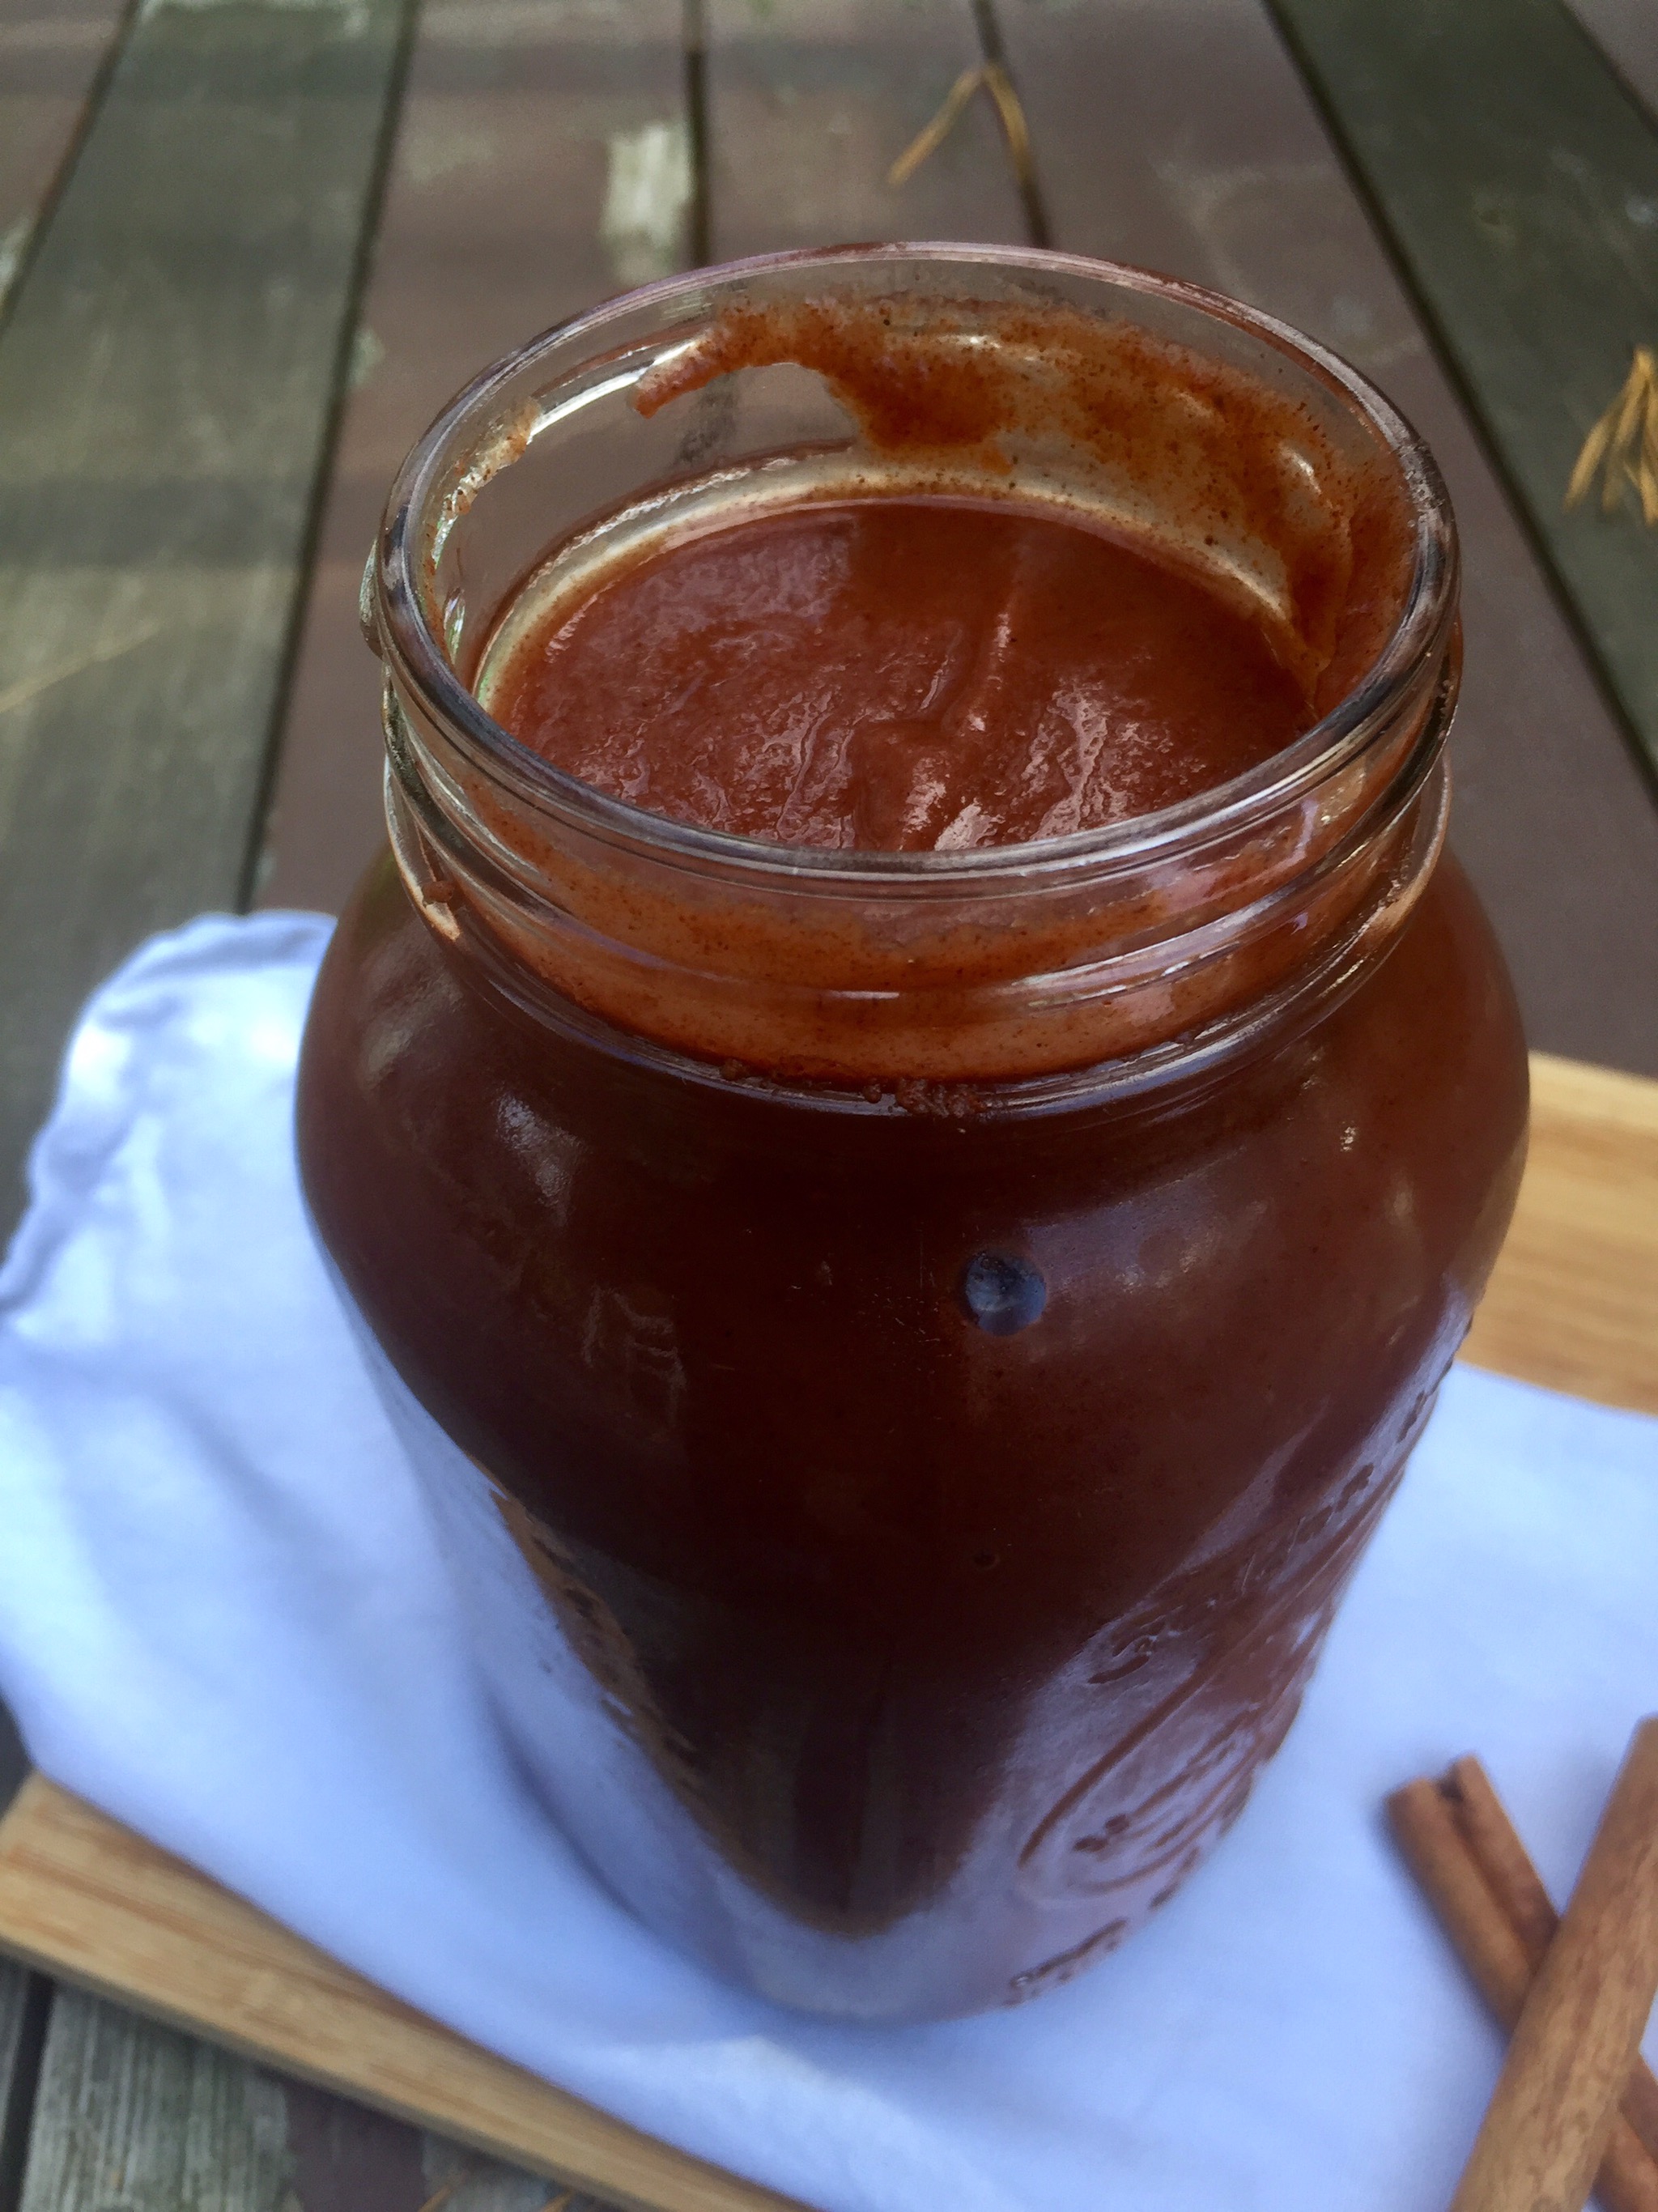
Last but not the least, the meal ends with a glass of Fizzy Cranberry Mocktail, and two desserts that pay homage to the traditionally served pies, pumpkin and apple. The desserts I feature are Pumpkin Truffles, inspired by the traditional pumpkin pie recipe and spices that go into it, and Pecan Apple Baklava with Orange Maple Syrup, which combines the best of pecan and apple pies into one ultra scrumptious dessert.

Have a thankful, wonderful, healthy and delicious Thanksgiving feast!!!


Chestnut and Mushroom Stuffing

What you’ll need:

1 yellow onion, finely diced

6 stalks celery, finely diced

2 Granny Smith (or another variety of tart) apples, diced

10 oz. (285 g) mushrooms, finely chopped (white, oyster, shiitake, baby bella – any combination of these will work)

10 oz. (285 g) chestnuts, boiled and chopped

4-6 slices of hearty sourdough bread (depending on the size of the slices)

Fresh sage, 4 leaves, chopped

Fresh thyme, 8 springs, pulled

Fresh rosemary, 2 springs, whole

Cooking spray

What you’ll do:

  1. One day prior to making the stuffing cut the bread into medium sized cubes, and leave them uncovered to dry. If you forget to do this a day ahead, don’t worry – you can cube the bread and put it in the oven to roast/toast. 10 minutes at 350 F (175 C) should be enough.
  2. Next day, place a large skillet over the medium-high heat. Add the olive oil, onions, celery and apple. Mix well and let it sauté with occasional stirring for 15 minutes.
  3. Add the mushrooms and two whole springs of rosemary (no need to chop, you’ll pull them out at the end), and continue sautéing for another 5 minutes.
  4. Add the chopped chestnuts, mix well to incorporate, and cook for another 10 minutes.
  5. Add chopped sage and thyme, mix in the bread cubes, and once everything is incorporated well transfer the stuffing to a large baking dish.
  6. Cover the stuffing with foil and bake for 20 minutes at 350 F (175 C), then remove the foil, bring the temperature to 400 F (190 C) and bake for another 10 minutes.
  7. Let the stuffing cool for 5-10 minutes before serving. The leftover stuffing, if you have any, can be an easy lunch on its own!!!

Copyright © Eat the Vegan Rainbow, 2017

Spice Infused Apple Butter

fullsizerender-11
Spice Infused Apple Butter, via Eat the Vegan Rainbow


There is nothing better than freshly picked fruit. I love PYO – Pick Your Own – events at our local farms. They are a perfect activity for friends and family that gets everyone outside and into the nature. These PYO activities support local farms, and provide a cheaper access to perfectly ripe fresh fruit. I also love them for one selfish reason – I am shameless when it comes to taste tasting as I pick and can’t resist biting into an amazing piece of fruit I just picked. Honestly, who could?

The last PYO days are slowly unfolding around me, and I grabbed an opportunity to go pick some apples. The loot included six different varieties, Granny Smith, Jonagold, McIntosh, Pink Lady, Fuji and Empire, and was destined for couple of different things, including a huge batch of apple butter. For the apple butter I used couple of Granny Smith’s, Fuji’s, and Jonagolds. I used my slowcooker (crockpot) to cook the butter since it is really totally hands of – you plug it and forget it for about 10-12 hours. The best time to start cooking is the evening, because your butter can cook overnight and you will wake up to a house that is full of rich aromas.

Those aromas are mostly due to a nice mix of spices that’s make the flavor of this butter. I combined lots of ground cinnamon, some allspice and a bit of nutmeg. There are a lot of apples in this recipe so they drop need lots of spice to make the flavors rich and deep. You could change the spice makeup if you like. Alternative spices to try would be ground ginger, ground cloves, vanilla beans, and/or orange peel.

If you are reading this and wondering to yourself “What is apple butter?”, first of all thank you for being patient, and second, apple butter is sort of apple marmalade or apple jam. It’s thick – thicker than apple sauce – and smooth. It is a perfect breakfast item, for toast, pancakes or waffles, and although I have not tried it I bet it can work great as an ice cream topping! It can be made much sweeter depending on the variety of apples you use, and by adding sugar to it. This recipe does not use any sugar and adding Granny Smith to the mix of apples I used makes the final product just slightly tart.

Spice Infused Apple Butter

What you’ll need:

(If using a 6 QT (5.7 L) crockpot – adjust the amount depending on the size of your crock!!!)

6 lbs (2.5-3 kg) apples

2 tablespoons ground cinnamon

2 teaspoon allspice

1 teaspoon ground nutmeg

What you’ll do:

  1. Wash, dry, peel and core your apples. This will be quite a project so arm yourself with patience, enlist help of your friends and family, or get a peeler/corer/slicer device. I can recommend the KitchenAid standing mixer attachment that does all this for you, but it comes with a high price tag. It’s not essential, but it does help a great deal.  Whether you peel the apples it is actually up to you. I wanted a really smooth butter texture so decided to peel them this time around.
  2. Slice the apples and put them a really large mixing bowl. Add the spices and mix well, so that the spices are evenly distributed all over your apples.
  3. Line the crockpot with the crockpot liner (if using – I use it becasue it make cleanup a breeze, but it is not essential). Arrange the apples, put the lid on and turn your slow cooker to 10 to 12 hours. If you have a slow cooker that allows you to select the level of heat, I recommend cooking the apple butter on high.
  4. Let the apples cool before handling further. Transfer the cooked apples into a large bowl and use a stick (immersion) blender to purée the apples into a smooth apple butter. If you don’t have an immersion blender, your regular blender will work but you will have to blend in batches.
  5. Since I am not an expert in canning, I packed my apple butter in two nice big jars, one to give away one to keep. I store my apple butter in the fridge but if you do know how to can things I bet you can make the apple butter, can it and keep it for months.

Copyright © Eat the Vegan Rainbow, 2017

Healthy Asparagus Risotto

Asparagus Risotto, via Eat the Vegan Rainbow
Healthy Asparagus Risotto, via Eat the Vegan Rainbow
Spring is in the air, although perhaps not yet on the ground, and when it comes to spring vegetables asparagus is it! If you haven’t enjoyed asparagus before, do give it a try. Asparagus is very easy to make as it tastes really good roasted, or in a soup. It is also one of those risotto-friendly ingredients that blends well with creamy rice to add crunch and earthy flavor.

The path to a really lovely risotto goes through picking the right rice and cooking it with patience and with a lot of stirring. My go-to rice for risottos, as well as for sushi and other rice dishes that need a stickier rice variety, is medium grain rice. This is a point of difference with most risotto recipes out there as they recommend using short grain rice variety called arborio rice. Arborio rice will work really well in this recipe too, so if you have it on hand go for it. The kinds of rice that may not work well here are the long grain variety, like Jasmine or Basmati rice.

Cooking risotto does require lots of stirring, and one trick that I use is to add the liquid in batches to let the rice absorb it before adding more. It takes time, but at the end your risotto will be rich and creamy without needing any butter, cream or parmesan, all common risotto ingredients.

My risotto recipe does use on less-common ingredient, nutritional yeast. If you will be preparing vegan recipes often nutritional yeast is definitely worth getting because it is a common add-on that mimics dairy. In the case of this risotto nutritional yeast acts as a substitute for parmesan cheese.

Healthy Asparagus Risotto

What you’ll need:

1 pound (500 g) green asparagus, chopped

1 yellow onion, diced

1 cup medium grain or short grain rice

2 tablespoons nutritional yeast

2-3 cups vegetable stock or water

Cooking spray

Lemon zest, lemon juice (optional)

What you’ll do:

  1. Wash and trim the asparagus. I don’t peel it because I try to get spears that are thin and less woody, but if your asparagus is thick it will need peeling. Cut into approximately 1/2 in (1 to 1.5 cm) bits. You don’t need to be precise here but just think about what your final spoonful will look like and make sure your asparagus bits are small enough to be in harmony with the rice.
  2. Dice the onion into fine dice.
  3. Spray the bottom of a wide and shallow pan with cooking spray. Turn the heat to medium high. Add onions and cook until they soften and start to brown. This will take 4-5 minutes.
  4. Add asparagus and let cook for another 4-5 minutes with occasional stirring.
  5. Add the rice and stir well. Let cook for 1-2 minutes.
  6. Lower the heat down to medium low. Add 1 cup of liquid. Stir well and let the rice soak up the liquid. Give it time and repeat with more liquid. Risotto is definitely one of those dishes that people fear to approach and many articles and posts have been written about how to get to the perfect bowl of risotto and avoid mistakes. Fear not, because all you really need to do is hang around your pot, watch your rice and add the liquid when the rice tells you its thirsty. The amount of rice in this recipe can take anywhere between 2 and 4 cups of liquid. You also might want to start by adding one cup at a time for first 2 cups and then decrease to 1/4 cup of liquid at a time. Keep going until the rice is soft but not mushy, a shade softer than al dente.
  7. Turn the heat off and sprinkle with nutritional yeast. Mix everything together and let stand for 5 minutes.
  8. Sprinkle with lemon zest and a dash of lemon juice just before serving!
  9. Copyright © Eat the Vegan Rainbow, 2017