For me, pasta salad is a conceptually hard thing to swallow since I equate salads with (mostly) green leafy vegetables. Growing up, there was a clear separation between salads and pastas in my mother’s cooking and our family meals. But, after living in US for almost two decades, I’ve come around and appreciate that pasta salads have a place on my plate, especially if I am holding that plate during a large summer cookout or a potluck.
Having said that, I still think that many pasta salads leave a lot to be desired as they tend to be overloaded with mayonnaise, meat or even cheese. So, I decided to develop a pasta salad recipe that is simple and light, yet full of flavors and surprising textures.
The recipe below really blew me away! It’s super simple, uses only six ingredients, it takes less than twenty minutes to make, and it is a perfect pasta salad for big get togethers because it is super inexpensive.
The recipe is very simple and self-explanatory. Few tips here are: don’t cook your pasta for too long, drain it well but don’t rinse; mix the pasta with the rest of ingredients while it’s still hot, and then let it cool while the flavors are developing and merging; and if using kalamata olives in oil, scale back on the amount of olive oil you actually add – otherwise you’ll end up with something that’s too oily, which will be too bad!
And speaking of olives – kalamata olives that I get come with a nice level of acidity so I don’t feel like I need to use extra vinegar when I’m using them. This means that my recipe below does not include vinegar. Now, if you like a bit more tang, feel free to add some lemon juice or a dash of red wine vinegar to adjust the acidity level in this salad to your personal taste.
Finally, if you don’t have a box of penne rigate on hand, don’t worry. You can use any spoon friendly pasta for this – meaning not long pasta. Why do I recommend NOT using long pasta? Well, if you are thinking of this salad as picnic, pot luck, sharing-with-friends-and-family friendly, then help your friends and family help themselves by not having to wrestle with long pasta. I also think that tubular pastas work better for this recipe than flat ones – think penne, ditalini, macaroni as better, and farfalle as perhaps less suitable for this recipe – as tubular pastas have a bit more surface area to absorb the subtle flavors. And among the tubular pastas, those with ridges will work just slightly better because of the same surface area availability principle I mentioned. Having said all this, and having dragged you through likely totally unnecessary details on how to choose just the right pasta for this recipe, I’d like to stress again – just grab a box of pasta you have on hand and it will be just fine!
STOP: I just remembered – I would not recommend black bean pasta for this. I did not like the flavor of that one when I paired it with my Clams-free “Clam” Sauce and can’t recommend it for this application either. 😦

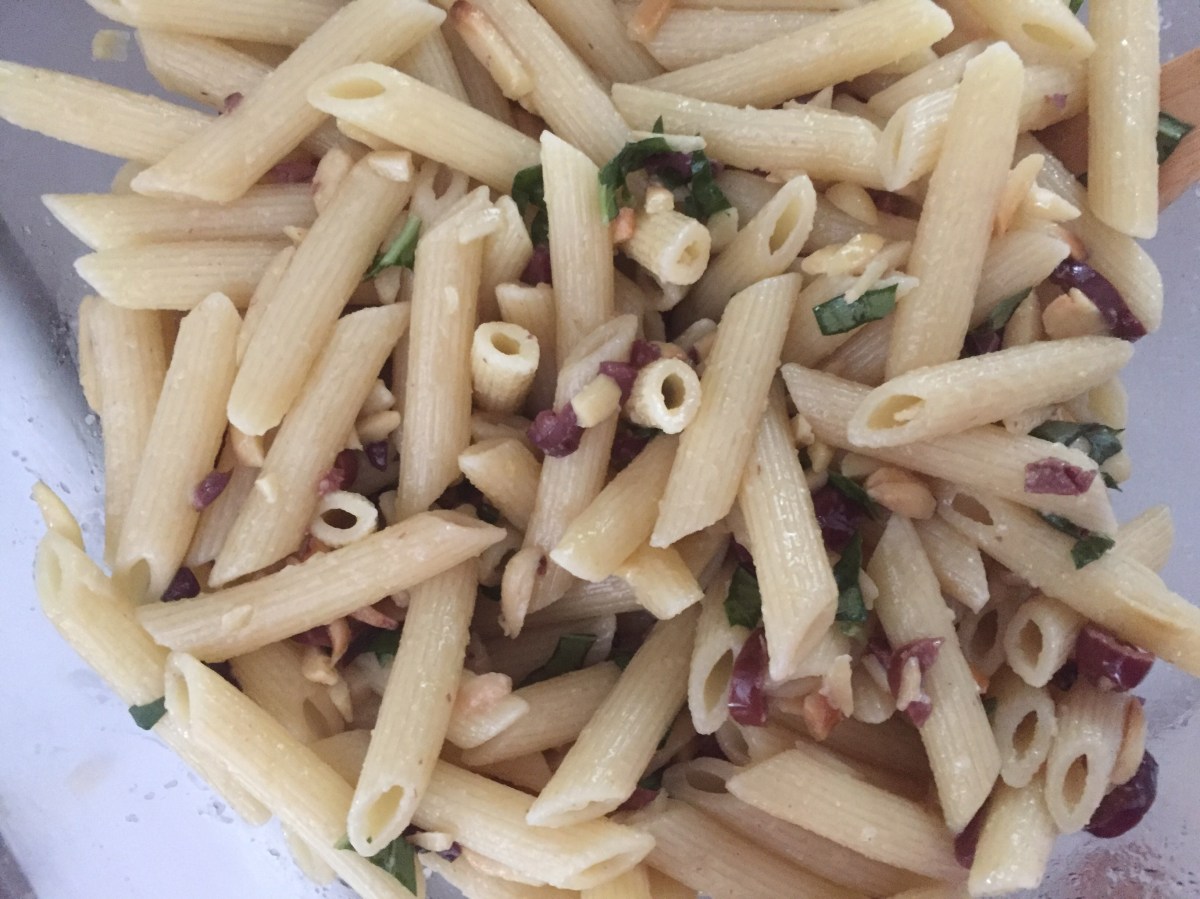
Simple Summer Pasta Salad
What you’ll need:
12 oz (340 g) penne rigate pasta
1 cup kalamata olives, pitted and chopped
1 cup slivered almonds
1/4 cup olive oil, extra virgin
1 teaspoon garlic powder
3 tablespoons fresh basil
What you’ll do:
- Cook the pasta following the instructions on the box. Don’t overcook it – the pasta will be ready when it is slightly chewy to the bite.
- While pasta is cooking, chop the olives and the fresh basil leaves. Put to the side.
- Drain the pasta well and place in a large mixing bowl. Add oil, chopped kalamata olives, garlic powder, and mix well.
- Toast the almonds in a toaster oven or on the stove top in a heavy skillet. Watch the almonds constantly as they do burn quickly.
- Add the toasted almonds to the rest of the pasta salad, mix well and leave for an hour or so.
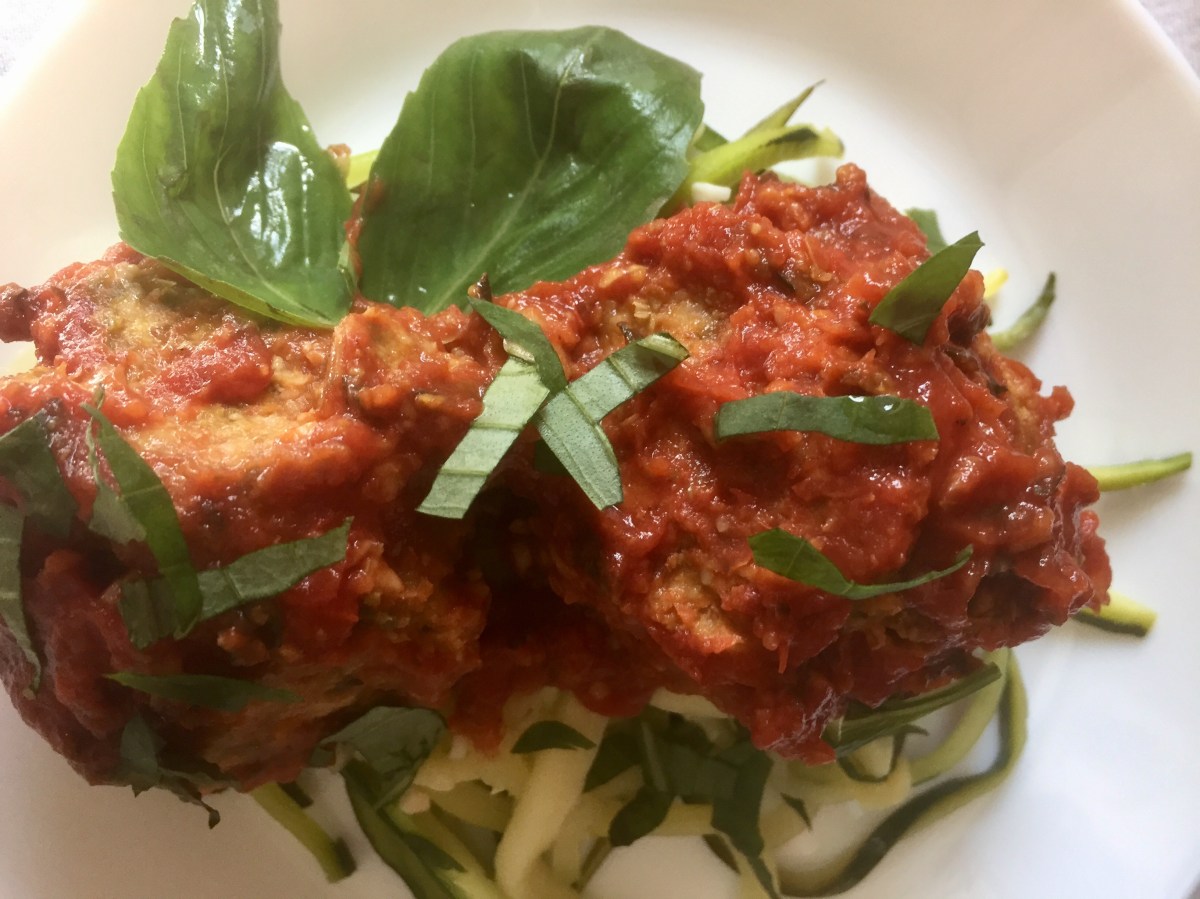
- Add fresh basil just before serving, toss everything together and enjoy. The result is fragrant, complex in flavors and textures, yet simple and cheap to make, perfect summer pasta salad.
Copyright ©Eat the Vegan Rainbow, 2017