Vegan Caprese Salad in a Sandwich

img_2518
Vegan Caprese Salad in a Sandwich, via Eat the Vegan Rainbow

In my other life, as the editor of two leading journals for chemical and structural biology (I know, sounds intimidating!), I once used Caprese Salad – tomatoes, basil, and fresh mozzarella – as an example of how simple is incredibly powerful, beautiful and irresistible, in an emphatic attempt to convince scientists to implement principles of simplicity when writing their scientific papers.

Here, my interests are purely culinary as I set out to recreate the Caprese salad out of plant based ingredients only. I started from a batch of vegan fresh mozzarella, following a recipe developed by Jules Aron and included in her “Vegan Cheese: Simple, Delicious, Plant-Based Recipes” book.

The path to fabulous vegan fresh mozzarella is long and slippery- meaning that it will take you about two to three days to have ready to eat batch of cheese on your hands, and there are few places along the way where a little mistake can derail your cheese making process. Having said that, I found Jules’s recipe to be clear and helpful, and the final result AMAZING!

I made only some minor adjustments to the recipe, as I used cashew yogurt for fermentation stage of the mozzarella, and agar powder and tapioca starch to firm it up – Jules recommends Kappa carrageenan powder and tapioca flour (which I think is the same thing as tapioca starch but it’s worth mentioning as a point of difference)!

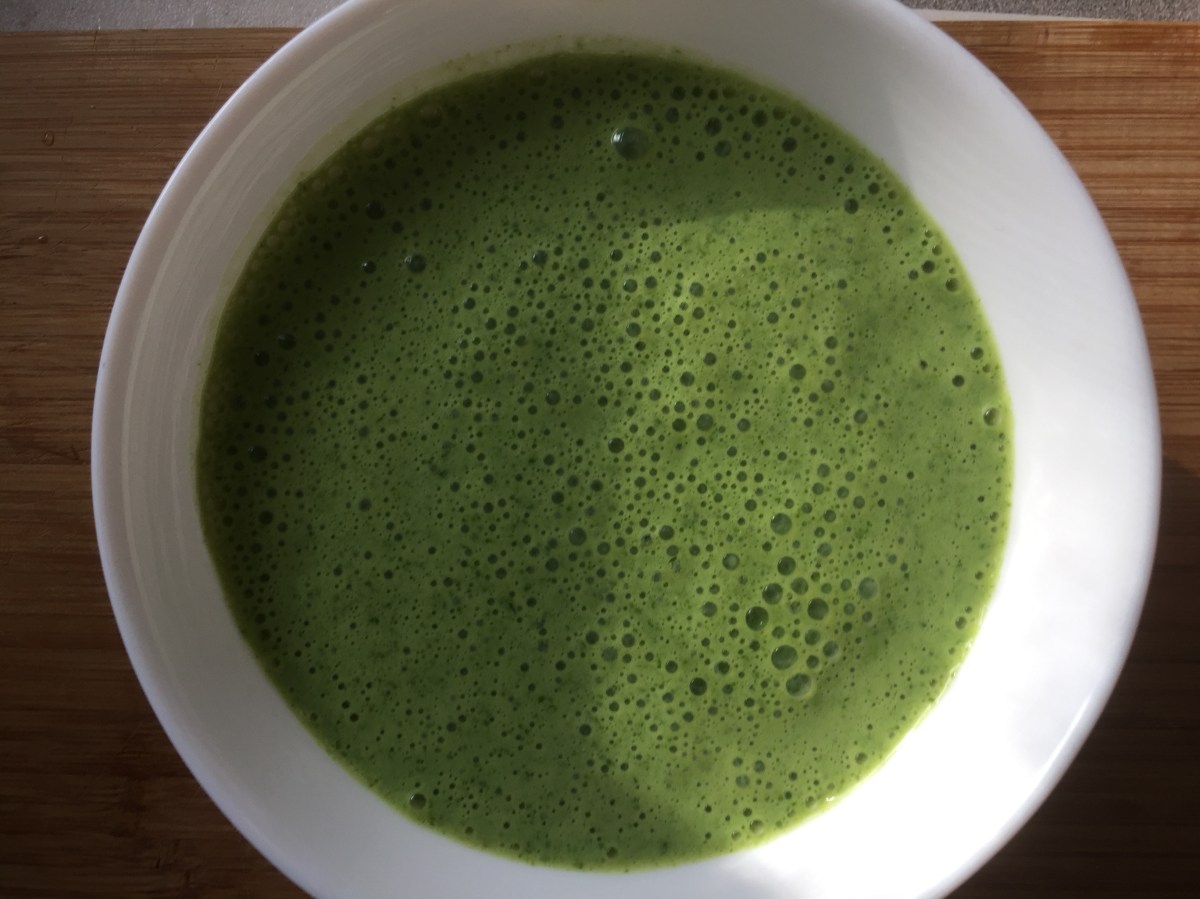
The process starts, as many vegan cheeses do, by soaking some nuts. I usually cover the nuts, in this case cashews, with water and leave them in the fridge overnight. The next step for this cheese is blending the well soaked cashews, that have been drained and rinsed, with some almond milk or water until nice and smooth – I used almond milk.

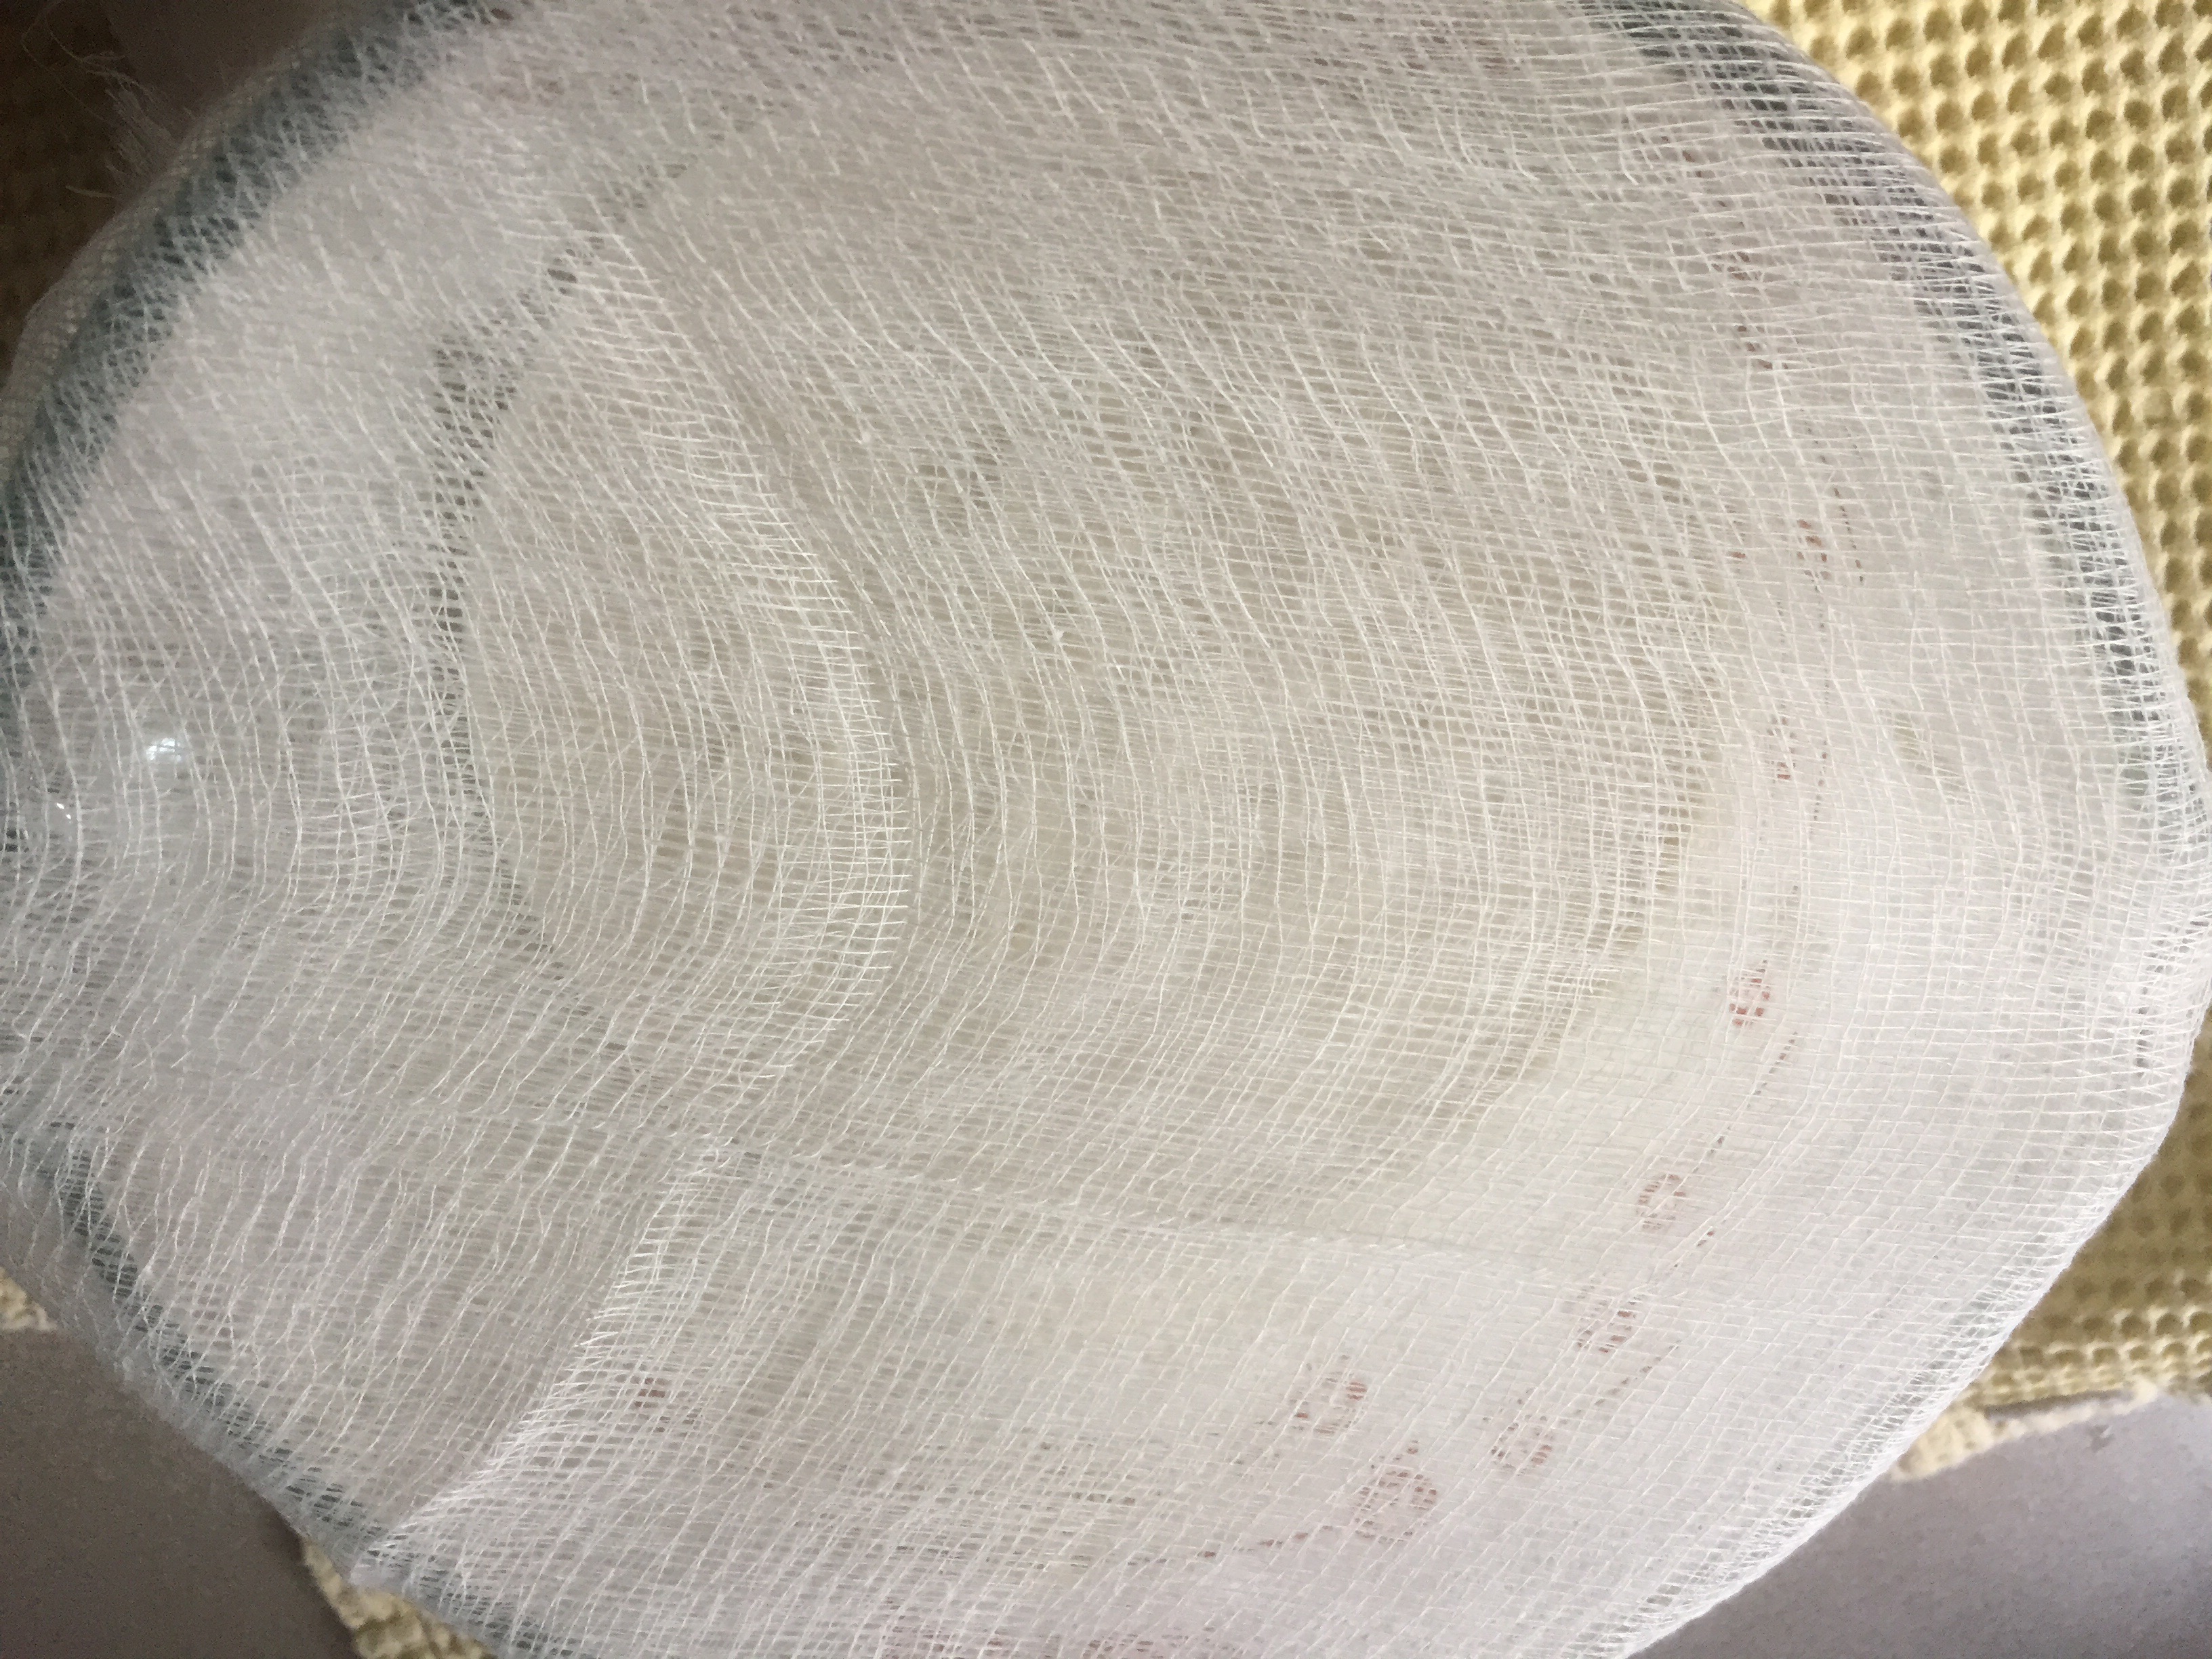
Then, you add yogurt – here I used an amazing Cashew Yogurt by Forager – cover with cheese cloth and leave on the kitchen counter for a day or so. Make sure that your yogurt contains live cultures as you want the bacteria to start the process of fermentation and acidification, yielding a nice, subtly tangy flavor.

Making of vegan mozzarella, via Eat the Vegan Rainbow

The penultimate step is adding the thickener to the cheese mix, cooking it until it starts to thicken to a consistency of very thick oatmeal, porridge or polenta.


While the cheese was cooking, with frequent stirring, I made the brine. I used tap water and ice cubes, plus a tablespoon of plain kitchen salt since that’s what I had handy, and mixed it all until salt was fully dissolved.

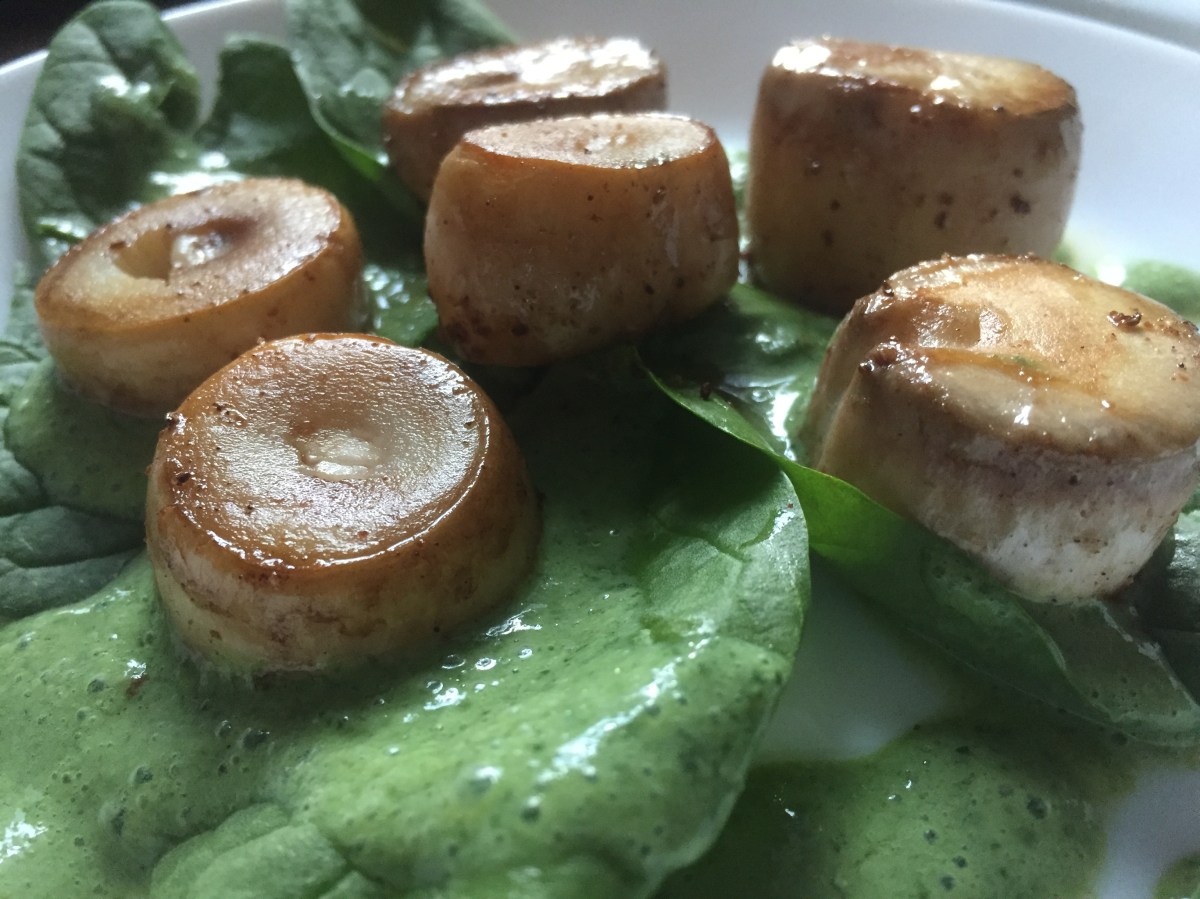
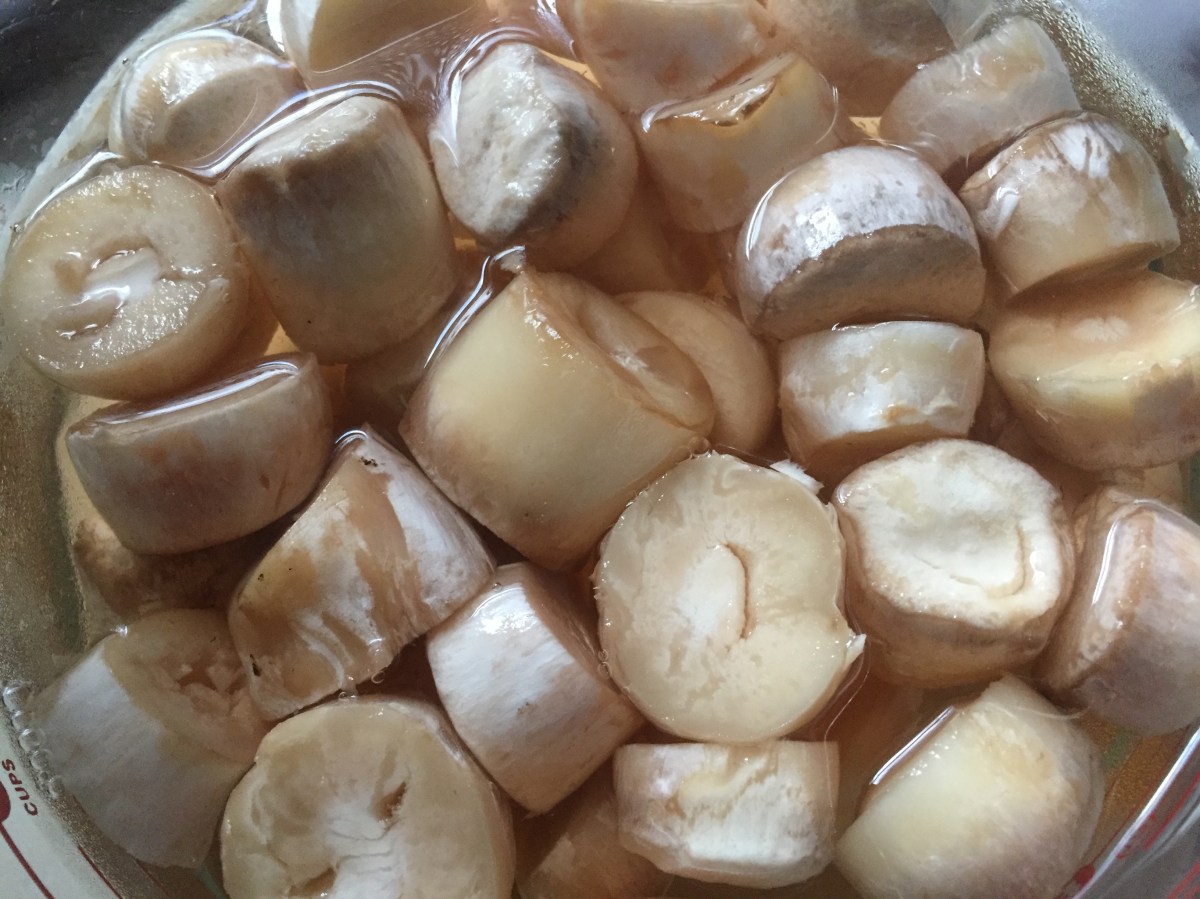
Once the cheese was cooked, I used my measuring spoon (tablespoon size) to measure out cheese balls, formed a bit with hand – watch out here as it may be hot, so you can form the balls using two spoons at the same time. Dump the balls into ice/water/salt mixture, cover with cheese cloth and leave in the fridge overnight. Jules recommends at least 4 hours, so I just left my fresh mozzarella cheese balls to rest until the next day.

img_2513
Vegan Fresh Mozarella Balls in Brine, via Eat the Vegan Rainbow

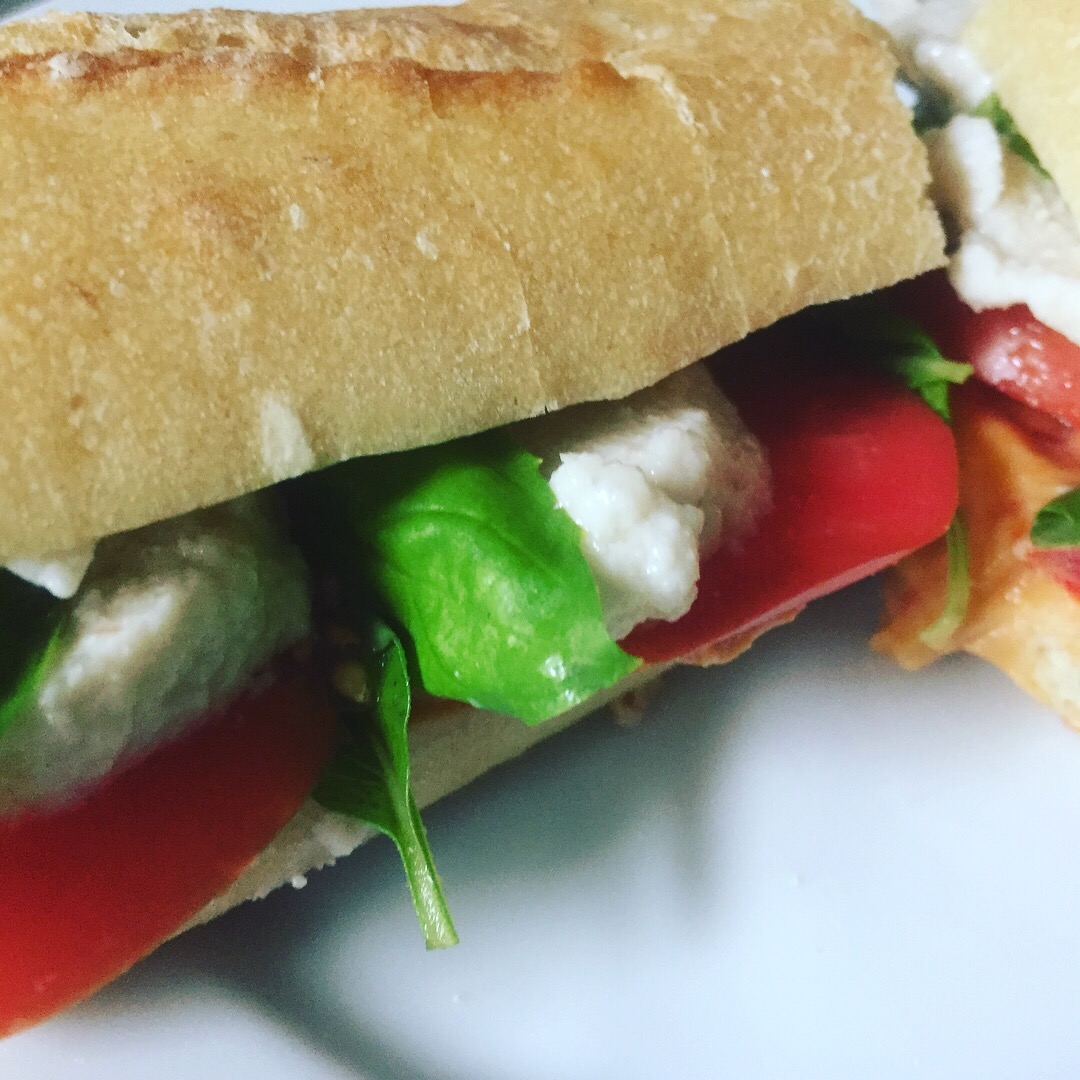
Waiting wasn’t easy but it was worth it!!! I got some fresh baguette, fresh basil, a ripe tomato, a drizzle of balsamic vinegar, and my homemade vegan fresh mozzarella, and made myself a phenomenal sandwich for lunch.

I transferred the fresh mozzarella with the brine and all into a container with a tight lid, and stored it in the refrigerator. It lasted for about one week, at which point it was all gone!!! I will be making some more soon, but next one from Jules’s book I want to try is an almond-based baked feta!!!

Since this post is all about another person’s recipe, I am not sharing the notes, but encourage you to go visit Jules’s site, and get her book or better still borrow it from your local public library, which is what I did. I am happy to share what my Caprese Salad in a Sandwich looked like – it’s a real feast for your eyes!!!

img_2520
Vegan Caprese Salad in a Sandwich lunch, via Eat the Vegan Rainbow

Copyright ©Eat the Vegan Rainbow, 2017

Roasted Red Beets Hummus

Roasted Red Beets Hummus
Roasted Red Beets Hummus, via Eat the Vegan Rainbow

I am a bit on the roasted beets kick these days. I just shared how I used them in a salad, this post is all about a hummus I put together, and, believe it or not, I have a pile of roasted beets in the fridge that are waiting for me to figure out what to do with them.

Beets Roasting on a Grill
Beets Roasting on a Grill, via Eat the Vegan Rainbow

The batch in the fridge was roasted in the oven, and that method – cranking the heat to 425 F (220 C) and roasting them for about 30 to 45 minutes – will work here as well. But the beets that I used for this hummus were roasted on a grill. I recommend you try this next time you grill your veggies, tofu or try my Portobello Mushroom Steaks. Your grill will already be on so it’s perfect time to wrap your bits in some foil and toss them on!

The rest of this hummus recipe is super easy. You will need a large mixing bowl, two cans of chickpeas, rinsed and pat dried, some lemon juice, and a spoonful or two of almond butter, and all the lovely roasted beets, cooled and peeled. You will also need a hand-held, stick blender, and let it rip until everything is well blended and smooth. You can always use a good processor if you have one or a powerful blender. I have neither so hand-held, stick blender is my tool of choice.

What you’ll end up with is a nice pile of lovely and bright magenta hummus that will keep well in a plastic container with a tight lid for a week in the refrigerator.

Roasted Red Beets Hummus, via Eat the Vegan Rainbow

Roasted Red Beets Hummus

What you’ll need:

3 red beets

2 15.5 oz (439 g) cans chickpeas (garbanzo beans), low sodium

3-4 tablespoons lemon juice

2 tablespoons almond butter

What you’ll do:

  1. Roast the beets, let them cool and peel. You can roast them in the oven or on the grill. Either way I recommend wrapping them in foil. This will minimize the mess and speed up the roasting. Regardless of where you roast them, it will take about 30 to 45 minutes to get the beets roasted all the way through. Please note that you can eat beets raw, so you can actually skip the roasting all together. Roasting does help bring the natural sweetness of beets out more, so in my opinion it’s worth an effort.
  2. Cut the roasted beets into cubes, and place into a food processor or the large mixing bowl.
  3. Place the chickpeas into a strainer, rinse them well and pat dry.
  4. Add chickpeas to the bits, add the rest of the ingredients and blend until smooth. Serve any way you like. For me hummus is one of the best sandwich spreads ever, and this one works like a dream when paired with avocados!!!
  5. Copyright © Eat the Vegan Rainbow, 2017

Mushroom “Scallops” with Cilantro Yogurt Sauce

Mushroom “Scallops” with Cilantro Yogurt Sauce, via Eat the Vegan Rainbow

“Waste not, want not” is how the saying goes, encouraging us to not to waste what we have and conserve resources. Well, I may be extrapolating here, but it is not a bad maxim to cook by, if not live by. I’ve been struggling for number of years now to find use for mushroom stems, especially the big, almost woody stems of large white button mushrooms. The caps are fabulous for stuffing, and I’ve already shared my Mashed Potato Stuffed Mushrooms with Cashew Sour Cream recipe, but stems are a bit trickier. I usually chop them up and combine them into the stuffing, or don’t even bother removing them if I use mushrooms in a soup or stew that will simmer for a while. However, big stems just don’t work well in some of the quicker recipes.

That’s why I got really excited when I found out that mushroom stems can be used as a sort of replacement for large scallops. For example, Cara, the person behind a fabulous blog called Fork & Beans, used king oyster mushrooms to make a “scallop” pasta. That got me thinking: why not use the large stems I got to create a vegan “scallop” dish?

There is one major trick to transforming mushroom stems into scallops – you have to soak them in hot water 1-2 hours to overnight. I soaked my batch overnight, actually for almost 24 hours, which is totally an overkill but I just had other things to do the mushroom stems had to wait happily soaking in the refrigerator. The mushroom stems I had were pretty long so I had to cut each in half, so my scallops were about 1 in (2.5 cm) thick. That worked well in terms of cooking too! Before using, drain and dry your mushroom scallops.

Mushroom “Scallops” Soaking, via Eat the Vegan Rainbow

Another advice I can share is to make mushroom scallops the same way you would make scallops, which in my case means simply browning them on both sides, using a bit of oil or cooking spray and sprinkling with Old Bay Seasoning on one side as the first side is finishing cooking. The cooking itself takes no time at all: three to five minutes per side should do the trick!

If you are serving the mushroom “scallops” as is, I suggest you sprinkle them with some lemon juice. I decided to serve them with a Cilantro Yogurt Sauce which I made from homemade soy yogurt, fresh cilantro, crushed garlic and lime juice. The homemade soy yogurt was simple to make and I recommend you try making your own, but if pressed for time store bought plain soy yogurt will do the trick. Here, the tangier the yogurt, the better the yogurt sauce so choose the brand with more tang – I can’t recommend any here because none of the store bought yogurts I tried were really all that good (thus the decision to make my own!). You can adjust the tang with adding a drop of apple cider vinegar or a bit more lime juice.

You can serve these mushroom “scallops”, and the sauce, with pasta or polenta, but I plated them as an appetizer over some fresh baby spinach leaves. The “scallops” were hot when plated, and their heat wilted the spinach a bit as well. I let them sit for few minutes before layering on cold yogurt sauce and serving immediately!!!

In case you were wondering, these don’t really taste like scallops but they are delicious and I love the idea so I will definitely be trying to get the flavor closer to the original, perhaps by trying a different mushroom variety.

Mushroom “Scallops” with Cilantro Yogurt Sauce

What you’ll need:

20 large white button mushroom, stems only

2-3 teaspoons, Old Bay Seasoning

1 cup plain soy yogurt, homemade

1 cup cilantro leaves (about 1 bunch)

2 teaspoon garlic, crushed

2-3 teaspoons lime juice

Baby spinach for plating

Cooking spray

What you’ll do: 

    1. Cut large white button mushroom stems into 1 in (2.5 cm) pieces. Soak in water overnight, or in hot water for 1-2 hours.
    2. Prepare plain soy yogurt according to the instructions on VegCharlotte site. The method I used takes advantage of a crock pot, slow cooker, but it does take at least 14 hours to make so give yourself enough time, or get a tub of store bought soy yogurt. So this recipe is a bit of an overnight flight and you’ll need to get the mushroom “scallops” and the yogurt going one day ahead.
    3. In a food processor, mix yogurt, cilantro, garlic and lime juice. Your yogurt might be more or less solid, mine was more of a kefir than yogurt, but that really does not matter much in this application. At the end you will have a beautiful, aromatic, vibrant sauce regardless of your yogurt consistency. Put your sauce to the side and proceed to deal with the mushroom “scallops”.
    4. When ready to cook the mushrooms, first drain the liquid and pat the mushroom “scallops” dry with a kitchen towel.
    5. Spray the bottom of a large frying pan with cooking spray and place it over the high heat. Brown the mushroom “scallops” on one side for 3-5 minutes. Sprinkle the top with Old Bay Seasoning then turn over for another 3-5 minutes. Plate on the bed of baby spinach that has been generously topped with cilantro yogurt sauce. Serve and enjoy immediately!

Copyright © Eat the Vegan Rainbow, 2017

Soy Yogurt Cilantro Sauce, via Eat the Vegan Rainbow
Cilantro Yogurt Sauce, via Eat the Vegan Rainbow

Vegan Herb Mayo

veganherbmayo
Vegan Herb Mayo, via Eat the Vegan Rainbow
I am a huge sandwich lover – give me some bread, a tasty spread, and a pile of veggies on top any day of the week and at any time of the day, and I’ll be a happy, and a well fed, camper! One of my favorite sandwich spreads of all time is mayo, and I’m not ashamed to admit that in my college days I used to put mayo not only on French fries – I am a European after all – but on spaghetti as well. Although my love of mayo did not waver over the years, my use of it did.

No doubt about it, mayo is delicious. Also no doubt about it, it is not really good for you. Unfortunately, available mayo alternatives, like the light versions or even some of the vegan versions I tried, have not been very good at hitting my taste buds the same way real mayonnaise does. So, I decided to develop my own recipe and I think I am getting close to the ideal.

My Vegan Herb Mayo uses cashews and tofu to build the consistency and body, and Dijon mustard, lemon juice, lemon zest and basil to give this mayo a bit of je ne sais quoi. The result is a lighter and healthier spread that I use on my sandwiches and Sweet Potato & White Potato Medallions. It also makes an excellent Tartar Sauce that you can use on vegan seafood or vegan chicken. Yummy!

veganherbmayo-use
Vegan Herb Mayo Sandwich, via Eat the Vegan Rainbow

Vegan Herb Mayo

What you’ll need:

1/2 cup raw cashews

1/4 cup almond milk

14 oz (400 g) extra firm tofu

1 tablespoon nutritional yeast

1 tablespoon Dijon mustard

1 tablespoon lemon juice

1 teaspoon dry basil

1/2 teaspoon lemon zest

What you’ll do:

  1. Cover the cashews with water and leave them in refrigerator to soak overnight. Then throw the water out and pat dry the cashews
  2. Place tofu in a strainer and let it drain in refrigerator overnight. Next, pat dry the tofu and crumble it into a smaller chunks.
  3. Place all the ingredients into a food processor or a blender and blend until smooth. Enjoy your Vegan Herb Mayo! This mayo stores well in the fridge for up to a week.

Note: If you ever find yourself in a situation where you have leftover Cashew Cream, like for example while making Vegan Chicken Tikka Masala, I suggest taking an extra step and transforming it into this delightful mayo-like spread.

Copyright © Eat the Vegan Rainbow, 2017

Roasted Sweet Potato Butter

fullsizerender
Roasted Sweet Potato Butter, by Eat the Vegan Rainbow
Growing up sweet potatoes never crossed my plate or my palate. My first encounter with this vegetable, and the American love of it, came in the form of a Thanksgiving staple: the sweet potato casserole with pecans and marshmallow topping. Unfortunately, for both me and sweet potatoes, this first encounter was far from a success. I liked the taste of the casserole, but not as a side dish – it was too sweet and too rich. So, I walked away thinking that sweet potatoes have no purpose other than making people who like to overindulge for holidays feel like they ate healthy because they just had some vegetables.

Luckily for me, over the years I slowly introduced myself to sweet potatoes, and I stand before you today, a complete sweet potato convert! My conversion was inspired not only by the fact that sweet potatoes are full of fiber and vitamin A, but my decision to break away from the social norms and expectations. I still can’t stand them on my dinner plate, but I do eat sweet potatoes for breakfast, snack and dessert. If you haven’t tried roasted sweet potato as a grab-and-go snack,  straight from the fridge and cold, you don’t know what you’ve been missing. I know it sounds weird, but do try it – cold roasted sweet potato snack will not disappoint you, I guarantee!

Over the last month I started experimenting with vegan cooking, and few days ago I ended up in the sweet potato heaven, better known as the Roasted Sweet Potato Butter (see recipe below). I was looking for something my family can use instead of butter and maple syrup on their favorite breakfast food, the pancakes. In the past I’ve come across apple butter and pumpkin butter, and the latter got me thinking that  So far we discovered that the Roasted Sweet Potato Butter works on pancakes, and toast, and chocolate mousse, and… It turns out, this simple spread is IT – 50% Thanksgiving, 50% Christmas, and 100% fabulously satisfying. I hope you enjoy it!

Roasted Sweet Potato Butter

img_1247
What you’ll need for Roasted Sweet Potato Butter, by Eat the Vegan Rainbow

What you’ll need:

3 large sweet potatoes

1 orange

1 teaspoon ground cinnamon

1/2 teaspoon ground nutmeg

What you’ll do:

  1. Preheat oven to 425F (220C). Wash sweet potatoes under warm water, scrubbing them with the food brush and put them aside. Line a baking sheet with foil – I find that using foils saves time when it comes to clean-up – and place your potatoes on, nicely spaced out. Once the oven is ready, put it in and forget it for about 30 min. You can check if your potatoes are done by poking them with a fork – if it goes in without resistance your potatoes are done. Take them out and let them cool for at least 4 hours, best overnight.
  2. Once the potatoes are completely cold, peel them and cut them into smaller chunks, about 1 in x 1 in (2.5 cm x 2.5 cm). The size of the chunks depends on the power of your blender, and for the one I have this is as big as the chunks can get to ensure smooth blending. Put your sweet potato in a food processor or a blender.
  3. Add cinnamon and nutmeg.
  4. Add zest of one orange – please remember to wash your orange before zesting!
  5. Add juice of one orange or about 1/2 cup of orange juice.
  6. Blend until smooth.
  7. Store in the glass jar or another type of air-tight container for up to a week, but believe me, this Roasted Sweet Potato Butter will not stand a chance.

Note: Final consistency should be smooth, yet the butter should not be runny. You can adjust consistency to taste by adding more orange juice if needed so I recommend you start with 1/4 cup at first and add as you go, so you don’t end up with a sweet potato smoothie. There is nothing wrong with a sweet potato smoothie, of course, but that is a culinary story for another day!

Copyright © Eat the Vegan Rainbow, 2017