Vegan Saag Paneer

vegansaagpaneer_saffronrice
Vegan Saag Paneer with Saffron Brown Basmati Rice, via Eat the Vegan Rainbow

Few days ago, I shared my recipe for Vegan Chicken Tikka Masala that uses young jackfruit as a substitute for chicken, and slow cooker as a substitute for using ghee to enhance the flavor, as well as huge time and effort saver. Since then I decided to tackle another jewel of Indian cuisine, Saag Paneer. Saag is a traditional Indian dish made of leafy green vegetables, which is a vegan friendly part of this equation, and paneer is soft, white cheese very common in South Asia, a vegan less friendly ingredient. Putting green leafy vegetables, like spinach, together with cheese, spices and cream is a no-brainer, so it is no surprise that Saag Paneer is very popular.

In order to build a vegan version of Saag Paneer, I focused on transforming extra firm tofu into paneer. This turned out to be easier than I expected. First of all, texture of extra firm tofu and your average paneer are very similar. Additionally, they both have mild flavors and creamy consistency. So far so good!

You do need some time and patience with this one though. I prepped tofu the way I usually do by leaving it in the sieve in the fridge overnight. You can use any other method of getting rid of the excess moisture – I prefer the sieve because it requires no work, cans and paper towels are tedious and a bit wasteful, and I am yet to invest in the tofu press. The next morning I cubed the tofu, and let it “marinate” in the dry spice mix for 4-6 hours.

veganpaneer
Vegan Paneer, via Eat the Vegan Rainbow

Even after sitting in the spice mix, the tofu paneer is not quite ready. Although you can use it, I strongly recommend that you first roast the tofu for 20-30 minutes. This roasting step locks in the spices and adds slight crunchiness that makes every bite a treat.

Few additional tips that will help you put this dish together are to do with spinach. I use frozen chopped spinach, as it is ready to go. The traditional Saag Paneer recipe uses quite a bit of cream to make the spinach nice and creamy. I use coconut milk to add a bit of creaminess to it, and the coconut milk adds a bit of its own nutty flavor that I enjoy. But, I don’t rely on coconut milk alone and have discovered some time ago that stick (also known as hand or immersion) blender is indispensable for creating spinach that’s beyond creamy! If you don’t have a stick blender, you can use a blender or a food processor to purée your spinach.

Once the spinach is puréed, it is ready to meet the tofu paneer, and after about 15 minutes of simmering the Vegan Saag Paneer will be ready to meet your taste buds!

img_1315
Vegan Saag Paneer, before the final mix. Via Eat the Vegan Rainbow

Vegan Saag Paneer

What you’ll need:

For tofu paneer

14 oz. (400 g) extra firm tofu

1 tablespoon garam masala

1 tablespoon ground cumin

1 teaspoon garlic powder

For creamed spinach

2 lbs (1 kg) frozen, chopped spinach

1 tablespoon garlic, minced

2 tablespoons tomato paste

7 fl. oz. (200 mL) coconut milk, reduced fat

Cooking spray

What you’ll do:

  1. Place tofu into a strainer and leave in the refrigerator to drain overnight. Then pat dry with a towel and cut into 1 in/2.5 cm cubes.
  2. In a ziplock bag mix dry spices (garam masala, ground cumin and garlic powder) and add tofu cubes to it. Zip the bag and toss gently to coat the tofu pieces evenly. Leave in refrigerator for 4-6 hours.
  3. Heat the oven to 425 F (220 C). Line a baking sheet with parchment paper and space tofu cubes evenly with some room between the cubes. Don’t brush the spice mix off, just roast the tofu pieces as is for 10-12 min, then go in and flip them over and put them back for another 10-12 min, so that they roast on all sides and get golden brown.
  4. On the stove top, spray the bottom of your pan with cooking spray and heat to medium high. Add minced garlic (I prefer the jar variety that taste great in a dish like this and requires no work), and let it start to develop the aroma for about 1-2 minutes. Next add the tomato paste, and let it mature for 1-2 minutes.
  5. Add frozen spinach. Cook with occasional stirring for 15-20 minutes. Let cool for 15-20 minutes, add coconut milk, and then purée with a stick blender until smooth.
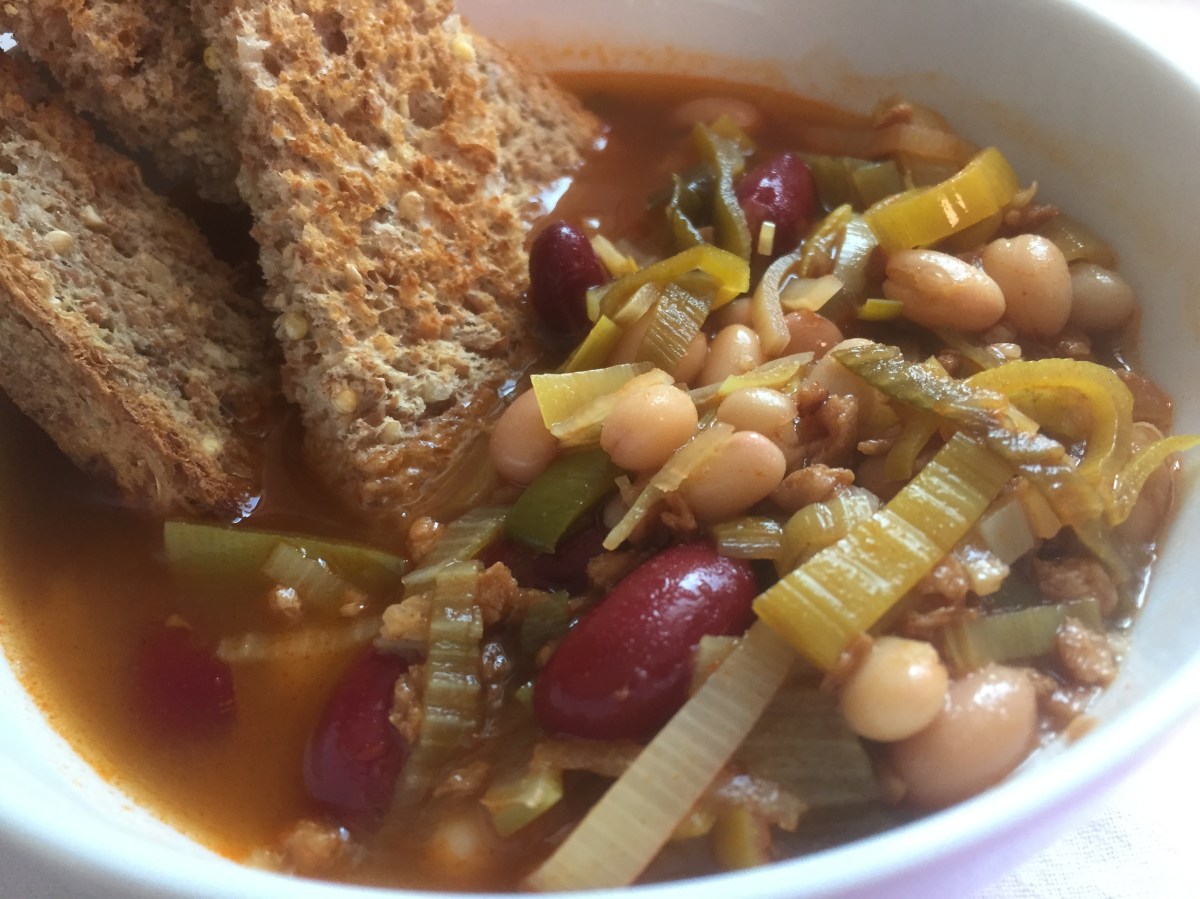
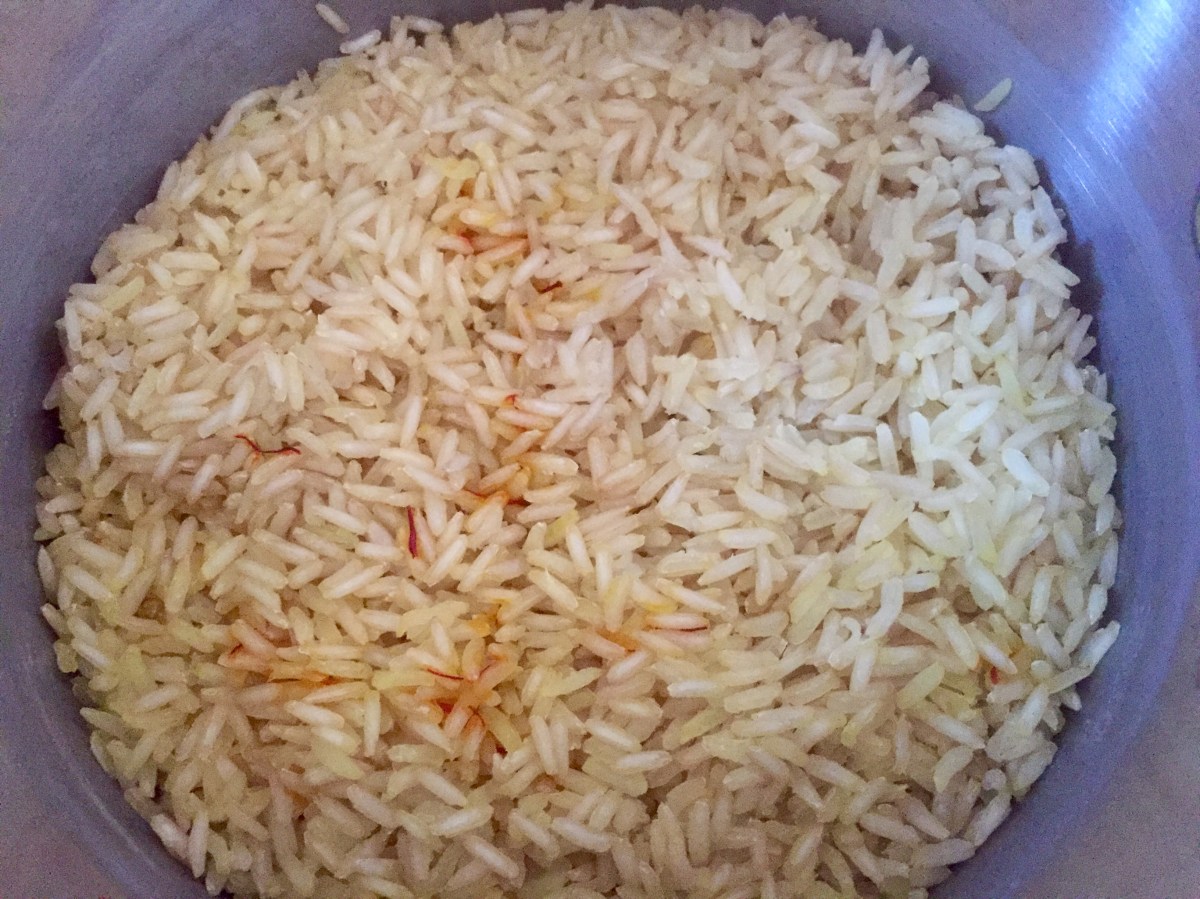
  6. Add roasted tofu and mix gently until tofu is well incorporated. Simmer for 15 minutes. Enjoy with a piece of naan bread, or with Saffron Brown Basmati Rice.

Note: please note that unlike most Saag Paneer recipes I do not add spices to spinach. The flavor intensity comes from tofu paneer, so it is important that your tofu is well coated with the spice mix and nicely roasted until golden brown.

Copyright © Eat the Vegan Rainbow, 2017

Bean & Leek Soup with Soy Chorizo

beanleeksoup
Bean & Leek Soup with Soy Chorizo, via Eat the Vegan Rainbow

One of my recent impulse buys was Trader Joe’s Soy Chorizo. This chorizo is vegan, as well as smokey and  very spicy so a little goes a long way. I enjoyed it as a topping for an otherwise simple tomato and lettuce sandwich, but I also wanted to experiment a bit and see what else I can use soy chorizo for.

Chorizo and beans usually make for an excellent combination, but I wanted something more adventures than a pot of chili. I decided to mix several types of beans, to diversify the texture of the soup I was building, and in addition to soy chorizo use leeks to expand the range of flavors. The three different types of beans I used are small white beans, black-eyed peas, and dark kidney beans, and I used a canned variety of all three because cooking beans from scratch is not my idea of fun. One thing to keep in mind when using canned vegetables is to rinse them well before use to remove excess salt.

The time I saved on beans, I used to deal with leeks. For those of you who are new to leek, it belongs to the onion family and shares a lot of similarities when it comes to flavor with spring onions (scallions) and spring garlic, which unfortunately is not often found in large supermarket chains. Although I do enjoy leek flavor, I don’t really cook with it often mostly because it does need extensive washing to ensure that all the traces of dirt are removed. The method I use to deal with this is something I’ve seen on Food Network, where you slice the leek and submerge the slices in water. You need to leave chopped leek in for few minutes to let the sediment and dirt fall to the bottom of the bowl, then scoop, rinse and dry the leek slices. They are now ready to go!

cleaningleeks
Cleaning Leeks, via Eat the Vegan Rainbow

Bean & Leek Soup with Soy Chorizo

What you’ll need:

2 leeks

1 15.5 oz (439g) can small white beans

1 15.5 oz (439g) can black-eyed peas

1 15.5 oz (439g) can dark kidney beans

1/2 soy chorizo

32 oz (907 g) vegetable cooking stock

3 bay leaves

Cooking spray

What you’ll do:

  1. Slice leeks across into thin rounds, then separate each round into individual circles. Fill a large bowl with water and submerge leek circles in it. Let them sit for 5-10 minutes. Using a skimmer spoon to remove the leek without disturbing the sediment that has collected at the bottom of the bowl. Give leek one more rinse, then pat dry with the cloth towel.
  2. Spray the bottom of a large pot with the cooking spray and turn the heat on to medium high. Add leek and let caramelize for 5 minutes or so.
  3. Add soy chorizo and stir to mix. If you are using Trader Joe’s brand please make sure that you remove the casing as this is not edible. Break the chorizo to small pieces and brown leek and chorizo mix for 3-5 minutes.
  4. Add well-rinsed beans to the pot and stir. Cook for another 5 minutes, mixing frequently.
  5. Add vegetable stock and bay leaves to the post. Bring the soup to boil, then decrease the heat to low and let the soup simmer for 15-20 minutes.
  6. Serve the soup with some toast, corn chips or freshly baked bread. If you are feeling very decadent, you can top this soup with some Cashew Cream, or vegan shredded cheese of your choice. Some lime juice would work well, too!

Note for those using Trader Joe’s Soy Chorizo: I used only half of Trader Joe’s Soy Chorizo, which added just enough flavor and spiciness to this soup as far as I am concerned. If you prefer more kick, go ahead and use the whole thing. If you are more on a cautious side, save the other half and transform it into my Vegan Mexican Lasagna. 

Copyright © Eat the Vegan Rainbow, 2017

Saffron Brown Basmati Rice

saffron_brownbasmatirice
Saffron Brown Basmati Rice, via Eat the Vegan Rainbow
Basmati rice is a staple of Indian cooking. It’s very long grained and comes with a special kind of nutty flavor. Brown basmati rice enhances that nuttiness so I prefer it to the white variety. Having said that, white basmati rice will work just as well as the brown kind and can me made using the same strategy.

What’s the secret to perfect basmati rice? In my view, the perfect basmati rice is fluffy, and not sticky, with individual rice grains that remain well defined and almost al dente. The best way to get there is to rinse your rice well under cold water, and add it to the boiling water. After you bring the water back to boiling, stir your rice, reduce the heat to low, and leave the lid off to let the water slowly evaporate and the rice gently cook. Rice will be done in about 25 to 30 minutes, and you will need to use the fork to fluff it up before serving.

For the Saffron Brown Basmati Rice I add saffron springs towards the very end, mix them in gently and let saffron release it’s characteristic flavor and intense orange color. This rice has distinct, yet subtle flavor which makes it a perfect accompaniment to any Indian dish, like Vegan Chicken Tikka Masala or Vegan Saag Paneer.

Saffron Brown Basmati Rice

What you’ll need:

1 cup brown basmati rice

2 cups water

5-6 saffron springs

What you’ll do:

  1. Bring water to boil.
  2. Rinse the rice under cold water and add it to the boiling water. Mix well.
  3. Bring the pot back to boil, then turn to low. Mix again. Keep the lid off and let rice cook until all the liquid is absorbed and gone without more mixing. This should take about 25-30 min.
  4. Just before you turn the heat off, add saffron and very gently mix in. Let rice sit for another 5-10 minutes. Fluff up with the fork and serve!

Copyright © Eat the Vegan Rainbow, 2017

Vegan Herb Mayo

veganherbmayo
Vegan Herb Mayo, via Eat the Vegan Rainbow
I am a huge sandwich lover – give me some bread, a tasty spread, and a pile of veggies on top any day of the week and at any time of the day, and I’ll be a happy, and a well fed, camper! One of my favorite sandwich spreads of all time is mayo, and I’m not ashamed to admit that in my college days I used to put mayo not only on French fries – I am a European after all – but on spaghetti as well. Although my love of mayo did not waver over the years, my use of it did.

No doubt about it, mayo is delicious. Also no doubt about it, it is not really good for you. Unfortunately, available mayo alternatives, like the light versions or even some of the vegan versions I tried, have not been very good at hitting my taste buds the same way real mayonnaise does. So, I decided to develop my own recipe and I think I am getting close to the ideal.

My Vegan Herb Mayo uses cashews and tofu to build the consistency and body, and Dijon mustard, lemon juice, lemon zest and basil to give this mayo a bit of je ne sais quoi. The result is a lighter and healthier spread that I use on my sandwiches and Sweet Potato & White Potato Medallions. It also makes an excellent Tartar Sauce that you can use on vegan seafood or vegan chicken. Yummy!

veganherbmayo-use
Vegan Herb Mayo Sandwich, via Eat the Vegan Rainbow

Vegan Herb Mayo

What you’ll need:

1/2 cup raw cashews

1/4 cup almond milk

14 oz (400 g) extra firm tofu

1 tablespoon nutritional yeast

1 tablespoon Dijon mustard

1 tablespoon lemon juice

1 teaspoon dry basil

1/2 teaspoon lemon zest

What you’ll do:

  1. Cover the cashews with water and leave them in refrigerator to soak overnight. Then throw the water out and pat dry the cashews
  2. Place tofu in a strainer and let it drain in refrigerator overnight. Next, pat dry the tofu and crumble it into a smaller chunks.
  3. Place all the ingredients into a food processor or a blender and blend until smooth. Enjoy your Vegan Herb Mayo! This mayo stores well in the fridge for up to a week.

Note: If you ever find yourself in a situation where you have leftover Cashew Cream, like for example while making Vegan Chicken Tikka Masala, I suggest taking an extra step and transforming it into this delightful mayo-like spread.

Copyright © Eat the Vegan Rainbow, 2017

Zucchini is the New Spaghetti

zuchinni_spaghetti
Zucchini spaghetti, via Eat the Vegan Rainbow
Zucchini spaghetti are vegan, gluten free and guilt free pasta for the 21st century! Easy and quick to make, zucchini spaghetti are also versatile and friendly to many different toppings and sauces. I paired them with Roasted Artichoke Hearts with Cashew Crumble, sprinkled with crushed red pepper flakes, and walked away satisfied!

Cooking zucchini spaghetti takes almost no time at all, as the dish is done in less than 15 min. However, transforming zucchini into spaghetti does take some time and some specialized equipment. You’ve likely noticed the rise of spiralizers and spiralizing. My local grocery store chain even carries spiralized vegetables (zucchini, summer squash, carrots and butternut squash). My first attempt at zucchini spaghetti did start from the store bought spiralized zucchini. We absolutely loved the flavor and I wanted to make zucchini spaghetti part of our regular dinner menu. So I needed to find a more cost-effective way to enjoy zucchini spaghetti without paying inflated price at the store or buying a spiralizer.

Here, America’s Test Kitchen came to my rescue. ATK has an excellent post on how to spiralize and cook spiralized vegetables, and one of the suggestions they give is to use mandoline slicer to make spaghetti. Bingo! I resurrected my mandoline slicer from the basement bin of infrequently used kitchen implements, and bought two nice and long zucchini to test this method out. As you can see from the picture, this experiment was a success and two zucchini gave enough spaghetti for 3-4 servings.

All this makes me extremely excited because I finally found something I can use my mandoline slicer for, and I found a low calorie, healthy and satisfying substitute for one of my favorite foods on earth, spaghetti!

Zucchini Spaghetti

What you’ll need:

2 long zucchini

1 1/2 teaspoon minced garlic

cooking spray

What you’ll do:

  1. Spiralize zucchini using a spiralizer or a mandoline slicer.
  2. Heat the skillet with some cooking spray on medium heat.
  3. Add zucchini spaghetti and minced garlic to the skillet. Use tongs to gently move zucchini spaghetti around so it cooks evenly.
  4. Give yourself 5-10 minutes of cooking time and enjoy!

Note: The resulting spaghetti are a bit wet, and what I like to do is to pour excess liquid out once the cooking is done. You can decrease the amount of moisture if you roast the zucchini (this is the method ATK post recommends), or if you scoop put the middle. I think I may try to do that next and see what happens. In that case do remember that you can use what you scoop out in a soup, or a stew. 

Copyright © Eat the Vegan Rainbow, 2017