Dark Chocolate Donuts – oil-free, gluten-free, and vegan

Dark Chocolate Donuts - Vegan, Gluten-Free
Dark Chocolate Donuts, via Eat the Vegan Rainbow

Quite frankly, these donuts are nothing like the donuts I grew up with. Those were masterpieces of my grandmother, made with yeast-based dough that would rise for hours, be beaten down, and kneaded, rolled out, cut in circles with a glass and fried in some piping hot oil. Then, while still hot, dusted with powdered sugar or injected with jam. Those were donuts of my childhood and I loved making them with my grandma!

Now that I am well into my adulthood and struggling to maintain healthy weight, and allow myself an occasional treat, I’ve been re-inventing old treats into new treats. With less (or in this case no) oil, less sugar, and taking far less time to make, yet equally as delicious!

One thing that makes these donuts possible is a non-stick donut pan. I never thought I would buy one, but I did, and it works really, really well. Although these donuts don’t have any wheat flour and are surprisingly sticky and wet, they came out perfect, and I think that’s all thanks to the pan. (I got this one from Amazon, in case you are wondering).

The donuts some together in less than 5 minutes, and take about 15 minutes to bake. You need a large bowl and a spatula. No waiting for dough to rise, no rolling it out, none of that. All you need to do it spoon it into the donut pan, fill each ring about 3/4 of the way full, leaving the room on the top for donuts to rise and fill, and that’s it!

The dough will be sticky and dense, so you will need to spoon it out bit by bit, until the donut ring is done. Don’t overfill as I said and don’t pack it in too much. You will need to nudge the dough in and smooth the surface a bit, but try not to overfill. It’s best to bake in batches than end up with a batch that’s not looking too good.

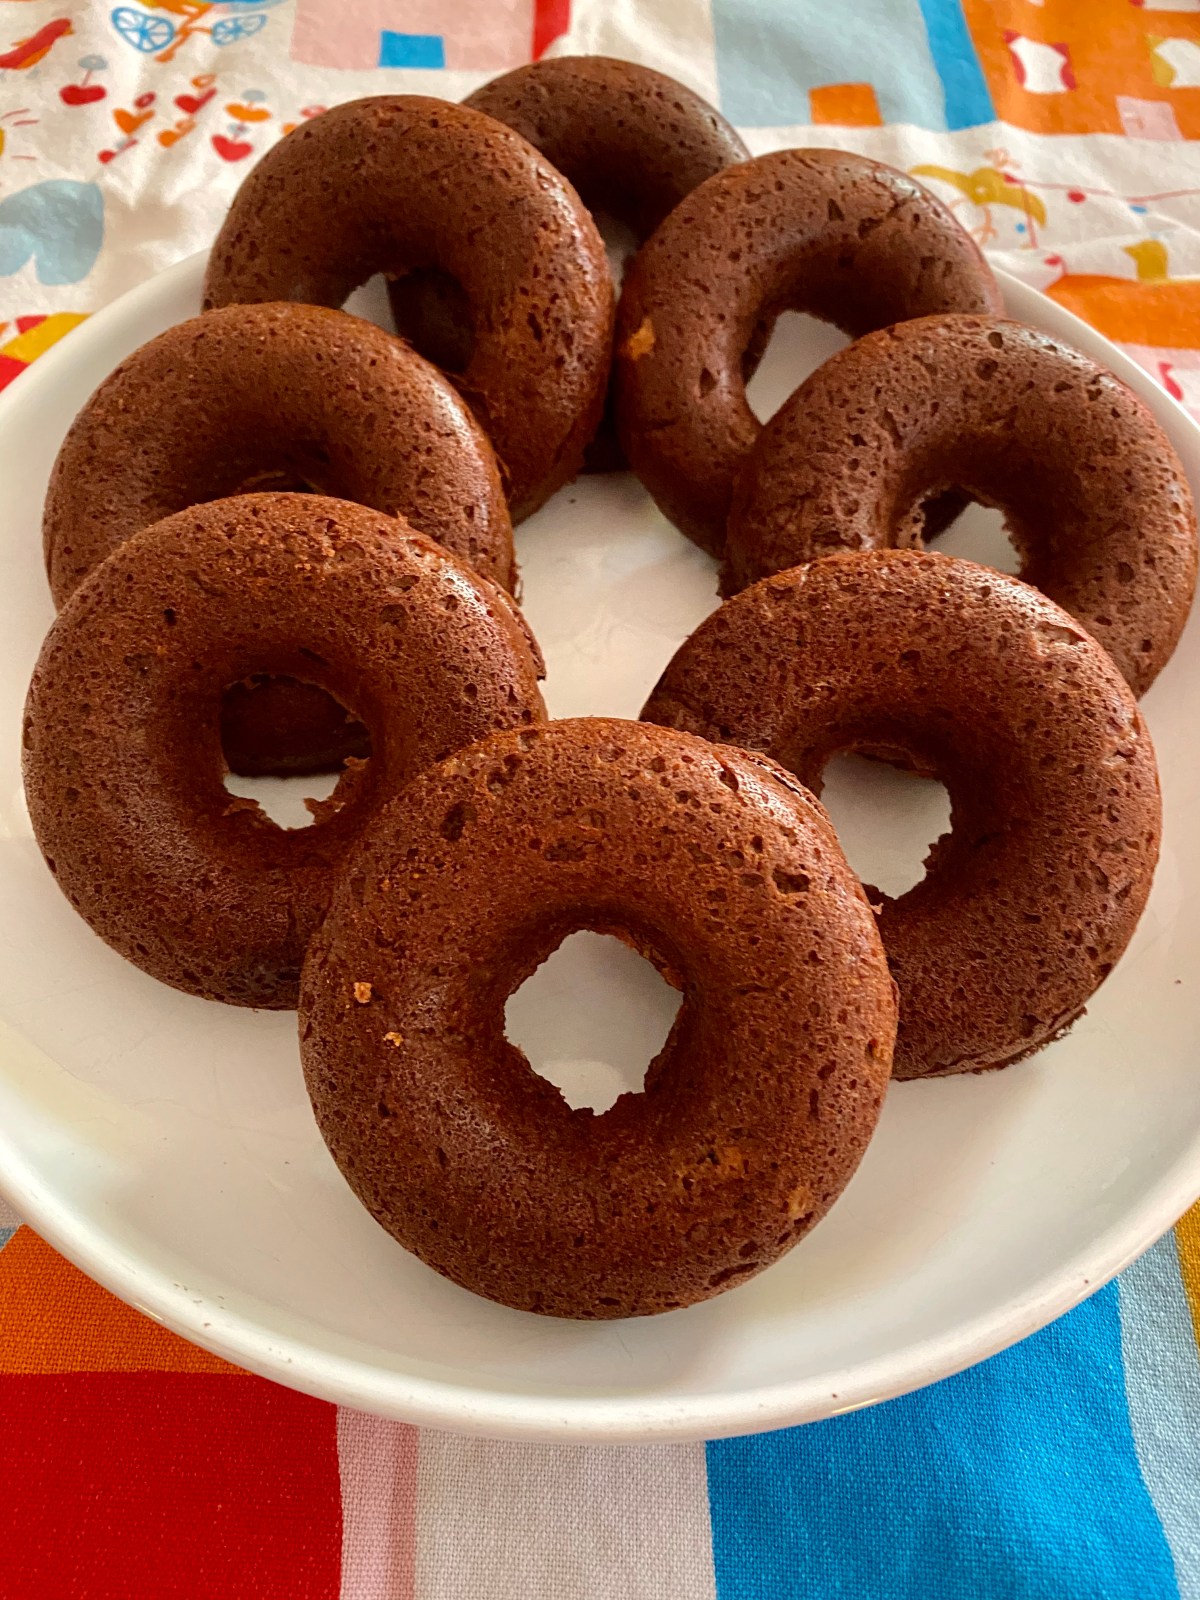
These donuts are not very sweet, which is the way I prefer them. But if you do have a sweet tooth you can glaze them by simply using some powdered sugar and a squeeze of lemon juice to make a dense sugar paste. Or you can melt a bit of dark chocolate and dunk them in for a chocolate glaze. Feel free to go as wild as you like, and enjoy!


Dark Chocolate Donuts – oil-free, gluten-free, and vegan

What you’ll need:

  • 1 cup almond flour (this is usually called bleached almond flour and it is not almond meal; coconut flour will probably work as well, and any gluten-free flour will likely work too but using rice flour will make this less keto-friendly if you are into that sort of diet)
  • 1/2 cup pea protein powder, unsweetened (you can use any vegan protein powder and you could use sweetened versions and vanilla or chocolate flavored ones – in that case you need to remember to dial down maple syrup)
  • 2 tablespoons dark cacao powder
  • 2 tablespoons maple syrup
  • 1 cup unsweetened apple sauce
  • 1/4 cup almond butter, creamy and unsalted (you could use peanut butter, but I find almond butter to be of a milder flavor)
  • 2 tablespoon vanilla
  • 1 teaspoon baking soda
  • 1 teaspoon baking powder
  • 1/2 lemon – juice (about 1/4 cup)


What you’ll do:

  1. Preheat the oven to 375 F (190 C).
  2. In a large mixing bowl, combine all the ingredients – except the lemon juice. Using a spatula or a similar flat mixing utensil, mix  well until fully incorporated, smooth and even.
  3. Add the lemon juice and mix again until all is fully mixed in. This will take about 2-3 minutes of mixing. The dough will be moist, sticky and dense.
  4. Use a small spoon to transfer the dough into the donut pan. Spoon it out bit by bit, until a donut ring is done, then proceed to the next ring and so on until all the rings are full or all the dough is used up. Don’t overfill as I said and don’t pack it in too much. You will need to nudge the dough in and smooth the surface a bit, but try not to overfill. The amount of though is enough for 8-10 donuts using regular size donut pan (like this one, which is sold as a pair on Amazon).
  5. Bake for 12-15 minutes, until the tooth pick comes out clean. Let cool for 5-10 minutes before taking out of the pan. The donuts should slide right out and are ready to enjoy!
COPYRIGHT © EAT THE VEGAN RAINBOW, 2020

Quinoa Breakfast Scramble (oil-free)

Quinoa Breakfast Scramble, via Eat the Vegan Rainbow

What’s for breakfast? This question takes a whole new meaning on weekends (I luckily have those off), when I am around to spend time experimenting and entertaining. I love making waffles, pancakes, and muffins. Lately, I started getting myself into eating more protein for breakfast, so I’ve been gravitating towards tofu scrambles (see recipes here and here). They are yummy and delicious, and I love them!

But: I also like some variety, and that led me to looking for other high-protein plant-based alternatives. Quinoa is the queen of plant protein – it is a fantastic substitute for rice, and I use it in many different recipes, from those that are supposed to be complete meals (like stuffed eggplant (the same recipe can be used to stuff peppers) and gumbolaya), to side dishes (see here for a very festive side dish with quinoa, roasted cranberries and pistachios – yummy!). Because quinoa is such a great source of plant-based protein, I have also developed a recipe for a ground beef substitute featuring quinoa. In this way quinoa can me your go to for tacos, pizza topping and similar.

With all that said, I wanted to see whether quinoa makes a good breakfast – and it does! The recipe below is just one illustration of how great a quinoa-based breakfast can be. You can also eat quinoa the same way you would oat meal – topped with fruit, syrup, even granola and yogurt. However, quinoa is not as quick to make as oats, so I recommend that you prepare a batch of quinoa and then store it in fridge for 3-5 days and use as needed.

There are a few tips for preparing quinoa. First of all, I recommend soaking for few hours (on the kitchen countertop) to overnight (in the fridge). Quinoa is covered with bitter compounds called saponins. These are totally natural compounds produced by the plant as it grows, and used a sort of protection from pests (not even pests like bitter things!!!). Soaking and extensive rinsing will help wash these chemical compounds away, and you can tell they are there if foam forms as you are rinsing. One thing to note is that a lot of quinoa on the market has been treated to remove saponins – on one hand that is good because you don’t need to worry about the bitter taste, on the other hand depending on the process used some of the nutritional value of quinoa may have been removed as well. By the way, eating saponins at the amount present on quinoa will not hurt, just in case you are wondering, but the flavor is likely going to be affected. Bottomline: I soak and rinse my quinoa very well before cooking.

And because the quinoa is already wet and soaked, I cook it in less water, usually 1.5 cups of water to 1 cup quinoa. The easiest way to cook quinoa is to use a pressure cooker (it takes 8-10 min on rice cycle, if you have instant (electric) pressure cookers with preset menu to choose from), or about 20 min on the stove top.

Once quinoa is cooked and cooled, you can store it for 3-5 days in the fridge and use as needed, for a scramble recipe below, for salads, as a porridge-type breakfast, as a side for your dinner, or to make any one of your favorite recipes that call for rice or any other type of grain. Enjoy!

Quinoa Breakfast Scramble (oil-free)

What you’ll need:

  • 1 1/2 cups cooked quinoa
  • 8 oz mushrooms, sliced
  • 3-4 artichoke hearts, sliced
  • 8 oz baby spinach leaves
  • 1/4 cup nutritional yeast
  • 1 teaspoon garlic powder
  • 1 teaspoon onion powder
  • 1 teaspoon paprika
  • 1/2 teaspoon smoked paprika
  • (Optional): oil or cooking spray. Omit for oil-free version.

What you’ll do:

  1. Add mushrooms to a large non-stick pan and place over medium-high heat. If using oil or cooking spray, add to pan and bring to heat before adding the mushrooms. Cook with stirring until mushrooms are soft and browned. This takes about 4-5 minutes.
  2. Add the artichoke hearts, mix well and sauté for another 2-3 minutes.
  3. Add the cooked quinoa, and all the other ingredients except the spinach. Mix well and cook for 4-5 minutes more.
  4. Last: add the spinach – it will be bulky and take up a lot of space. But don’t panic: slowly incorporate the spinach. It will start to wilt and reduce in size as it heats up and mixes in. Baby spinach leaves take about 2-3 minutes to wilt and soften, so keep stirring until incorporated, reduce the heat to low, cover with a lid, and leave for couple of minutes.
  5. Serve as breakfast, lunch or dinner. If serving as a breakfast, complement with a bowl of fruit and perhaps a piece of toast. Enjoy!
COPYRIGHT © EAT THE VEGAN RAINBOW, 2020