Gluten-free Cinnamon Raisin Monkey Bread

Gluten-free Cinnamon Raisin Monkey Bread, via Eat the Vegan Rainbow

Have you ever heard of monkey bread? Well, neither have I until recently when I started thinking about an easy breakfast type of a bread that can be made quickly and without much fuss. Monkey bread, a pull apart sticky bread full of cinnamon and drenched in a sticky syrup, is one such option.

Most recipes for monkey bread out there start with a pre-made biscuit dough of some sort – this is fine, especially when you are in a rush, but most of these doughs are not gluten-free. Also: if you are paying attention to what you eat and how much salt and fat you consume, these products are probably not for you although most of them are actually vegan.

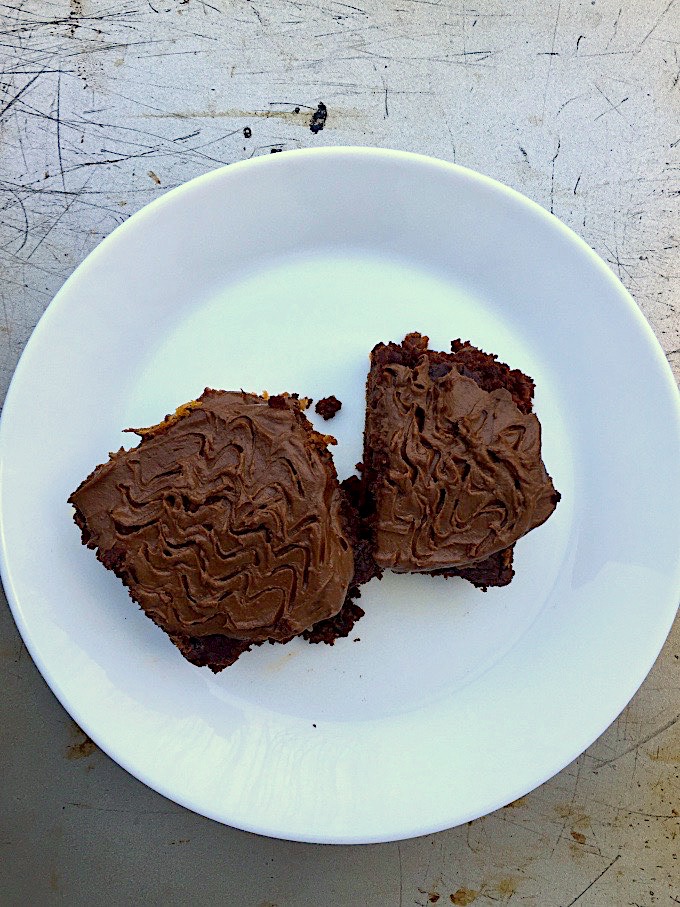
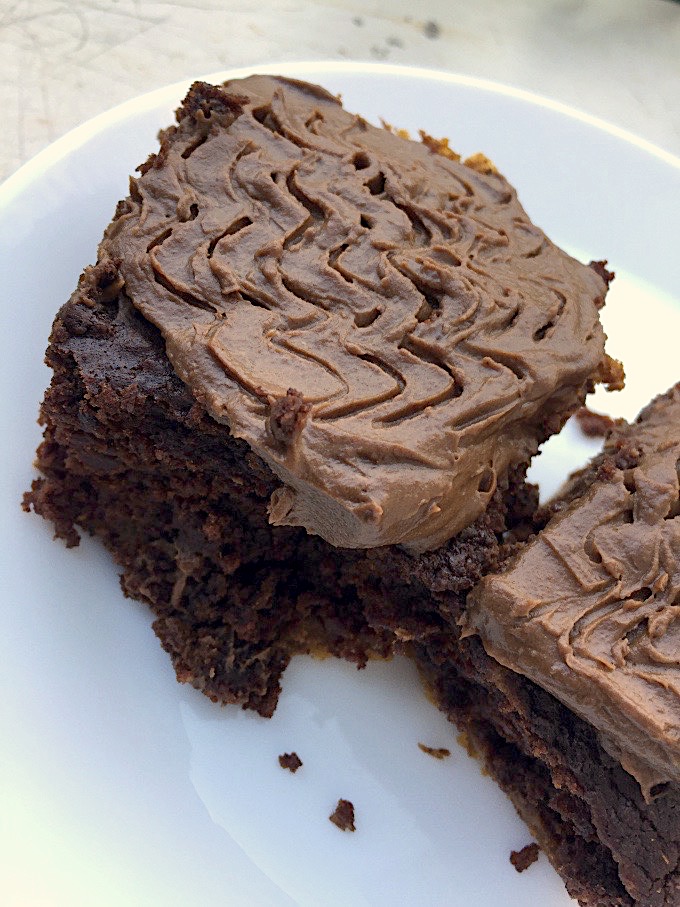
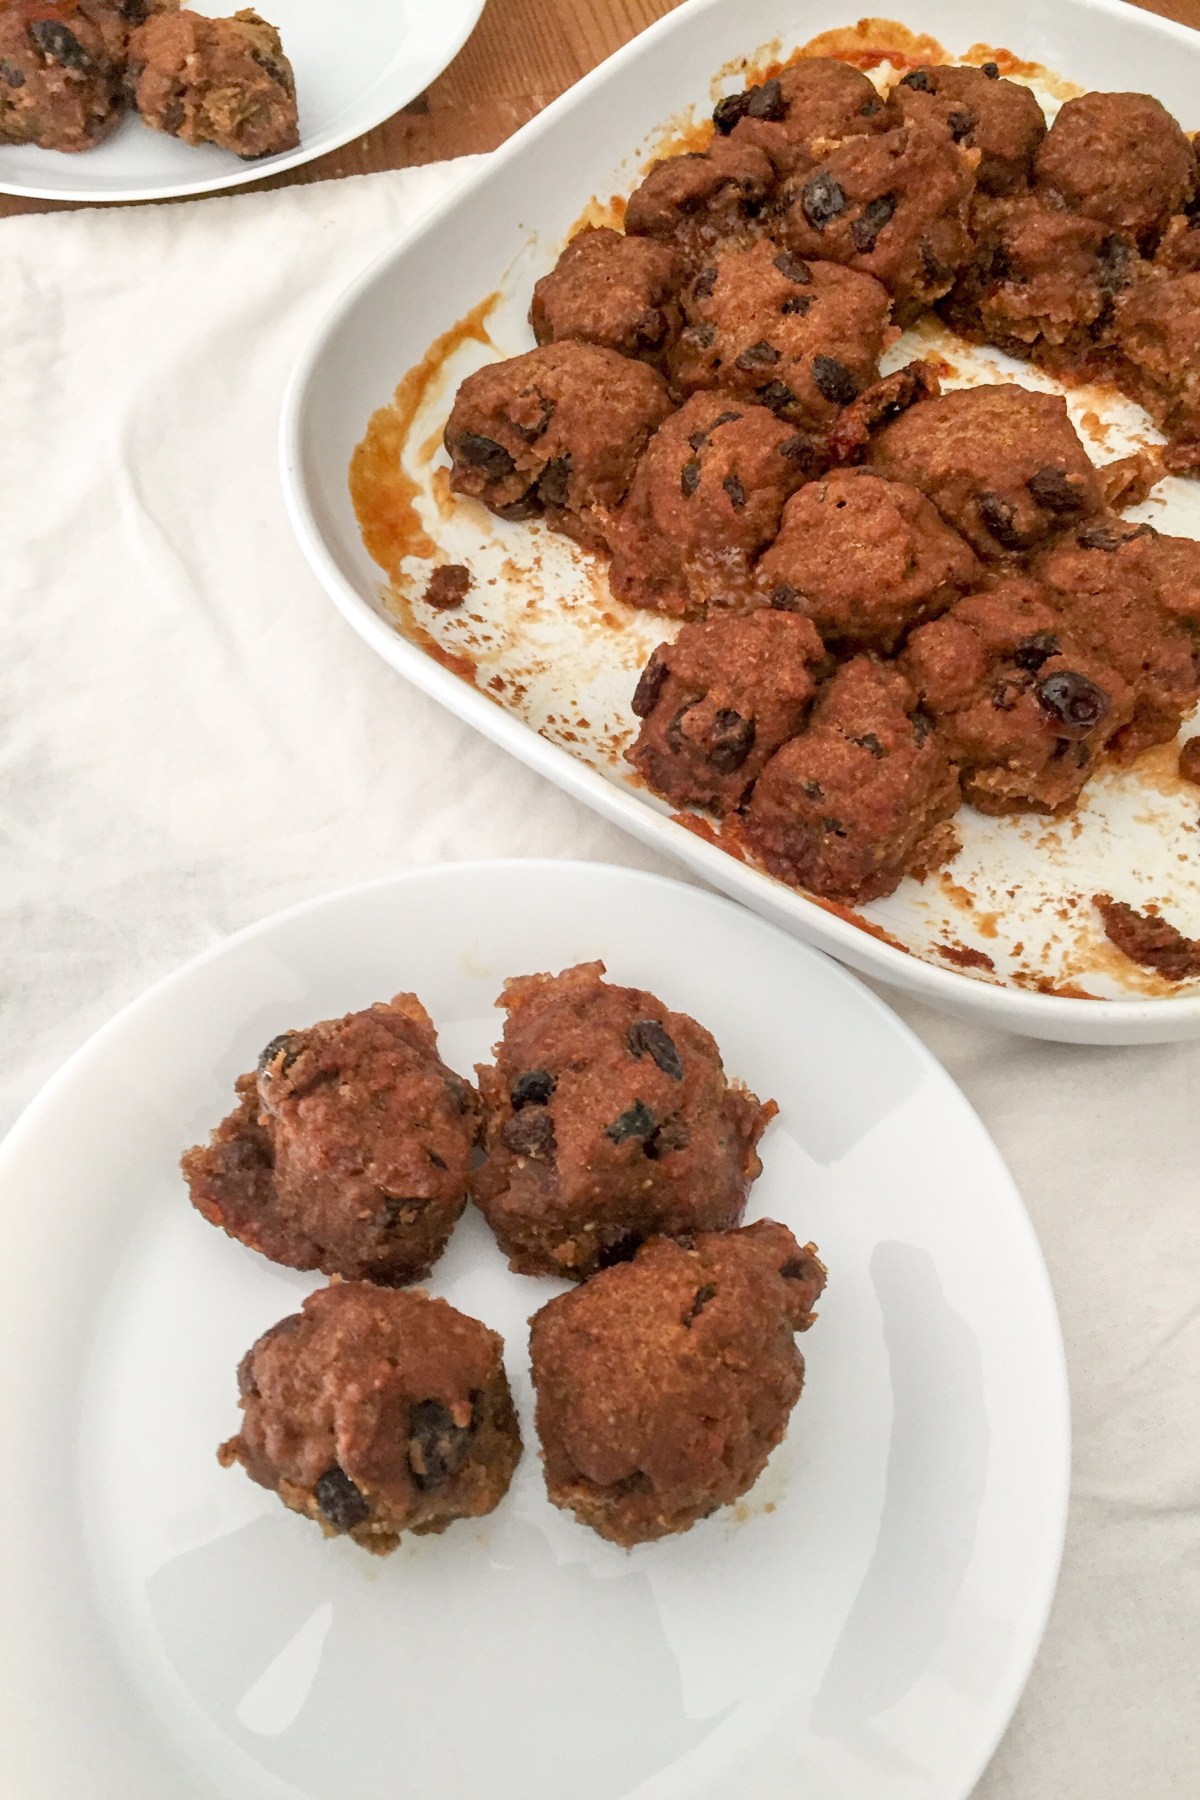
The recipe below is my attempt at making monkey bread that is gluten-free, relatively low on oil (and you can skip oil if you want an oil-free version), and full of lovely fruit and vegetable. To boost the flavors and sweetness, I am using pumpkin purée and raisins, and too boost healthy fats and provide a binder for the bread dough I am using chia seeds. Lastly, I am not using a great deal of sticky syrup – but just enough agave syrup to make this slightly over the top. This means that unlike monkey breads you may have had in the past this one is not dripping with gooey syrup, although it is sticky (and finger licking’ good!).

You can play with arrangements of the small dough pieces when you start to lay them out, and create any pattern you like. Traditional monkey bread is made in the Bundt pan. If you would like to experiment with that you will need to make several adjustments to the recipe below. First of all, you will need to prepare a different sticky sauce that is made from brown sugar and butter, and if you don’t want to use butter (vegan or otherwise), you may want to use a bit of corn or tapioca starch as a thickener. The sticky sauce would go to the bottom of your pan and dough chunks are layered one on top of each other. In that case, you will need to double the amount of dough from the recipe below and follow the instructions on how to assemble the bread here.

Gluten-free Cinnamon Raisin Monkey Bread

What you’ll need:

1 cup raisins

1/2 cup chia seeds

1 cup hot water

1 cup rice flour

1/2 cup arrowroot flour

1/4 cup glutinous rice flour (or corn/tapioca starch)

1 teaspoon baking powder

1 teaspoon baking soda

1 tablespoon cinnamon 

3/4 cup  pumpkin purée

3 tablespoons oil (canola or vegetable; you can skip if oil-free)

1 tablespoon apple cider vinegar 

1/3 cup agave nectar (or maple syrup), divided

Butter or oil for greasing the baking dish (optional)


What you’ll do:

  1. Cover the raisin with some water and leave them to soak overnight. If you are in a pinch and need them sooner, you can soak them in hot water and they should be ready to use within 15-30 minutes.
  2. When ready to make the monkey bread, turn the oven on to 350 F (175 C).
  3. Soak chia seeds in a cup of boiling water until gel-like substance forms. This usually takes 10-20 minutes.
  4. While chia seeds are soaking, mix together all the dry ingredients (flours and spices).
  5. In a separate bowl, mix together the wet ingredients: pumpkin puree, soaked chia seeds, oil, and vinegar. Mix well.
  6. Pour the wet ingredients into the dry ones, mix well, then add the raisins and mix again.
  7. Grease the bottom and the sides of a baking dish (8 x 8 in (20 x 20 cm)). You can skip this step if you are using a high quality non-stick pan. Pinch smaller chunks of the dough (roughly 1/4 cup), form into a ball by gently rolling (don’t pack too tightly, the dough should feel loose but not falling apart), and start arranging the monkey bread by placing the balls next to each other. Let them touch but don’t press the balls together. If you can’t squeeze them all in, start another layer and continue until all the dough is used up.
  8. When all the dough balls are all arranged, brush one half of the agave nectar over the top, and bake for 20-30 minutes. The monkey bread is done when the surface is completely brown.
  9. Take the monkey bread out of the oven, brush the rest of the agave nectar over, and leave to soak and cool for 15 minutes or so before digging in!

Copyright © Eat the Vegan Rainbow, 2019


Pumpkin Brownies with Chocolate Avocado Frosting

Image 2-12-19 at 8.25 AM
Pumpkin Brownies with Chocolate Avocado Frosting, via Eat the Vegan Rainbow

The magic of chocolate is real – just ask anyone who has ever had a piece of delicious, rich, dark chocolate goodness. Of course, that makes desserts like brownies so addictive. But: they don’t need to be such a guilty pleasure if you take the time to add couple of things that are good for you, like fruit and veggies, and take away couple of things that are not so good, like added sugar and eggs. And the best thing about this strategy is that, guess what? – nobody will know your secret.

I recently profiled a Veggie Patch Brownie recipe from a recently published cook book, and that inspired me to experiment on my own. My concoction includes lots of vegan chocolate – Enjoy Life is the brand I can find around where I live but any semi-sweet vegan chocolate chips or baking chocolate will work – and some vegan butter which you could likely omit if going for a really healthy version. But, if you are making these brownies for a special occasion like Valentine’s Day, Thanksgiving, St. Patrick’s Day, New Year’s Eve, graduation…, being a bit indulgent seems justified to me. In a need of healthier option? These brownies full of oats and chickpeas may do the trick!

Another thing to note is that you don’t need to use pumpkin purée if not available. You can replace it with sweet potato or butternut squash purée. Even carrots would work here – all you need is a dense purée made of somewhat sweet vegetable and you should be fine. I usually recommend roasting (not boiling) the vegetables, as roasting brings out more sweetness and makes the veggies less mushy.

One final tip? Oh, yes: let the brownies cool completely before frosting and after you frost them it’s best to give them some time for the frosting to firm up a bit before biting in. Happy eating!

Image 2-12-19 at 8.25 AM (1)

Pumpkin Brownies with Chocolate Avocado Frosting

What you’ll need:

FOR THE BROWNIES:
  • 4 tablespoons golden flax meal (other flax meal will work as well)
  • 1 cup hot water 
  • 1 stick butter, softened (vegan, or if making vegetarian version regular butter will work)
  • 10 oz dark chocolate chips (vegan brand I like is Enjoy Life)
  • 1 15 oz (425 g) can pumpkin purée
  • 2 cups flour (all-purpose gluten-free if needed)
  • 2 teaspoons baking powder
  • 1 teaspoon baking soda
  • 1 teaspoon cinnamon 
  • 1/2 teaspoon nutmeg 
  • 1/4 teaspoon clover
  • 1 tablespoon lemon juice
FOR THE FROSTING
  • 1 cup dark chocolate chips, melted
  • 1 avocado
  • 2 tablespoons butter, softened

(Optional toppings): Sprinkle with crushed freeze-dried strawberries and/or raspberries for a Valentine’s Day version; or chopped shelled pistachios for St. Patrick’s Day; or top with chopped walnuts or shredded coconut for an extra special winter holiday spread.


What you’ll do:

  1. Preheat the oven to 350 F (175 C).
  2. Pour 1 cup of boiling water over the flax meal, mix really well and set aside to soak for 5-10 minutes. Flax meal should become gooey and dense, almost like a gel.
  3. Place the chocolate chips into a microwave safe bowl or a double boiler. If using a double boiler, bring water to boil then add the chocolate chips, and mix until about 75% melted. Take off the double boiler and continue mixing until all chocolate is melted, smooth and combined. You will need to do the same if using microwave oven. Microwave on high in 30 second increments. After each 30 second period, check the chocolate and mix. Stop when about 75% of chips are melted, but continue to mix. Your bowl and the chocolate will have enough residual heat to melt the rest.
  4. Add softened butter, melted chocolate chips, pumpkin purée, and soaked flax meal into the food processor and combine until smooth.
  5. In a large mixing bowl, combine the dry ingredients: flour, baking soda, baking powder and all the dry spices.
  6. Add the wet ingredients as well as the lemon juice and mix well.
  7. Pour the batter into a 9 x 13 in (23 x 33 cm) slightly greased pan. Even the top out then bake for 25 minutes or so. Your brownies are done when the top looks baked and the sides look as they are starting to come loose. Please note that these brownies have lots of chocolate so the toothpick may not come out dry. But, it should still be fairly dry, with perhaps some melted chocolate on it.
  8. Take the brownies out of the oven and let them cool completely. They should be room temperature before frosting.
  9. To make the frosting, mix the softened butter with avocado using a hand held mixer, a stick blender or a blender. Add melted chocolate and mix until creamy. Spread the frosting over the brownies, decorate as desired (the wiggles on my photo above were done using a fork), and let the frosting firm up (30-60 minutes should do it!). You can sprinkle any or all of the optional toppings or leave as is. 
  10. Cut into square and serve! These brownies are very rich, without being very sweet and you will likely not need ice cream or whip cream to go with them – but if that’s how you roll, then just roll with it!!!

Copyright © Eat the Vegan Rainbow, 2019

Grilled Corn with Cilantro and Lime

Cilantro and Lime Grilled Corn, via Eat the Vegan Rainbow

Corn is amazing for many reasons. It’s incredibly sweet and delicious, it is easy to make, and it is super cheep during summer months while in season. Outside that window, fresh corn is still really affordable and you can enjoy it year round.

Corn requires minimal preparation, can be ready in no time and it’s naturally gluten-free. Moreover, if you can’t get fresh corn you can always youse frozen corn because it will work almost as good as fresh one.

Let me illustrate some of what I just said with a very simple corn side dish. I developed this recipe as a side for summer cook-outs and burgers (some of my favorite burgers that this corn goes really well with are Chickpea Burgers with Sun Dried Tomatoes and Walnut Meat – YUM!), but it can definitely be made year-round. Although you could steam your corn and then follow the steps below, for best results I recommend grilling. You can grill the corn on your outdoor grill, or using a grill pan – exact method does not matter. What matter are those lovely grill marks and getting some charring on the corn, which really adds a lot of flavor.

Other than getting those lovely grill marks, the rest of this recipe is super quick and easy. All you need to do is toss the chopped corn with couple of flavoring agents, lime juice for a bit of acidity, lime zest for a bit of crispness, some fresh cilantro for a bit of freshness, some fire roasted green chiles for some spiciness, and a bit of oil that helps all these flavors stick to the corn and each other better.

You can serve the corn immediately after tossing it with the rest of the ingredients, but I recommend that you stay patient and wait for 10-15 minutes for all the flavors to come together and infuse the corn. Then you can dig in!

img_5664

Grilled Corn with Cilantro and Lime

What you’ll need:

4 ears of corn, grilled

1 lime, juice and zest

2 tablespoons olive oil

1 tablespoon fire roasted chile peppers (from the can)

¼ fresh cilantro, finely chopped

Salt, to taste (optional)

What you’ll do:

  1. Grill the corn using an outdoor grill. If none is available, you can cook your corn in the microwave oven, then add grill marks using a grill pan, or go directly to the grill pan. Usually, it takes 3-5 minutes per side, and you do need to stay close and keep an eye on the corn so that it doesn’t burn. Let the corn cool just slightly, so that you can handle it, then chop each ear of the grilled corn into 4 pieces.
  2. In a large bowl, combine the rest of ingredients (lime juice and zest, jalapeños, olive oil, and cilantro; you can also add salt to taste – I don’t use much salt, and I don’t think this corn needs any, but you can decide for yourself). Toss the corn with the mix and set aside for 10-15 minutes to allow the flavors to mix and mingle. Serve with burgers, salads (like this Coleslaw), ribs, beans, or other goodies!

Copyright © Eat the Vegan Rainbow, 2019

SaveSave