I never had jackfruit in my life until last night. And just like that this weird plant food became one of my favorite ingredients and the one I want to use in as many of my dishes as possible. What is jackfruit?
Jackfruit is a popular ingredient in South and Southeast Asian cooking, but it remains obscure to most living in the Western world. This means that finding jackfruit may turn out to be difficult as your regular grocery store is unlikely to carry it. But, let me tell you: jackfruit is so wonderful that it is worth jumping through few hoops to get it. My starting point were online retailers, like Amazon, and that would have been fine has it not been for the fact that I wanted to start cooking right away and could not wait for the delivery.
So I got down to plan B and found a local Asian market, in my case Formosa Marketplace, and the place did not disappoint. They got exactly what I was looking for – young jackfruit in brine. Jackfruit also comes ripe in syrup, but that is not the kind that you want for your savory dishes, plus it is not the kind that seems particularly healthy given all that added sugar. If you are interested in learning more about jackfruit and getting the idea what type of dishes you can use it in, the Vegetarian Resource Group has a useful post.
How do you get from a can of young jackfruit to a taco filling? It’s super easy. All you need to do is rinse the jackfruit and let it drain and dry. Once the jackfruit stops dripping, you will need to go and pull the fruit pieces apart, which does take a bit of effort and time but makes for more surface area to absorb all the lovely flavors you will add next.
Although you could use a pre-made taco seasoning mix, there’s no need for that as those usually contain quite a lot of quite unnecessary salt. One additional ingredient that you will need is almond cheese. I have not yet figured out how to make almond cheese on my own, so for now I get the one from my local Trader Joe’s. They carry shredded almond cheese that is delicious and affordable.
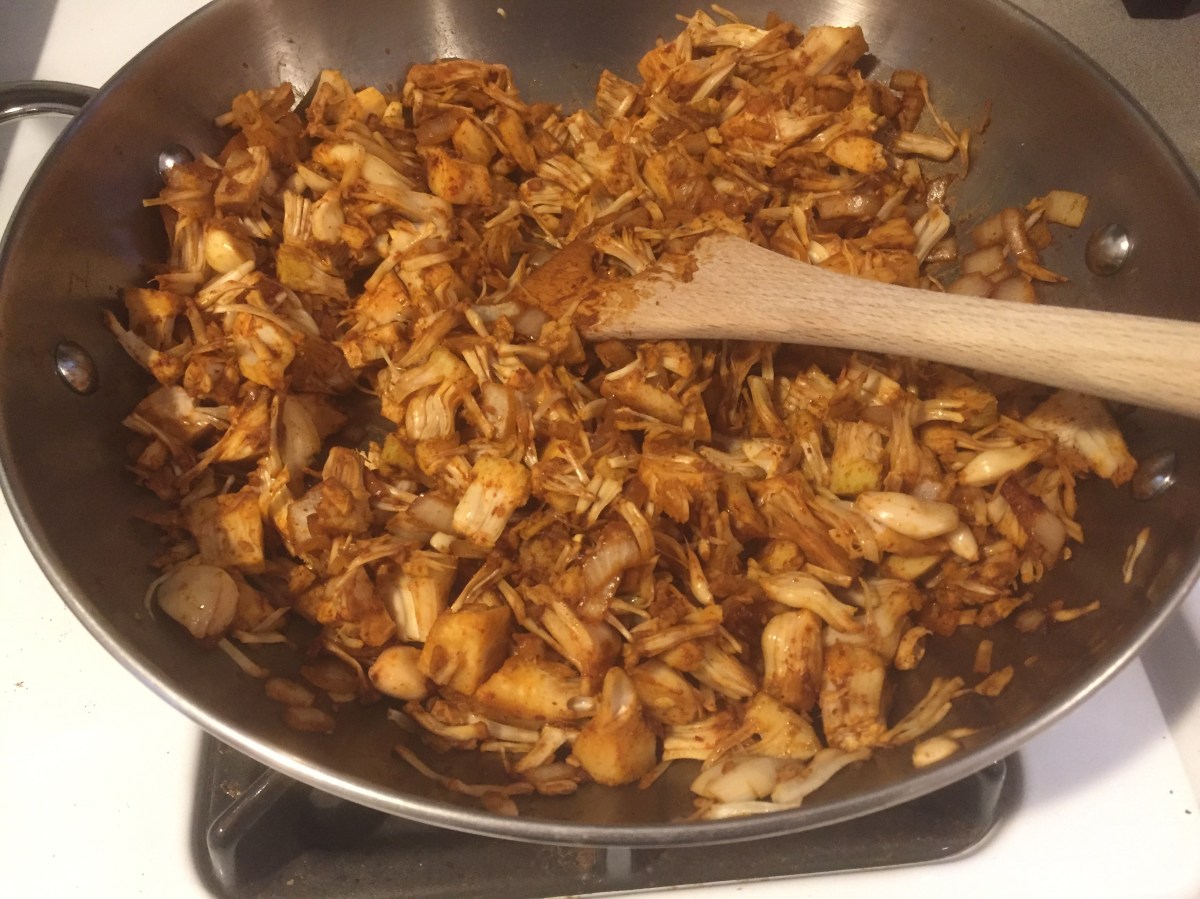
When all is said and done, your jackfruit taco filling will look something like this.
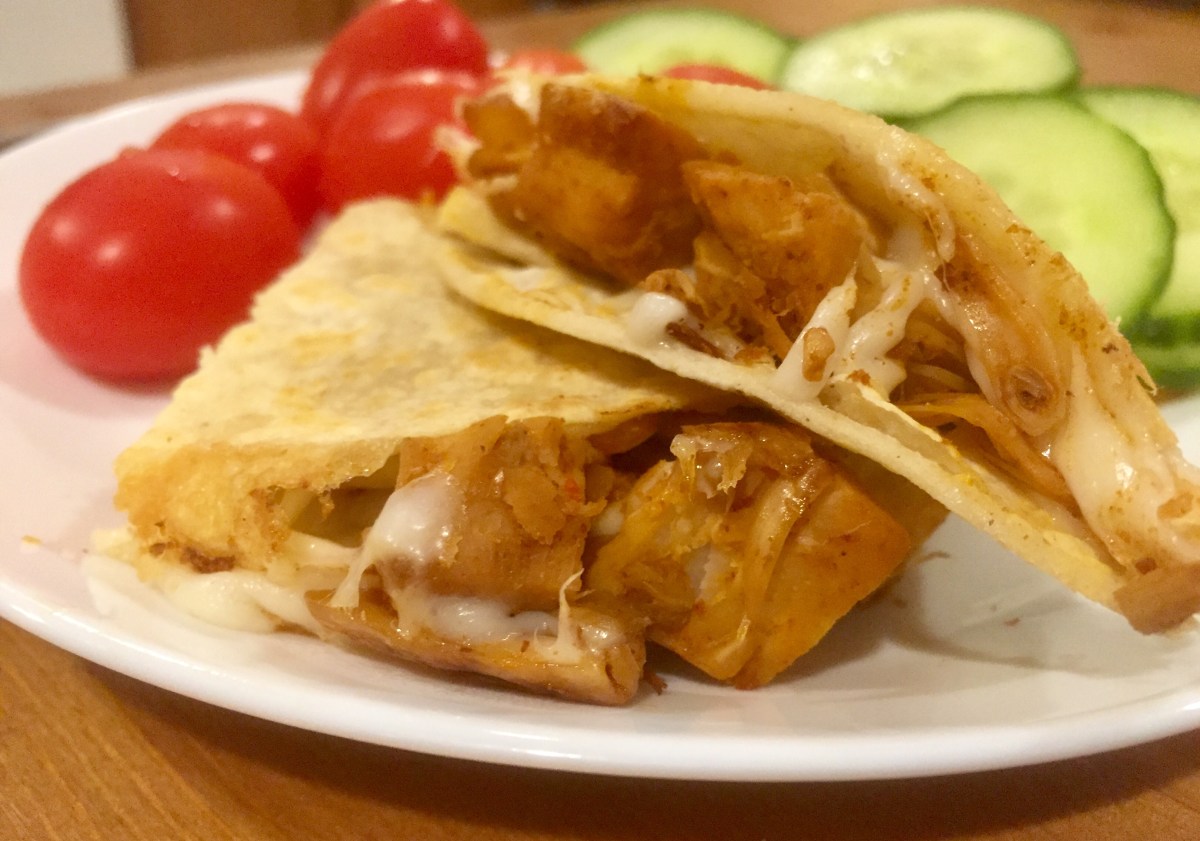
To build tacos, you will also need corn tortillas, but possibilities are close to endless. You can customize your tacos by adding salsa, avocado, fire roasted green chili peppers, cilantro, lime juice, and shredded iceberg lettuce. For me some cucumber slices and pearl tomatoes on the side hit the spot!
Jackfruit Tacos
What you’ll need (for 4 tacos, 2 people):
1 10 oz. (280 g) can of young jackfruit in brine
1 onion, finely diced
1 tablespoon minced garlic
1 teaspoon smoked paprika
1 teaspoon chili powder
1/2 lime, just juice
1/4 cup water
4 corn tortillas, soft
1/2 cup almond cheese
cooking spray
What you’ll do:
- Place jackfruit in a strainer and rinse it well with water to get rid of the salty brine. Let the jackfruit drain for 15-20 min, and then pat dry with a paper, or a cloth towel. Next, pull the jackfruit pieces apart to get a pile of finer shreds.
- Spray the bottom of a pan with cooking spray and turn the heat to medium high. Add finely diced onion and minced garlic to the pan and let the onion and garlic aromas develop for 3-5 min.
- Next add the spices and let them simmer for 1-2 min. This will help the spices toast and intensify the flavor. Don’t worry if some of your spices, onion or garlic stick to the bottom of the pan as lime juice and water that you’ll add next will serve to deglaze the bottom. You may need to adjust the amount of water as you go along, so I recommend starting easy by adding 1-2 tablespoons and going from there.
- Once you are happy with the deglazing and the consistency, which should be somewhere between the ketchup and tomato paste, it’s time to add jackfruit. Make sure jackfruit is fully coated with your sauce, and simmer for 5-10 min, until jackfruit browns just slightly. Leave to the side.
- Heat a non-stick frying pan with cooking spray and place over high heat. Put one corn tortilla in, top it with jackfruit filing and 1/4 of your cheese and fold the tortilla over. Brown on one side for 1-2 min then flip over and brown on the other side for 1 min or so.
- Enjoy!
Note: You can use leftover taco filling in number of different ways. You can top a sandwich, or rice and other grains, as well as pasta or zucchini spaghetti.
Copyright © Eat the Vegan Rainbow, 2017