Sunday Morning Cookbook Review: 30-minute Frugal Vegan Recipes

30-Minute Frugal Vegan cover
With permission from 30-Minute Frugal Vegan Recipes by Melissa Copeland

Vegan way of eating comes with a bad reputation when it comes to cost. I’ve heard many people wonder about whether they would be able to afford to eat only plants, perhaps because many plant-based products that are substitutes for dairy (milk, yogurts, cheese, ice cream…) or meat (different cold cuts, sausages, burgers, bacon…) do come with a higher price tag. But leaving those types of items aside, cooking with plants is actually more affordable than any other kind of cooking. There are a number of social media groups and bloggers (including myself) that really embrace the philosophy that plant-based eating does not need to break your bank.

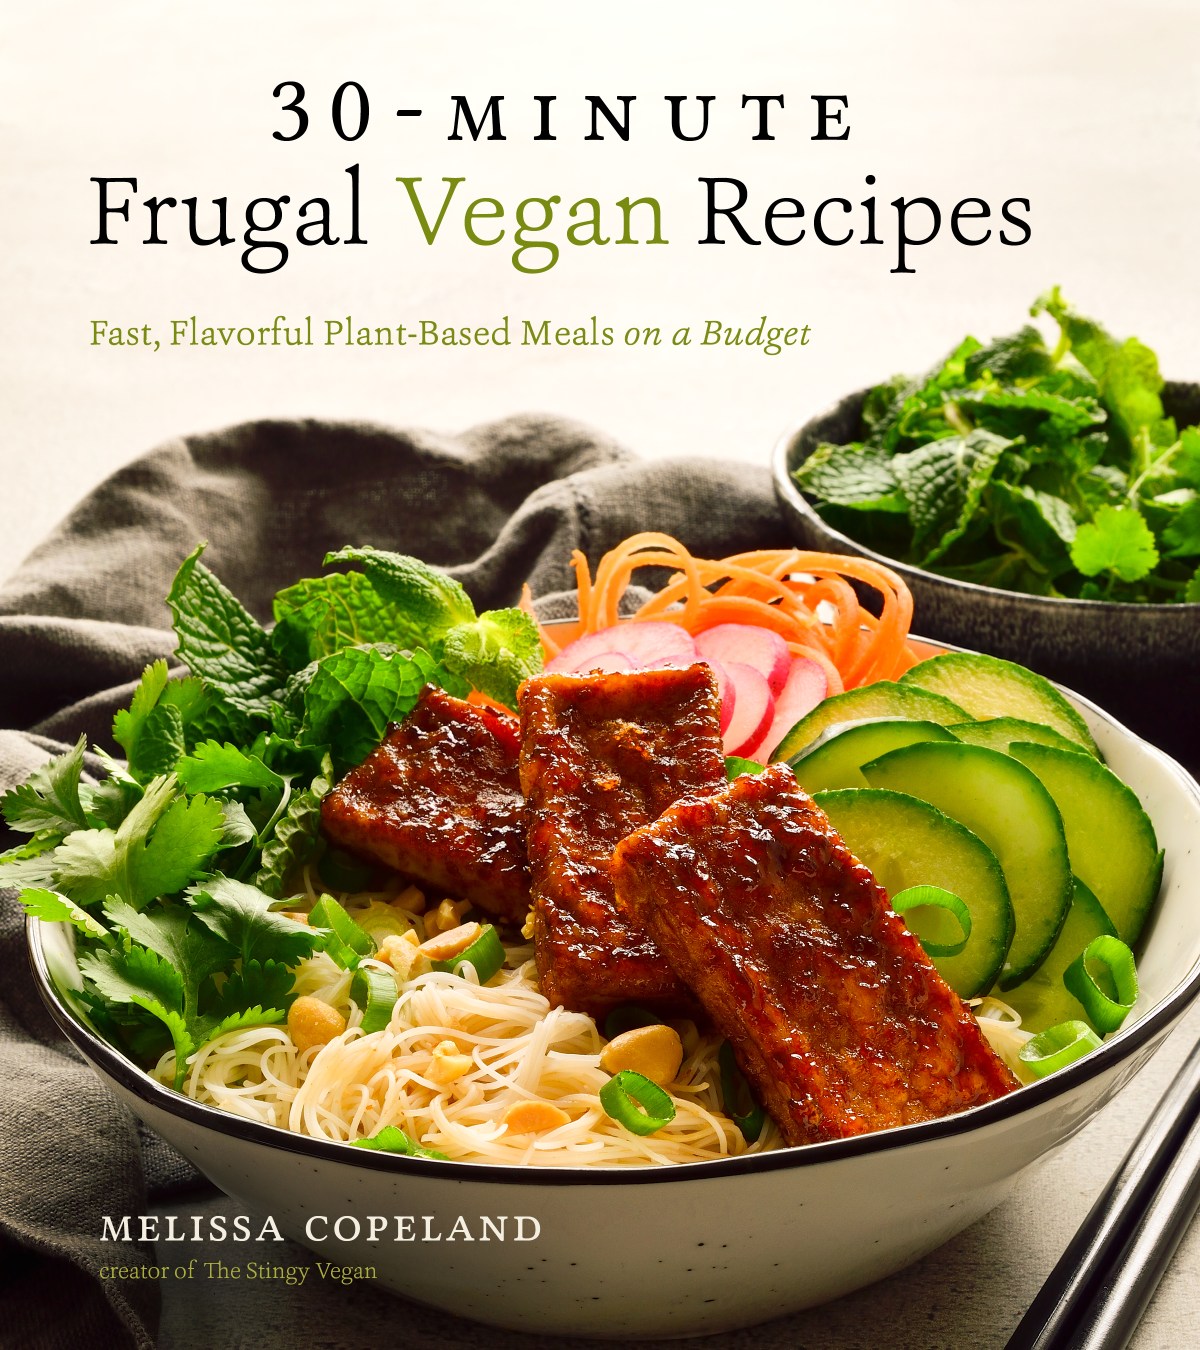
One of the prominent bloggers in this area is Melissa Copeland, a person behind The Stingy Vegan. Melissa has now assembled some of her recipes into a new cookbook published recently – “30-minute Frugal Vegan Recipes”. As the title suggests, the focus of this cookbook is not only on cheap, but also on quick. And her recipes deliver!

They are convenient and use ingredients that are easily found in regular grocery stores. Having said that, Melissa offers some tips on scoring great prices on some of the items. One of my favorite, and the one I recommend all the time, is going to your local “ethnic food” stores – East Asian, Indian, Russian, Brazilian, Mexican, Caribbean… These stores are great places to get excellent prices on produce as well as spices. The local Indian grocery store I go to frequently also has fantastic prices on rice, quinoa, nuts, dry beans, as well as many gluten-free flours (corn, rice, chickpea, and others). Some of these stores may be a bit out of your way, but a trip once in a while can help you can stock up. For example, I go to the Indian store once every 2-3 months!

One other tip Melissa offers that I recommend all the time is using frozen fruits and vegetables. I love frozen – they come pre-chopped and they come cheaper than fresh, so what’s not to like? Of course, for some recipes you need fresh and some vegetables and fruits just lose a lot when frozen, but things like peas, green beans, broccoli, corn, edamame, spinach, squash, carrots, and even jackfruit are great frozen. When using frozen vegetables, it is important to remember to get them unseasoned. Otherwise, you may be getting things you don’t need and should avoid, like extra salt or fat!

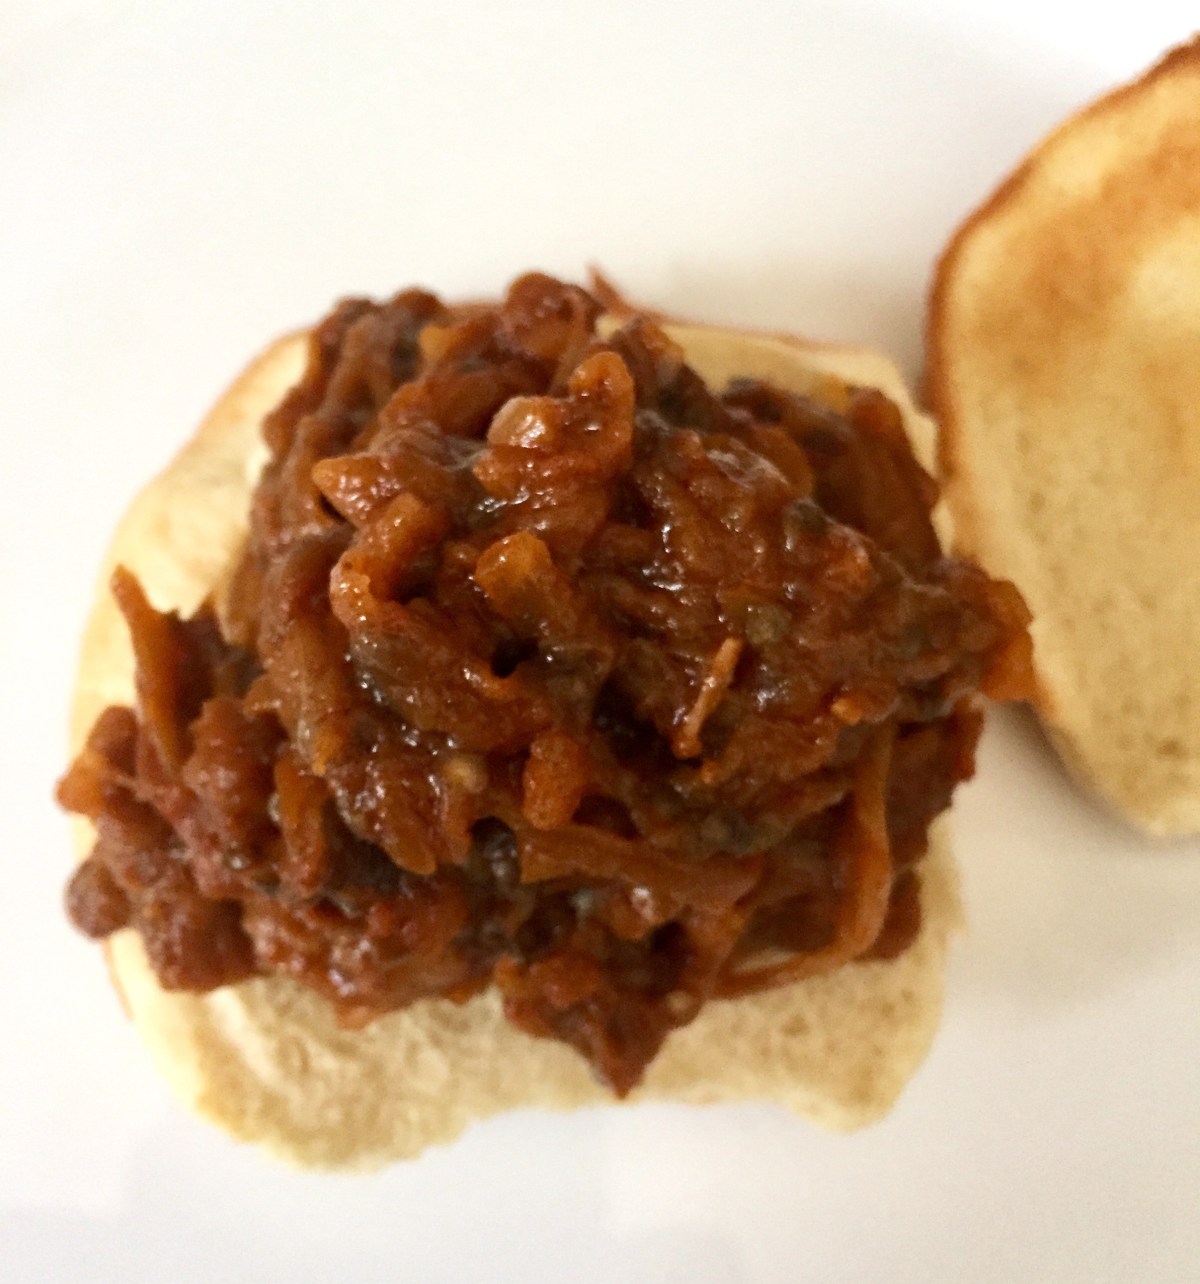
Overall, I liked the flavors that Melissa’s recipes offer and the simplicity of the recipes she put together. The Black Bean Salsa Burgers below are a great illustration of her approach. They are yummy, they come together in a snap, and they work! The one modification I made just because I had no salsa on hand is to use canned fire roasted tomatoes instead. It worked well, and I bet any type of salsa would work as well.

30-Minute Frugal Vegan black bean salsa burger
With permission from 30-Minute Frugal Vegan Recipes by Melissa Copeland

Black Bean Salsa Burgers

Salsa goes right in the burger patties rather than on top, to bring loads of flavor and texture to these plant-based burgers. Choose your favorite salsa; just be sure that it’s really chunky. Straining the salsa to get just the flavorsome chunks prevents the burgers from being too wet and falling apart.

Makes 4 or 5 burgers

  • 2 tbsp (30 ml) oil, for pan, plus more for cooking burgers
  • 1 small onion, diced
  • 2 cloves garlic, finely chopped
  • 1 cup (70 g) chopped button mushrooms (can be quite chunky as they will reduce when browned)
  • 1 cup (80 g) rolled oats
  • 1½ cups (258 g) cooked black beans, or 1 (15.5-oz [439-g]) can, drained and rinsed
  • 1 cup (260 g) chunky salsa
  • 1 tsp smoked paprika
  • 1 tsp salt
  • Freshly ground black pepper
  • 4 or 5 vegan hamburger buns
  • Your favorite hamburger fixings


If you’re baking the burgers, preheat the oven to 375°F (190°C).

In a skillet, heat 1 tablespoon (15 ml) of the oil over medium-high heat. Add the onion and fry, stirring from time to time, for 5 to 7 minutes, or until soft and translucent, then add the garlic and fry for another 30 seconds, or until fragrant. Transfer to a large bowl.

Heat the remaining tablespoon (15 ml) of oil in the same skillet. Add the mushrooms and leave them for a minute to brown on one side before stirring and continuing to fry. Once browned all over, transfer to the bowl with the onion.

In a food processor, pulse the oats until you have mostly oat flour with some whole oats remaining, for texture. Transfer to the bowl. Put the black beans in the food processor and blend until mostly pureed with some whole beans remaining, also for texture. Transfer to the bowl.

Put the salsa in a strainer and stir to remove the excess tomato sauce, until you have mostly chunks remaining. Measure ½ cup (130 g) of this super chunky salsa and add it to the bowl along with the paprika, salt and pepper. Mix well to incorporate everything.

Form the mixture into 4 or 5 patties, depending on the size of your buns. The mix is a bit wet but should not be unmanageable. I take a ball in my hands, flatten it out into a patty on a plate, then use a spatula to transfer it to a baking pan or skillet when ready to cook. They may need a bit of reshaping once in the pan. If you’re having trouble, you can add a bit more oat flour so that they hold together better.

To bake, lightly oil a baking pan, transfer the patties to the pan and bake for 20 minutes, flipping at 10 minutes. To fry, heat a large skillet over medium heat and add a tablespoon (15 ml) of oil. Fry the patties for 3 to 4 minutes per side, or until browned.

Once cooked, transfer the patties to a wire rack and let cool for a few minutes. They will firm up a bit as they cool. Serve on the buns with your favorite hamburger fixings.

Credit line:
Reprinted with permission from 30-Minute Frugal Vegan Recipes by Melissa Copeland, Page Street Publishing Co. 2019. Photo credit: Melissa Copeland.


Simple Bean Salad

Simple Bean Salad via Eat the Vegan Rainbow
Simple Bean Salad, via Eat the Vegan Rainbow

Summer time, outdoor eating, picnics – what they all need is great, yet simple salads, especially those that don’t require constant refrigeration and come together in a jiffy!

This is exactly what this bean salad is all about. It uses four different types of canned beans – and you can mix and march any way you like! – as well as a nice combo of spices, including a bit of garam masala. If you are not familiar with garam masala, it is a spice mix commonly found in Indian cuisine, and it usually contains cumin, coriander, cardamom, cloves, cinnamon, pepper, and perhaps a bit of nutmeg or mace. All this makes for a very fragrant and please spice mix that you can use to make a plain old bean salad just a bit more adventurous. And don’t worry about having lots of garam masala leftover after you make this salad because it is a spice you can use to boost the flavor of rice, as well as to make Chicken-less Tikka Masala (one of my very favorites), Saag Paneer, or “Chicken” in Nut Sauce and it will be used up before you know it. It is one of the spices I can’t go without!

If you can’t find garam masala, you can use your favorite curry powder instead – it will work and you will have a bean salad with an elevated flavor. One other recommendation I’d like to make is to toast your spices using just a bit of oil and a very hot frying pan. This will help deepen the aroma and add just a bit of smokiness. If you are looking to cut out the oil you can toast your spices in a dry nonstick pan. Either way, you will have to be there and keep the spices moving as they toast. The toasting is fast, no longer than 2 minutes, and the spices can easily burn if you are not careful. So keep a close eye on your spices!

Finally, definitely use both the juice and the zest of the lime. The zest will do it’s zesty magic and add an exotic dimension to your salad. Enjoy!

Simple Bean Salad

What you’ll need:

  • 1/2 red pepper, deseeded and finely diced
  • 1/2 green pepper, deseeded and finely diced
  • 1/2 red onion, finely diced
  • 1 15.5 oz (440 g) can black beans
  • 1 15.5 oz (440 g) can red kidney beans
  • 1 15.5 oz (440 g) can black eyed peas
  • 1 15.5 oz (440 g) can small white beans
  • 1 4 oz (113g) can fire roasted green chilis
  • 1 tablespoon curry powder or garam masala
  • 1 tablespoon chili powder (or lime chili if on hand)
  • 1 tablespoon oil
  • 1 lime, juice and zest
  • 1/4 cup fresh cilantro, chopped

What you’ll do:

  1. Wash the peppers, half them lengthwise, and set the two halves you are not going to use aside (don’t through them out; there are many recipes you can use them for, or simply slice them into sticks and much on them as a snack!). Remove all the seeds and veins, then cut into a small dice. Do the same with the red onion. Place all your diced vegetables into a large mixing bowl.
  2. Rinse and drain all your canned beans, shake the access water off as much as you can, pat dry if needed and add to the mixing bowl together with the entire can of fire roasted green chilis. Note: If you don’t have these fire roasted green chilis where you live, you can use raw chili (spicy) pepper of your choosing. Or you can fire roasted a pepper yourself, let it cool, peel the skin, remove the seeds and chop finely. Regardless of what you decide to do, be careful about the heat and add the amount that tastes right to you. Using the amount listed in this recipe you will end up with a mild bean salad, so dial the heat up or down to taste.
  3. Place a small sauté or frying pan over medium-high heat, add the oil, then add the garam masala (or curry powder) and chili powder. Toast the spices for 1-2 minutes then immediately add to the mixing bowl. If you are trying to avoid oil, you can dry toast the spices in a non-stick pan, or skip toasting altogether. Without toasting the flavors will not be as rich, but milder may be better for some.
  4. Add the rest of the ingredients, mix well and you are done! You can serve this salad immediately, but for best results I recommend that you let it sit for 2-4 hours on the kitchen counter. You can also make this salad a day ahead, store in the fridge, then take it out and let come to room temperature before serving. Enjoy!

Copyright © Eat the Vegan Rainbow, 2019

Sunday Morning Cookbook Review: Vegan Comfort Cooking

Vegan Comfort Cooking cover
Reprinted with permission from Vegan Comfort Cooking by Melanie McDonald, Page Street Publishing Co. 2019. Photo credit: Melanie McDonald. 

How many cookbooks does one person need? I would say probably all of them because I am yet to meet a cookbook that did not teach me something new, different, interesting, and useful. This is especially true for vegan (plant-based) cookbooks, given that vegan cooking is a special type of skill set (and mind set) that you need to continue to work on.

For those of you who are not 100% plant-based eaters, and feel on the fence about it all because you are worried that you may not be able to enjoy rich and flavorful type of food we often call comfort food, this new cookbook may help. “Vegan Comfort Cooking” is the first cookbook by a successful vegan food blogger and recipe developer Melanie McDonald, the person behind A Virtual Vegan. Part of Melanie’s, or Mel’s (as her friends and family call her) philosophy is that she only posts recipes that have been thoroughly tested and vetted by her taste testers. Moreover, Mel is fully committed to transforming recipes that include non-plant ingredients into vegan ones without sacrificing any flavor – if the recipe can’t be made to taste good, it’s not worth making.

I can definitely relate to that, and have enjoyed Mel’s new cookbook very much! In 75 recipes this cookbook covers all main areas of cooking, from breakfast to dessert. It also includes lots of great bread recipes (and a recipe for english muffins!), as well as how to make awesome pantry staples, like vegan butter – yes, I know you can easily get vegan butter in the store, but if you do have a moment making your own butter is fun and delicious!

For me, several recipes stand out – and you can get them all in Mel’s cookbook which has now been published: Black Forest Breakfast Crêpes, where basic crêpe recipe is combined with a tasty cherry sauce and a drizzle of chocolate sauce; Down ‘n Dirty Taco Fries (oven-baked fries with chickpea topping and lime crema), and the Smokey Tomato and White Bean Soup (recipe and photo below).

Those who say that vegan food can’t be comforting or have loads of great flavor need to be invited to a dinner party featuring recipes like these. I’ll bet their view of great tasting food will be completely transformed!

Vegan Comfort Cooking Smoky Bean & Tomato Soup
Reprinted with permission from Vegan Comfort Cooking by Melanie McDonald, Page Street Publishing Co. 2019. Photo credit: Melanie McDonald.


Smoky Tomato and White Bean Soup

Serve this brimming with flavor soup in deep bowls that you can cozily wrap your hands around on a chilly evening. It’s easy to make, easy to eat and one of those recipes that gets even more flavorful with time, so it is perfect for making ahead. It even freezes well.
yield: 4 or 5 servings

  • 1 tbsp (15 ml) olive oil or water
  • 1 large onion, finely chopped
  • 2 celery ribs, finely chopped
  • 5 cloves garlic, finely chopped
  • 1 tsp smoked paprika or chipotle powder
  • ½ tsp ground cumin
  • ¼ cup (60 g) tomato paste
  • 27 oz (765 g) canned chopped fire-roasted tomatoes
  • 2 tsp (10 g) salt, plus more to taste
  • ½ tsp freshly ground black pepper
  • 3 cups (720 ml) vegetable stock
  • 1 tbsp (12 g) cane or granulated white sugar
  • 4½ cups (1.2 kg) white kidney, cannellini or lima beans, drained and rinsed


In a large skillet, heat the olive oil or water (for oil free cooking) over medium heat. Sauté the onion and celery for about 10 minutes, until they are starting to go gold
en brown. If you are using water to sauté, you will need to add a little more water every few minutes to prevent the onion and celery from sticking.

Add the garlic, smoked paprika and cumin and continue to cook for another 2 minutes, stirring constantly.

Then add all the other ingredients. Stir well to combine, allow to come to a simmer
and cook for another 20 minutes. Add a little water to adjust the consistency to your liking, check the seasoning and adjust to taste; then serve. I like the soup chunky,
but you can use an immersion blender right in the pan to make it smoother and creamier, if you want to.

tips: Make this soup with only 11/2 to 2 cups (360 to 480 ml) of stock instead of 3 cups (720 ml), so it’s more like a thick stew, and serve it over rice, quinoa or couscous.

Credit line:
Reprinted with permission from Vegan Comfort Cooking by Melanie McDonald, Page Street Publishing Co. 2019. Photo credit: Melanie McDonald.

BBQ Pulled Eggplant

BBQ Pulled Eggplant via Eat the Vegan Rainbow
BBQ Pulled Eggplant, via Eat the Vegan Rainbow

There’s something magical about barbecue or BBQ as we often call it. I am not sure that it can be put into words, and the best you can do is to try it. Perhaps you can start with the recipe below, which is, technically, not a BBQ; but it successfully recreates what using smoke and cooking low and slow (at low temperatures for prolonged periods of time – typical BBQ setup) results in. Or: you can take a look at a very inspirational cookbook in this area “Great Vegan BBQ without a Grill”.

Regardless of what you decide to do, I don’t think you will be disappointed. The basic idea behind a dish like the BBQ Pulled Eggplant below is to take advantage of the natural eggplant texture, which allows it to be pulled into long strips, and to use a rich marinade.   Like any great BBQ recipe, this one also takes time. And although there is no need for low and slow cooking here, there is a need for long marinating, which will help add an incredible amount of flavor to the eggplant.

If you are still hesitant, don’t be! The recipe is super simple. You will need to roast the eggplant, which can’t be easier. You will leave the skin on, wash the eggplant, and put it in the hot oven to roast for about an hour. Once eggplant is full roasted, you’ll leave it to cool, then open it up and scoop all the meat out. Some eggplants have quite a lot of seeds in them, and these may look unappetizing – if they do seem unappetizing to you, chuck them out (preferably on your compost pile!). They are actually completely edible and will not change the final flavor at all – so I suggest you keep them in. All the eggplant that you pull ad scoop out goes into the marinade for an hour or more (overnight in the fridge is fine too).

One time and resource saving tip you’ll like is that I use the marinade as a sort of BBQ sauce. As you will see below, the last step is dumping the pulled eggplant and the sauce it’s been marinading in into a hot pan which will help eggplant brown and caramelize, and the marinade thicken into a rich BBQ sauce. So, you will be hitting two birds with one stone!


BBQ Pulled Eggplant

What you’ll need:

  • 3 whole eggplants, washed and dried (do not peel)
  • 3 tablespoons canola (or other vegetable) oil
  • 3 tablespoon reduced-sodium soy sauce (or reduced-sodium tamari sauce for gluten-free option)
  • 3 tablespoons chili powder
  • 3 tablespoons dry chopped onion (for example these), or 1 tablespoon onion powder
  • 2 tablespoons smoked paprika
  • 1 tablespoon agave nectar or maple syrup

What you’ll do:

  1. Preheat the oven to 425 F (220 C).
  2. Wash and pat dry the eggplant. Place it on a baking sheet lined with some foil or parchment paper and roast for 50-60 minutes. The eggplant should be cooked all the way through.
  3. Take the eggplant out and let it cool. It does not need to be cooled all the way, but it needs to be cool enough to handle by hand.
  4. While the eggplant is cooling mix all the rest of the ingredients in a large container big enough to hold the pulled eggplant while it marinates. Set aside.
  5. When eggplant has cooled of, split the eggplant in half then using a fork start pulling the meat out by sliding the fork lengthwise. Some trips will be shorter, some longer. You can decide which length makes most sense to you – I personally keep it irregular. If your eggplant has a lot of seeds and you rather not use them, pull them out and set them aside to use for something else or compost. At the end of this process, all that will be left will be the eggplant skin. Discard the skin!
  6. Place all the pulled eggplant into the marinade, cover and marinate for at least an hour – overnight in the fridge works well!
  7. Final step: bring a large cast iron pan or a heavy frying pan or a skillet over high heat. Let the pan get really hot, lower the heat to medium to medium high, then dump all your marinated eggplant with the marinade into the pan and let it sizzle. The main purpose here is to get some browning going and thicken up the marinade. Keep stirring things around for about 5 minutes, then turn the heat off and serve as sliders (on mini hamburger buns), or as pulled BBQ sandwich on a large buns. Pickles, pickled onions, and/or coleslaw are all great sides to have on hand here. Enjoy!

Copyright © Eat the Vegan Rainbow, 2019