There are so many granolas out there. And there are ready made ones that you can get from the store. So, why should you ever bother making granola at home?
Well, I bet it is sometimes hard to find the perfect granola – some may be too sweet, some may include things you don’t like, some may have flavoring agents (spices) that you can’t stand or that overpower your palate. So, what I am getting at here is that knowing how to make granola comes in handy – you can use the same technique and just switch ingredients in and out as you please.
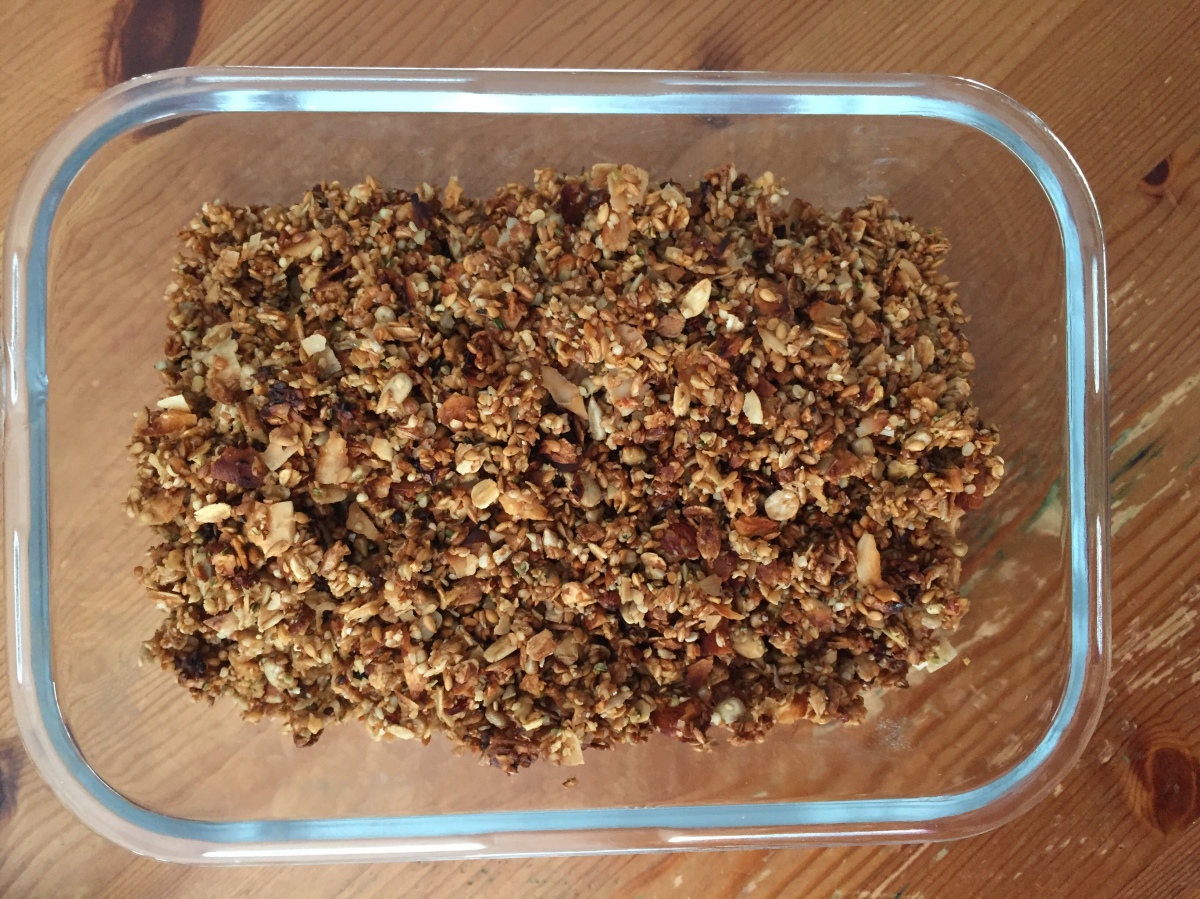
For example, I am not a huge lover of dried fruit in my granola so I made this batch with nuts and seeds. If you are allergic, you can make granola entirely out of nuts and still get a great snack/breakfast item.
Also: you are in complete control of the sugar levels. In many cases, store bought granola mixes are just to sweet. Making your own allows you to dial sugar up or down – recommend using a syrup: agave or maple or even stevia or molasses. You do need something sticky that will serve as a glue to bind all the ingredients together. Here, I used agave syrup, and 1/3 of a cup, although it does not sound like much, is plenty.
Now, when it comes to preparation, you will need a parchment paper-lined baking sheet (or two). The first step is getting the granola spread out as much as possible. It is nice to have clusters, so don’t break every cluster apart, but you do want to make sure that you are leaving plenty of space between clusters so that they get a chance to brown and crisp up on all sides. If you discover that a single baking sheet can’t hold the entire amount you get using the measures below, use two sheets. The main trick here is to start low and slow, and “dehydrate” the granola at 200 F (which is just about 100 C) for an hour or two.
However, in order to get the final, toasted crunchiness you do need to increase the heat to 425 F (220 C) or higher. This second step takes only 5-10 minutes, and you do need to stay put and check how things are going every minute or two. It’s important to keep stirring the granola, move pieces around, and flip them over. This will prevent the burning, yet let the toasty flavors develop.
You can keep the granola in the air tight container for a week, and it will keep. You can bring it along to hikes, or have on hand as a quick snack. You can certainly enjoy it for breakfast. Putting a bit of yogurt (preferably unsweetened because granola does contain added sugar) in a small jar, and topping it with fresh fruit or a fruit compote, and some granola is all you need to get going in the morning. Closed with a tight lid, these jars can go right into your bag and come along as you rush out of house. They can also be a great mid-afternoon pick-me-up.
I admit that I sometimes go a bit crazy and add granola into my oatmeal – it is indulgent but once in a while I think it’s OK. Enjoy!


Homemade Nut and Seed Granola
What you’ll need:
- 1/3 cup almonds
- 1/3 cup buckwheat
- 1/3 cup flax seed
- 1/3 cup unsweetened coconut flakes
- 1/3 cup sunflower seed
- 1/3 cup pumpkin seed
- 1/3 cup rolled oats
- 1/3 cup hemp seeds (hulled)
- 1/3 cup agave syrup (maple syrup or other liquid sweetener of your choice)
SERVING SUGGESTIONS
- 1/2 cup plain plant-based yogurt
- 1/2 cup fresh fruit (like blackberries pictured above)
What you’ll do:
- Preheat the oven to 200 – 210 F (about 100 C).
- Place the almonds into the food processor and process 4-5 times, until roughly chopped.
- Add the next 6 ingredients (all except hemp seeds and agave syrup) and process for another 4-5 times. You want everything to be chopped finely but not turned into a meal or flour.
- Pour everything into a large mixing bowl, add hemp seed and the syrup and mix well to combine. Make sure that the syrup covers everything evenly.
- Line a large baking sheet with parchment paper. Spread the granola evenly in a single layer of well separated clusters. Place into the oven on low heat for an hour.
- After an hour at low heat, increase the heat to 425 F (220 C) and toast the granola for another 5-8 minutes. Make sure you check on your granola every minute and mix each time to allow every nook and cranny to get toasted. CAUTION: you do need to baby sit this part because your granola will easily burn!!!
- Once nicely toasted, take the granola out and let it cool completely before using. You can use it as a dry snack, or with some milk for breakfast. My favorite is topping a bit of yogurt with a homemade berry syrup and granola – yummy!
Copyright © Eat the Vegan Rainbow, 2019


Granola is such a great thing to have in the cupboard!
LikeLiked by 1 person
Absolutely! And a little goes a long way!!! Fresh baked granola is also a very special treat!
LikeLiked by 1 person
WeI have to make our own because of some nasty nut allergies in the house, but it is all good!
LikeLiked by 1 person